Create A Large Custom Planter With TikTok's Clever DIY
Houseplants have been proven to improve their owners' mental health and overall mood. In fact, they reduce the stress hormones that people produce and store in intense situations. Decorative planters are perfect for housing these plants, however, they can get very pricey. But, there's a great TikTok trick for making your own gorgeous custom ones, as big as you want, out of smaller discount pieces and some basic tools. The look is stunning and utterly unique, and you can create multiple ones if you want to frame a doorway or other focal point.
You can also save money on filling your oversized planters. You may think you need a large plant and tons of dirt to fill it with, but that's not necessarily the case. You can actually keep your plant in a smaller pot, Then, place it in the bowl of your planter, and fill the space around it with empty plastic bottles, cans, or milk cartons to fill the space. If you're using faux plants indoors, you can fill the area with small cardboard boxes or packing materials. Then, cover this with mulch or stone for a natural look. This allows you to have the same statement-making look without spending a ton on soil or creating a planter that's too heavy to move. So, get creative making your own DIY plant home and fill it with your favorite foliage.
How to DIY a custom planter
TikTokker @Sandras.home.life posted an easy tutorial on how she made her custom planter. First, purchase two large planters like these from Home Depot. You want to make sure the plastic is thick and durable, and that its top is just as sturdy as its base so that it can be inverted. Resin and think plastic are good materials for this, as they are durable and tend to be inexpensive. Additionally, you'll need Liquid Nails construction adhesive, caulk or joint compound, and plastic-compatible paint. Think about how you want the planter to look when you're finished, whether you want it to be imposing and bold or a more casual, earthy style. Then, plan your colors or other embellishments around that vision.
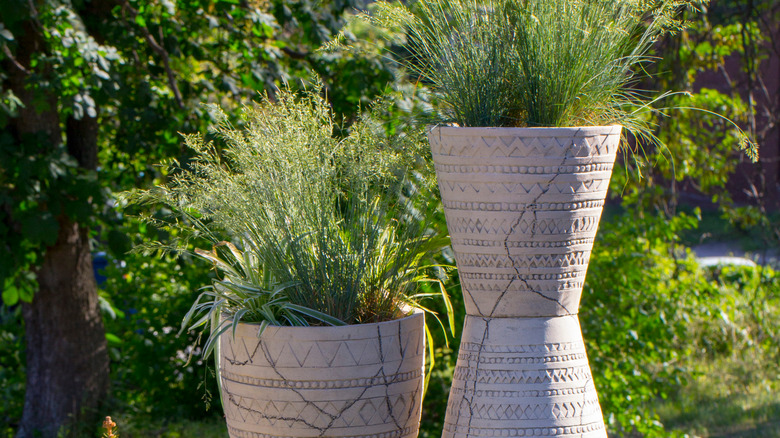
Place one pot upside down and apply the adhesive to the bottom, then affix the bottom of the other pot onto it, creating a makeshift hourglass shape. Make sure the two ends are aligned and allow the adhesive to dry, then apply the caulk to the seam between the two and wipe away the excess, so it dries as a flush, seamless surface. Once this is dried, you can paint it in warm neutrals or bold jewel tones as you like. You can even stencil on patterns or paint a beautiful ombré finish if that's your cup of tea. Let your imagination run wild and create your own custom planters that will bring new life to your space.