Save Your Toilet Paper Rolls For TikTok's Gorgeous DIY Wall Decor
Decorating your home space is fun because it's a challenge, but that doesn't mean that the challenge should give you heart palpitations. There are tons of new rules and conventions popping up about what to slap on your walls and how fashionable the décor is. Minimalist, this, contemporary, that ... sometimes all you need is a piece that speaks to your creativity and inspires you. What better way to spice up your décor than to put those hands to work for a unique piece of sentimental wall art that still exudes class? TikTok home improvement and DIY enthusiast @theflippedpiece laid down the process to create your spectacular DIY artwork using saved toilet paper rolls cut and finessed onto a large canvas.
If you love arts and crafts, then you're going to go nuts with this DIY wall art idea. You don't have to spend a ton of cash buying ultra-expensive art when you could just upcycle something as common as toilet paper rolls and convert them into a decadent piece. You'll need a canvas, of course. The size is entirely up to you, but the bigger the better. Based on your room's color scheme, you'll have to choose the right colors of paint. Making your own frame will be best for this project, so you'll also need spare plywood and glue to finish the job. Get enough plywood to cover the perimeter of the canvas and shape the ends into 45-degree angles so they fit perfectly.
Arrange the toilet roll pieces in any shape you want
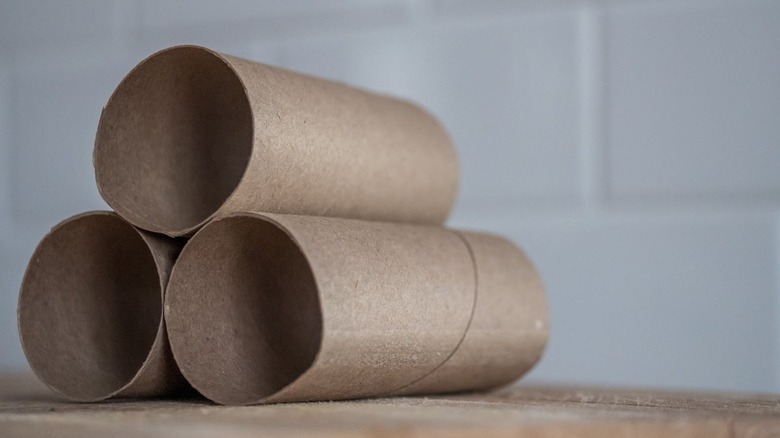
This DIY wall art from TikTok creator @theflippedpiece will leave your guests wowed every time. You'll have to snip up a lot of toilet rolls, but at least you won't be throwing them away. Cut them across the diameter at about ¼ inch thick. Make sure all the pieces are uniform.
Once you have a bowl full of cut pieces, bring out the canvas and lather some glue on it. Place the toilet roll shards onto it in the design that you want. @theflippedpiece laid them out in a spiral design, but you can freestyle it however you wish. Add more glue as you go until you reach your desired size, and wait for it to dry. If you don't have all the time in the world, whip out your trusty blow dryer and let the cool setting make time go faster.
Once the art is dry, proceed to paint in between the scraps and the rest of your canvas with whatever colors you prefer. You can go for neutral colors with a matte finish for a high-end look or brighter with glossy paint if you're not afraid of some color. You can even paint a background design on the canvas before gluing the scraps or color some of the pieces with neon paint so they light up in a spiral when it's dark. Finally, paint and attach your frame, and hang your masterpiece on the wall.