How To Banish Destructive Cutworms From Your Hostas
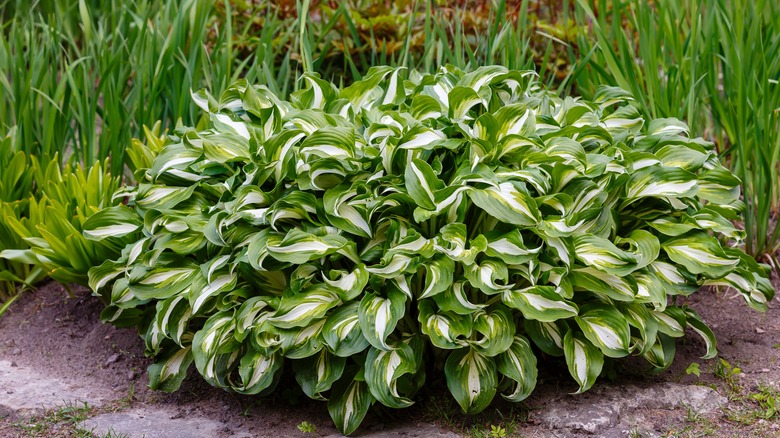
Admired for their ornamental white or lavender inflorescence, hostas are a trendy planting choice among gardeners looking to attract bees and hummingbirds to their yards. Sadly, they also draw in quite a few cutworms that eat through the foliage, leaving the plant in tatters. The quickest way to get rid of cutworms is to pick them out of raked soil. If they're a regular occurrence, place barriers, such as collars or aluminum foil, to restrict their access to the plant's stems. But if the situation worsens, apply pesticides to your hostas' foliage and shoots.
While most cutworm varieties attack hostas, variegated (climbing) cutworms (Peridroma saucia) are the most frequent. These puffy, almost hairless moth larvae feature a distinct row of yellowish-white markings on their segmented back. It doesn't help, though, as they're only active at night, unless it's a dark, cloudy day, and often camouflage with the soil given their brownish-black bodies. Plus, there's always the risk of the caterpillars maturing before you become cognizant of the plant damage. This invisibility, however, doesn't hide how they chew through new growth emerging from the crown, eventually cutting out the top and resulting in the hosta's early death. They also cut large, elongated holes around the mature leaf veins and margins, which often get mistaken for snail and slug action, but you can differentiate them from the lack of slime on the plant.
Remove cutworms and limit further access
If cutworms have already taken over your hostas, venture out in your garden in the evening with a flashlightand hand-pick the pests roaming on the plant's base and foliage. Don gloves to minimize the gross feeling, and avenge your perennials by dunking the worms in a soapy solution. But if you see no climbers, break apart the soil clumps within 1 foot of the wilted plants or rake it a little to look for the root-feeding varieties like the glassy cutworms. When disturbed, they adopt a fetal position, giving their location away.
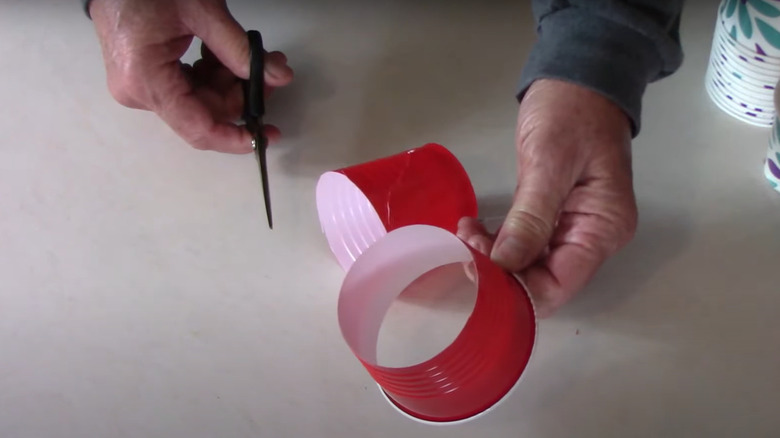
To shield your hostas from newly maturing worms, wrap them in aluminum foil or cardboard so the wriggly pests can't eat the leaves. Another alternative is to place a 3-inch-wide plastic collar around the plants. Simply push one end one inch deep into the ground while leaving the other in the air. If you're apprehensive about plastic, use toilet paper rolls to keep cutworms out. But if it proves insufficient, bait the worms with ½ teaspoon of bran or cornmeal by placing it away from the plants. Diatomaceous earth works, too, as it dehydrates the pests, ultimately killing them. The downside is that it may harm the beneficial insects and pollinators visiting your garden. When natural methods fail, sprinkle permethrin-, cyfluthrin-, or carbaryl-containing pesticides in the late evening per the label instructions.
Habitat management for long-term success
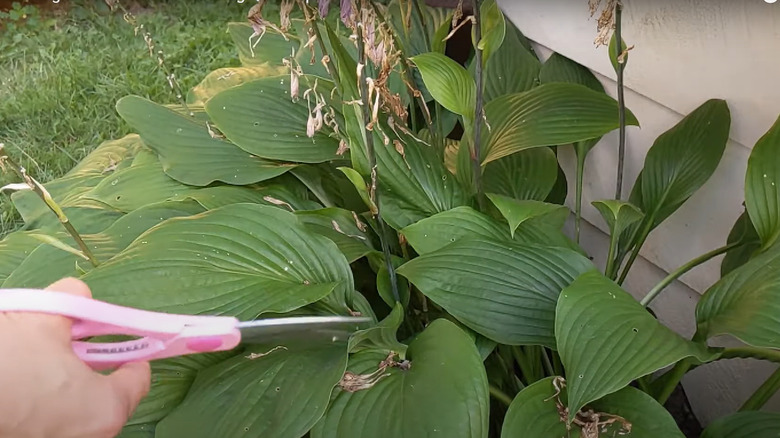
With cutworms, it is their little ones that cause the most damage. They start by feeding on small roots and move higher up on leaves and stems when they grow about ½ inch tall. So, catching them early before a full-blown infestation is essential. As the adult moths lay multiple egg clusters in weeds, plant residue, ground cover, soil debris, and other low-lying vegetation, clearing out this area should keep their population in check. It also limits the hosting sites for young larvae to hide during the day. And if you haven't been deadheading and pruning your plants, do so because the moths won't shy away from breeding on the dead foliage.
As some female moths continue to lay eggs until late summer, tilling the garden at least six to eight inches deep should annihilate them before they become a bother. For better success, undertake another round of shallow tilling after two to three weeks of the first fall cultivation to unearth any pupae. Take care of any overwintering larvae by cultivating again in the spring. Finally, switch out manure for compost, lest it stimulate egg production. Going forward, make your landscape unappealing to cutworms by developing a three- to four-foot-wide dry zone around its edges.