Everything You Need To Know About Soil Solarization To Keep Away Weeds And Pests
When pests and weeds swarm your lawn or garden, and pesticides do more harm than good, soil solarization might be the answer. Cost-effective, environmentally safe, and quite beneficial to the soil, solarization is also a lethal weapon. It's one of the least harmful ways to kill weeds, pathogens, fungi, and nematodes. And it does all of that good work with little harm to the microorganisms and good bacteria that promote plant growth. There's even evidence that some nitrogen-fixing microbes and other organisms that break down organic materials tend to thrive as a result of the solarizing process.
This solar treatment is a simple process that is easy to apply under the right conditions. It requires minimum supervision, and once done, the soil is ready to cultivate right away. But that simplicity is deceptive since a lot could go wrong before, during, and after. Besides, solarizing the soil isn't without its flaws and problems. Some of these issues have to do with the microclimate, while others are related to the location, timing, and duration of treatment. If you're flirting with the idea of harnessing the power of the sun to cure your garden's or lawn's illnesses, this comprehensive guide provides everything you need to know.
How soil solarization works
The topsoil in the garden is packed with viruses and pests that do a lot of harm to the plants. Since direct exposure to sunlight is deadly, the critters and pathogens often hide under the surface during the daytime. Soil solarization works by trapping the heat of the sun to raise the soil temperature to 99 degrees F. To achieve that, plastic sheets need to cover the soil for 4 to 6 weeks. Not only will that eliminate harmful bacteria and viruses, but it will also smother weeds and control yellow sweet clover, among other invasive plants. One treatment can keep the garden pest- and weed-free for up to 3 or 4 months.
Solarization works on either flat surfaces or raised beds. To make the most out of it, you'll need to solarize the garden or lawn during the hottest months of the year. Clear skies, still, or near still air, and high air temperatures are all facilitating factors that improve the outcome. Adding moisture to the soil helps trap the heat and create the right pasteurizing and disinfectant environment. Meanwhile, clouds, fog, and rainfall can have a negative impact on the soil temperature. They interrupt and prolong the treatment, since the deep layers need constant heat and time to reach the desired temperatures.
Types of plastic sheeting to use
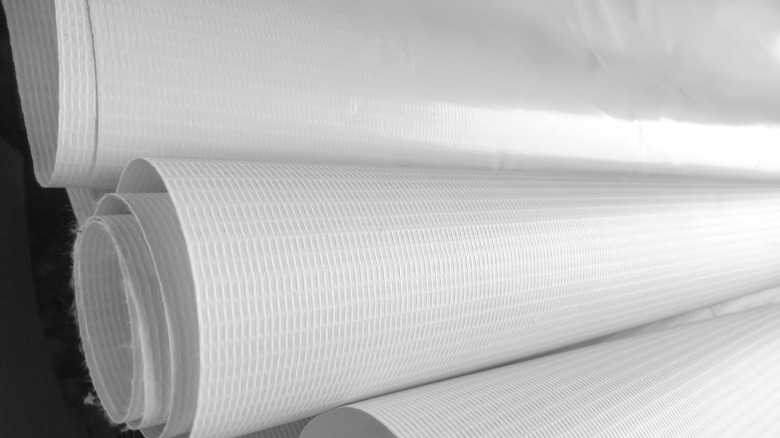
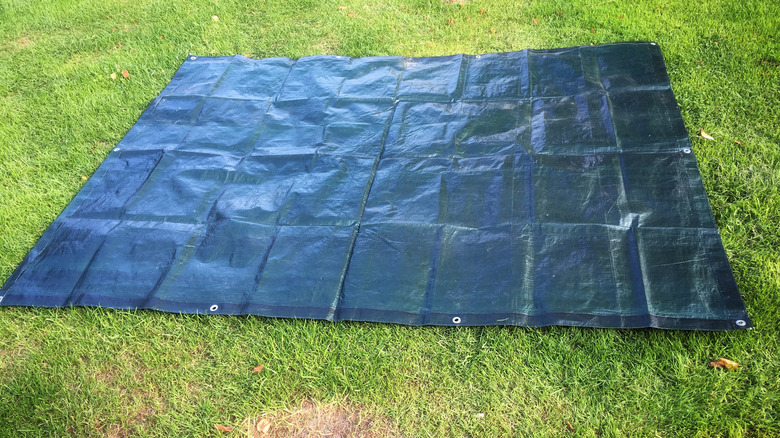
The sun and plastic sheeting are the two main components of the solarization process. When considering the options on the market, plastic is classified by color, material, and thickness. In terms of color, a clear tarp is more widely used than black, brown, or green selections. Plastic varies in thickness as well, with 1, 1.5, and 2 mils sheets available. As for material, polyethylene, polyvinyl chloride, and ethylene-vinyl acetate are all viable options. Oftentimes, your selection depends on the purpose of solarization and the amount of solar energy you get.
The thinner and clearer the tarp, the better heating the topsoil gets. Transparent polyethylene sheets 1 mil thin are the recommended choice for many situations. They allow more sun radiation to pass through, thus raising the soil temperature and completing the solarization process in a short time. However, they're flimsy and prone to tearing easily by birds or the wind. The sturdier, 1.5 and 2 mils options are good alternatives in that case. Black plastic, or any other color, is only used in areas that don't get much sun to begin with. With little disinfectant effect on pathogens, the black tarp's sole purpose is to kill weeds.
Preparing the soil, watering, and applying plastic
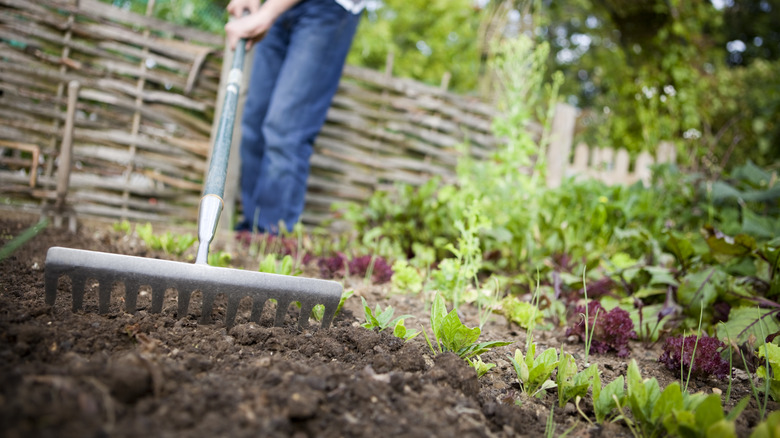
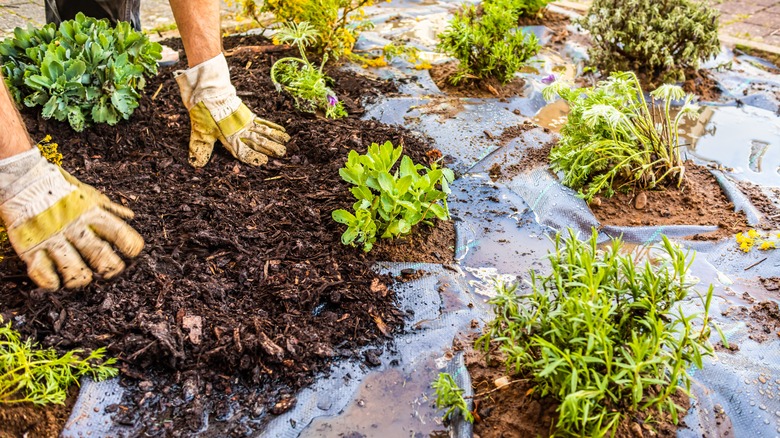
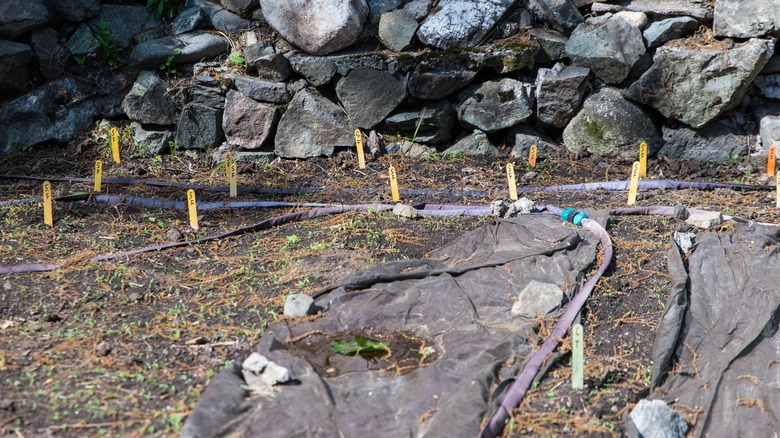
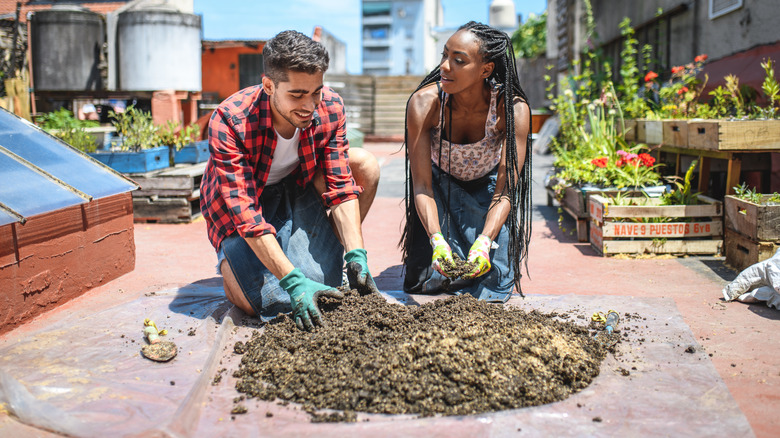
Before you can lay down the plastic, the soil needs some preliminary work to maximize the pasteurizing power of the sun's radiation. For better solarization and even distribution of the heat, the topsoil should be smooth, debris-free, and level. Breaking the soil surface and removing clods also helps with heat penetration and eliminates air pockets between the plastic and the ground. Manure and organic matter added to the topsoil during preparation can increase the generated heat when these materials break down. And before the tarp comes down, water the garden or lawn thoroughly. Moisture conducts heat more efficiently deeper into the ground.
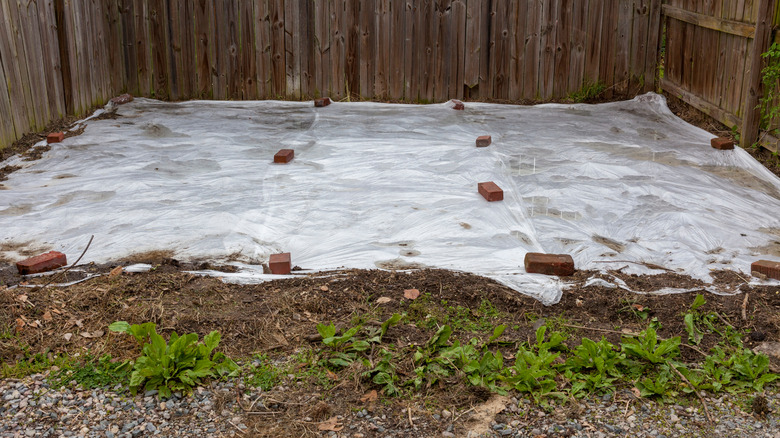
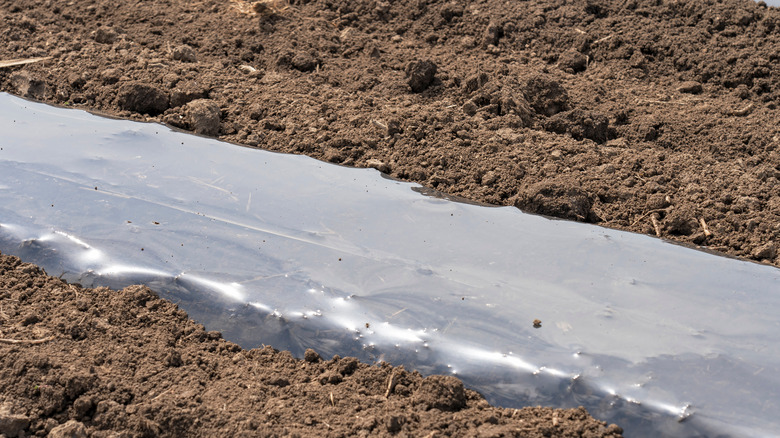
To apply the plastic, you have two choices: either cover the whole area that needs to be treated with sheets or opt for strip coverage. The first option works best for both flatbeds and lawns. Strip coverage is ideal for raised beds. Making sure the sheets are close to the surface of the ground, bury the edges of the tarp in shallow ditches around the perimeter of the treated area. Finally, tamp the soil in the ditches with your feet to secure the plastic in place. When solarizing several raised beds, it's recommended to apply a tarp to each bed individually. Covering two or more beds with a single tarp reduces the soil temperature and prolongs the process.
Positive effects on the soil texture and chemical structure
When done right, solarization can have noticeable effects on the soil. The rise of the topsoil temperature for an extended duration boosts the breakdown of organic materials, making them more accessible for the plants. This, in turn, can change the chemical structure of the soil, lowering its pH levels. Not only is an increase in nutrients like nitrogen and calcium possible, but the soil texture itself improves considerably as a result. Both seed germination rates and seedling growth are directly augmented by the enhanced soil tilth. Another desirable side effect of the heated topsoil is the growing season getting longer with more opportunities to cultivate healthier plants.
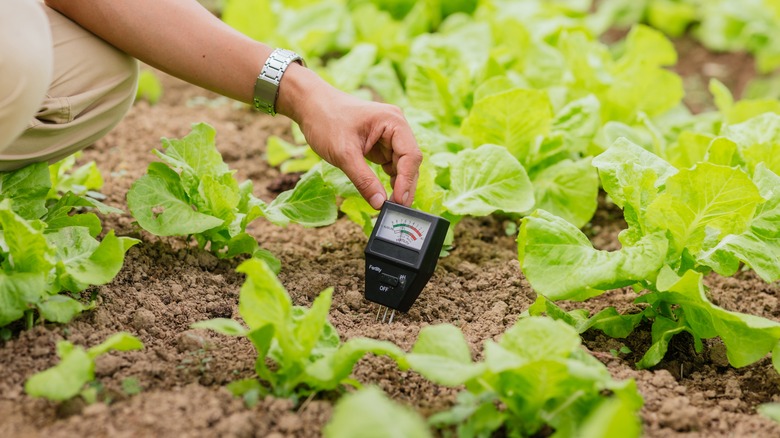
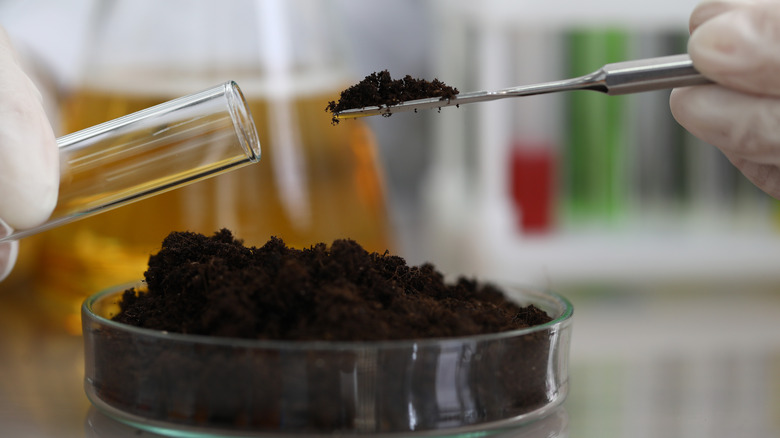
But not all these changes are for the better — especially when they're related to chemicals, acidity, and alkalinity. Some plants like ferns and asparagus are quite sensitive to any changes that increase acidity levels. Moreover, the wrong chemical structure of the topsoil limits the availability of certain nutrients to the plants. To avoid these problems, it's recommended to test the pH levels after solarizing it to make sure it's adequate for the plants you plan to grow.
It controls pathogens, fungi, and nematodes

In a way, the main purpose of solarization is to sterilize the soil and eliminate the pests that live there. When it comes to pathogens and fungi, heat is a safe and efficient exterminator. Some of the fungi that can be controlled by solarization include the species that cause Fusarium wilt, seed rot, root rot, and Verticillium rot, among others. Pathogens that reside in the soil and are behind diseases such as canker, crown gall, and scab have little resistance against heat as well. Solar treatment is also quite lethal for many nematode species, including ring nematodes, dagger nematodes, and lesion nematodes.
Many of these pests have low sensitivity to high temperatures and will die within the first few days of solarization. Others, however, will need 4 to 6 weeks of consistent soil temperatures between 86 and 91 degrees F to exterminate them. Any drop in the temperature below that range during the treatment could mean that some pathogens and nematodes would survive. Meanwhile, some pests have high resistance to heat, rendering solarization ineffective. These include southern root-knot nematodes, Macrophomina phaseolina fungus that causes charcoal rot, and Ralstonia solanacearum, which causes bacterial wilt. Chemical pesticides could help in these situations.
Solarization kills weeds safely
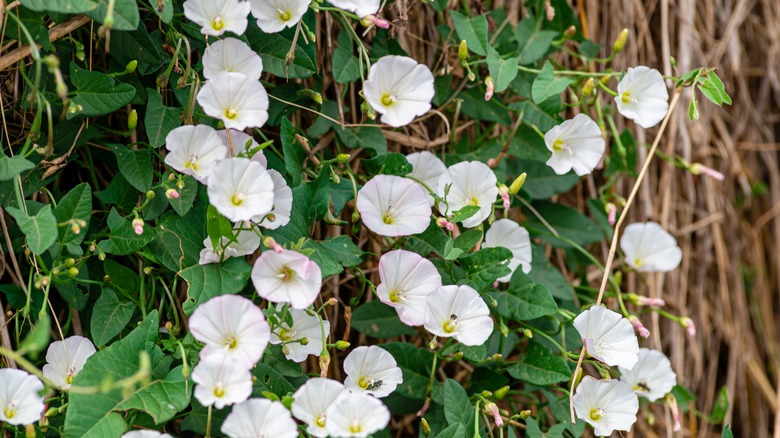
Weeds in the lawn or garden are more than just an eyesore or an inconvenience. They cause a lot of damage to the crops and harbor pests as well. Many of these weeds, such as bindweed, are hard to kill and keep coming back year after year. If you want to keep bindweed out of your garden, along with other undesirable plants in their early growth stages, solarization is an excellent option. It works well against a long list of broadleaf weeds, grasses, and sedges. Soil pasteurization is also quite effective against fall and winter annuals due to their high sensitivity to the increased soil temperature. Summer annuals will eventually succumb to the heat, but they need more solarizing time to get good results.
Perennials, on the other hand, are a mixed bag. Some perennials would respond favorably to solar treatment as long as their roots and rhizomes are near the surface. But those with deep undergrowths would often go unscathed. These include purple and yellow nutsedge, and established bindweed growing out of rhizomes. To enhance the efficacy of solarization, avoid turning up the soil after the process to prevent stirring up invasive seeds lying deep in the ground.
It promotes beneficial microorganisms in the soil
Not all bacteria and fungi living in the soil have malevolent intentions toward the plants. Some do a lot of good fixing nitrogen in the topsoil, improving moisture retention, and breaking down organic matter. When you solarize the garden or lawn, both good and bad microbes are exposed to the heat. Luckily, beneficial microorganisms such as mycorrhizal fungi aren't sensitive to high soil temperatures. Many of the bacteria will not be affected as well, and some species might even thrive.
However, Bacillus and fluorescent pseudomonad bacteria could see a slight reduction in their population. But after the end of the soil pasteurization and, in the absence of pathogens, the bacteria population will rebound and spread across the treated soil. Meanwhile, earthworms dig deeper into the ground as the surface heats up under the tarp. Once the topsoil cools down, they resurface and resume their good work. Overall, introducing beneficial microbes to the soil through inoculation isn't necessary after solarization. But if you want to attract worms to your garden, mulching and organic matter will do the trick.
Solarization after treatment and plastic disposal
After 4 to 6 weeks under the hot sun, the soil is pasteurized and ready to receive seeds. However, now you have sheets of plastic covering the ground to deal with. There are two courses of action to take: Remove the sheets, or leave them on the ground. Leaving the plastic in place has the advantage of protecting the treated soil against contamination. If the sheets are transparent, you could paint them white to cool down the soil, black to suppress weeds, or silver to repel pests. Punching holes in the tarp allows you to plant seeds or transplant seedlings. The other option is to remove the plastic right after solarizing the soil and before it starts breaking down.
Polyethylene and other plastic types are not biodegradable. Still, the material will break down when exposed to the sun and wind. If you leave the tarp on the soil for too long, there's a risk of it disintegrating in the soil. The other option of removing the plastic immediately has its risks. When pulling the buried edges of the tarp, you could inadvertently turn up the soil and contaminate it with the pathogens and seeds of invasive plants. Proper care should be taken when disposing of the tarp so as not to disturb the soil.
These factors limit the success of solarization
Although it looks simple, soil solarization is a nuanced procedure with subtle elements potentially limiting the chances of its success. One of those factors is the direction of the bed in the garden. Plastic sheets laid on a bed oriented north to south build up better-distributed heat in the soil. Beds going east to west tend to have more heat on the south side than on the north. Clay, on the other hand, takes a longer time to heat up than sandy soil, while dark topsoil achieves higher temperatures than lighter types. In the same vein, flat beds produce better solarization results than ones with slopes.
The amount of sun radiation the tarp receives during solarizing can also affect the outcome. Performing the procedure in the spring or fall, as opposed to the summer months, can have poor results. The best time for soil pasteurization is during the longest days of the year with peak air temperatures, and the chances of clouds or rainfall are minimal. Maintaining constant moisture levels in the soil is another factor that contributes to the success of solarization.
There are drawbacks to consider
For all its efficiency in eliminating weeds and pathogens, and its eco-friendly upsides compared to herbicides and pesticides, soil solarization isn't for everyone. It can only be applied during the hot months, which are usually the months of blooms and harvest in many gardens. Solarizing the beds in the garden means that these areas won't be available for growing plants for the next 4 to 6 weeks. Not to mention that the perks of soil pasteurization don't work all year round, since they only benefit fall plants.
When used on a patch in the lawn, solarization will kill the turfgrass along with the invasive plants. Moreover, it's mostly effective near the surface. Pathogens and undesirable seeds buried deep would usually survive and might be brought up to the surface if the soil was disturbed. Another disadvantage has to do with the limited efficacy of solarization against certain pathogens, fungi, and weed species.
Solarizing soil in containers
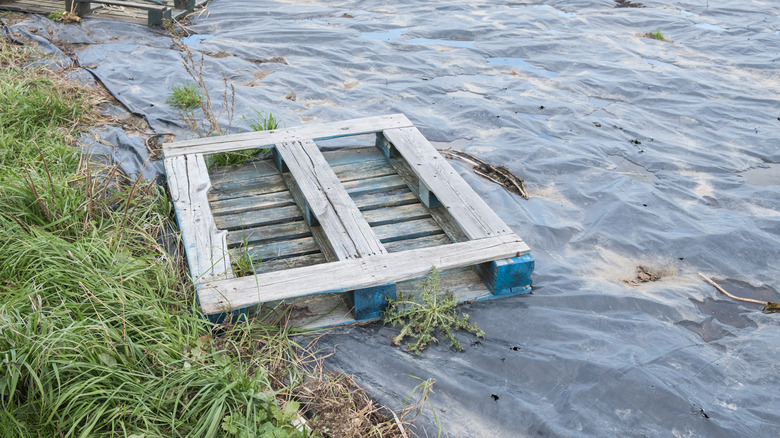
The benefits of solarization extend to soil in containers as well. You could consider microwaving your potting soil, but solarization is more effective with large quantities of soil. Plastic bags, plastic buckets, and tarps are all viable ways of solarizing the potted soil. After removing all the debris, plant leftovers, and clods from the soil, moisten it, then pack it into the bags or buckets. Place the containers on wooden pallets in a sunny area and cover them with double plastic sheets. Another option is to spread the soil, 12 inches thick, over a tarp, get it moist, and cover it with another plastic sheet.
Temperatures aren't always uniform inside the buckets or bags. Usually, the sides facing the sun will get hot, but the sides away from the sunlight remain cool. This is why you need to monitor the temperature inside different bags with a thermometer. Maintaining the soil temperature at 140 degrees F for an hour will get the job done. It might take between 4 to 6 weeks in hot areas or 8 to 10 weeks in cooler regions to get all the containers solarized.
Soil solarization alternatives
If the sun doesn't bless your garden or lawn with its presence, solarization isn't possible. However, steaming the soil is just as effective as solarizing it and takes a short time. To steam the lawn or garden, install and secure a heavy tarp over the infected area. A steam boiler then injects steam under the tarp for 8 hours to kill weeds and pathogens. Steaming is fast, but it can be costly considering the price of fuel. Besides, mobile steam applicators are not yet available to use.
A more economical alternative is anaerobic soil disinfestation (ASD). To apply ASD, you'll need biodegradable organic materials that act as a carbon source. These include rice bran, vegetable leftovers, and molasses. Mix the materials into the soil at a depth of 24 inches. After thoroughly irrigating the soil, a thick tarp is then laid over the area for the next 3 to 10 weeks. The decomposition of the organic materials combined with the lack of oxygen kills pathogens and weeds in the treated area. However, ASD isn't recommended for soil with Fusarium wilt infections. The virus that causes the disease will flourish in the presence of carbon.