How To DIY The TikTok-Viral Ziplock Baggie Organizer On A Budget
We may receive a commission on purchases made from links.
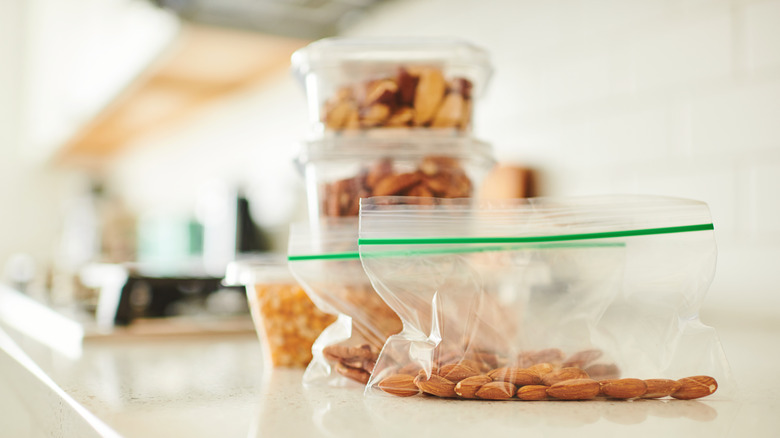
For anyone hoping to achieve an aesthetically-pleasing kitchen by updating their pantry space, Ziplock bags can be bothersome. Not only are the boxes they come in bulky and unpleasant, but taking them out of the boxes creates a mess that is hard to organize as well.
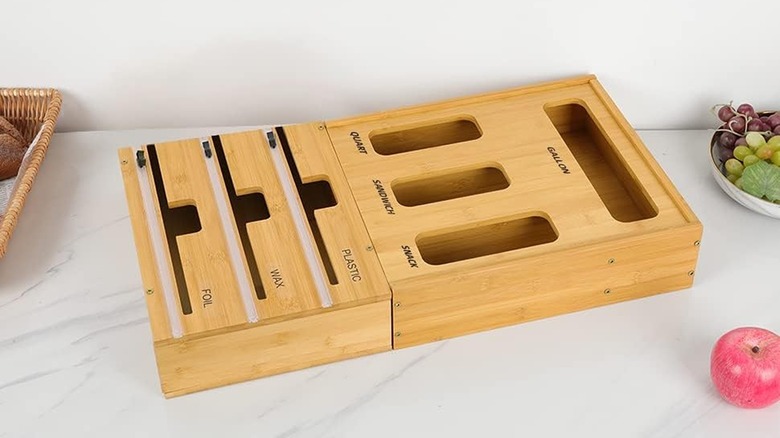
So, when this TikTok by @LifewithLainee, which shows a store-bought baggie organizer, went viral, it's because fans loved the idea of having a dedicated space to put all of their bags, plus other bulky, yet necessary items like cling wrap and tin foil. While many were quick to press "order," others had their reservations. The organizer, which you can find on Amazon, is quite big, so you not only need an empty drawer, but one that is big enough to fit it. Plus, at $40, the price is a bit steep for a baggie holder, leaving many to forgo the organizer.
Luckily, you can DIY this viral baggie organizer to make it fit your budget, style, and kitchen size. TikToker @_NatalieChristine shared a DIY where she used a box (yes, one from that endless pile in your garage!), contact paper, and labels to make an adorable organizer for way less than the premade version.
What you need to create your own DIY baggie organizer
Before you recycle your stockpile of Amazon boxes, bring one inside to start creating a look-alike DIY baggie organizer. If you don't have any boxes laying around, purchase cardboard for less than $5 at Michaels or your local craft store. You can even find free moving boxes at Home Depot. Then, grab hot glue, labels, and if you want, contact paper to add some flair. You can find contact paper in a variety of styles and colors — we love this one from Walmart for $6 or this trendy polka dot option from Amazon for $7.
When you're ready, simply measure the drawer you plan to use the organizer in and cut the cardboard to size. In the TikTok video, she cuts out four spaces for her baggies, but if you want a space for tin foil or other kitchen products like the Amazon version, just be sure to measure for those as well.
How to create the organizer
Not only does this DIY require only a few materials, it also has very few steps involved as well. Once you have your measurements done, cut the squares out. Use the leftover cardboard pieces to make dividers between the squares, and hot glue them to the original cutout. Cover your creation in contact paper, and then create your labels, which you can either print out using a label maker or draw by hand. This part is optional, but makes it much easier to know which size baggies are in which compartment. Then, simply place your bags into the appropriate section and you're instantly organized. If you find your organizer moving too much, the TikTok recommends using Velcro dots from Dollar Tree to keep it in place.
If you are still on the fence about creating this yourself, there are other options for buying premade options that cost less than the original viral Amazon option. This organizer, also on Amazon but for $25, offers a ton of space for every size baggie you may have. And this option, found on Amazon for $14, is a completely different take on bag organization, and actually hangs on your wall, freeing up any much-needed drawer space.