The Common Painting Mistake That Fixer Uppers' Chip Gaines Sees All Too Often

Painting might seem like an easy renovation job to tackle. After all, all you need is a roller, an aluminum pan, and your selected brand of paint to pull it off. However, it's not as easy as dipping a brush into your chosen color and spreading it on the wall. And it's this misconception that leads Chip Gaines to spot a common painting mistake much too often. He can always tell when there wasn't proper prep work involved because the end result isn't as seamless as it could be. Since he is an expert renovator on "Fixer Upper," Gaines' experienced eye can catch mistakes that maybe an amateur wouldn't notice. But if you want your room to look as professional and as flawless as possible, then you should take the extra time to put in the prep work.
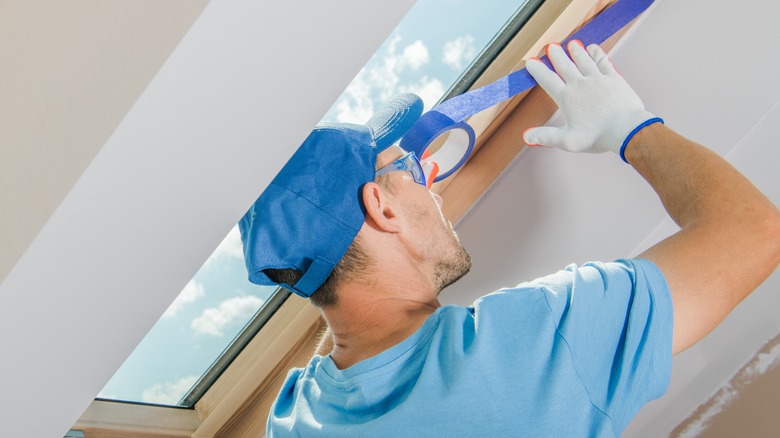
"For me, preparation is everything. People hate that. They hate spending time taping off walls and trim and windows. So a lot of people skip steps," he told House Beautiful. "When you skip steps, just like with any industry, bad things typically tend to happen." This includes crooked cutting lines, unsmooth wall texture, and more. Here is a deeper look into why Gaines thinks that prep work is one of the most important steps while painting and why skipping it is a big mistake.
Why skipping prep work is one of the biggest mistakes you can make while painting
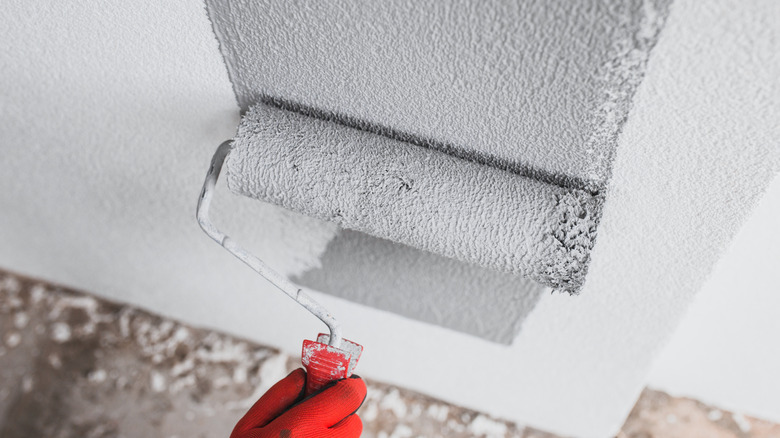
Most people like to finish up their to-do lists as quickly as possible, which is why we tend to cut corners where we can. When it comes to painting, it might not seem totally necessary to tape down trim, sand down bumps in the wall, or add primer before you paint. Skipping these time-consuming tasks seems like it will help you wrap up the chore faster, but Gaines often finds it does the opposite. "[People] skip the step of using a primer thinking it's going to save them time in the end. And in fact, it's generally the exact opposite," he told House Beautiful. "The prep work on the walls themselves, treating the walls, sanding, getting the walls prepped so that the surface is appropriate, and always a good foundation with your primer. The final coat works a whole lot more soundly when you've spent that little bit of extra time in the front end, and it ends up saving you a lot of time in the back end."
Specifically, Gaines recommends doing two things: devoting time to prepping the walls themselves and then priming them. While he didn't get into specifics, prepping the walls includes things like patching any nail holes or cracks, sanding down any loose or chipping paint, and washing the walls so they are clear of any invisible dust and grime. Next, you want to tape down any trim, whether that's baseboards, window trim, or door trim. Once that's done, you can move on to priming the walls. Doing all of these things before pouring the paint will help you get a professional finish.
Why these steps are important
Still not convinced you need to do all that extra prep work to get walls with a seamless finish? Let's take a closer look at what these steps do. If you don't properly patch holes and cracks in your walls — or remove flaking paint — then they will be there after you repaint your walls. That means there will be obvious, in-your-face imperfections. Painting over chips will create an uneven texture, and any leftover holes and cracks will make it seem like the room is in disarray rather than refreshed. If you don't wash the walls before painting, then the same thing can happen. The dust and grime will add a texture to the finished result, and it can even cause your new layer to not adhere to the wall as well. This is especially true in places like the kitchen, which can have grease buildup on the walls; the bathroom, which can have product residue like hairspray coating its surfaces; and on doors, which are a high-touch surface at risk for oil residue. Because of this, it's in your best interest to invest in prep work.
Next up is primer. Primer not only helps to cover the previous paint job on the wall, but it also helps smooth out imperfections. For example, it can help hide any difficult stains, such as brown water stains. These would peak through with just paint. It can also help fill in small cracks, dips, or pits, giving you a smoother surface. Secondly, it will also help you get the true color and finish of your new paint since it gives you a clean, blank foundation.