Make Your Radiator Cover Look Effortlessly Chic With This Simple DIY Upgrade
We may receive a commission on purchases made from links.
We like our radiators because we'd be freezing without them, but they aren't the prettiest thing to look at. The grates are fairly large, unattractive, and highlight rust or dirt. Even radiator covers can be bulky and drab. However, you can't drape the radiator with wallpaper or hide it behind the couch — that can create a safety hazard and impede heat circulation. Luckily, you aren't stuck with closing your eyes every time you walk by the device. All you need is paint to turn the eyesore into fabulous decor for your home. This simple DIY can be done in a day and will instantly transform the room.
The key to this radiator upgrade is heat-resistant paint. Any ole wall paint will crack and flake off once the radiator is active. The heat-resistant coating stands up to high temps, keeps your appliance looking new, and prevents corrosion. Home Depot sells spray paint cans for under $7. On Amazon, you can find a larger selection of colors, with one spray can costing $13. So get a shade to match the room and get ready to paint.
A coat of paint makes all the difference
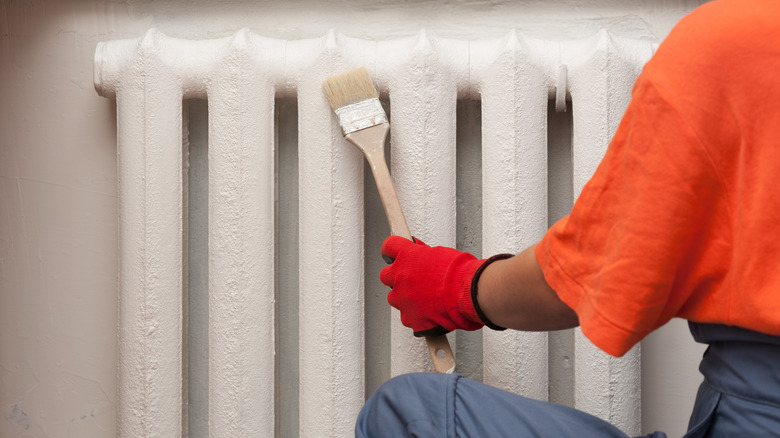
First up on this DIY upgrade is cleaning the radiator. Ensure the heat is off and the radiator is cool before brushing away any debris on the outside and in the grooves. Then, wipe it down with a damp cloth. Cleaning the radiator first will prevent you from locking in dirt when applying the paint and allow for a smooth finish. After the heater is spotless, lay down a covering to protect the walls and floor from the paint. You can place a tarp, old sheet, or piece of cardboard underneath the radiator and do the same behind it by taping the protective layer to the wall. You may also want to open a door or window for ventilation. Once the prep part is done, you're ready to paint.
You don't need any primer or sealant for this paint job. Simply shake your spray paint and evenly coat the radiator. You can also hand paint the heater with a brush if you prefer. Let the first coat dry completely before applying a second layer. Make sure to cover all visible sides and get in the grooves, too. It is best to wait a day or two before using the heater again, so maybe don't do this DIY on a snowy weekend. Once you get the heat going, a paint odor will waft in the room, but this will fade in due time.