5 Easy Tips For Painting Corners And Edges In A Home
Painting the house is one of the easiest ways to invest in and renovate your home. However, the preparation and knowledge it takes to get started can be daunting, especially when it comes to the delicate areas of our walls that require precision. For example, painting the corners and edges where one wall meets another — often referred to as "cutting" — challenges every amateur painter on their focus, skill, and attention to detail. Whether you're painting the exterior of your home or simply trying to avoid the painting mistakes most homeowners make, we've lined up the easiest ways to effectively cut your edges and corners.
Paint damage is the most common in delicate areas, specifically the corners of the home. There are a number of preliminary problems that homeowners make which can lead to damaged corners, exposed floors and furniture, paint dripping, and neglecting the surface texture are just a few. And while most people are capable of painting their home themselves, a paint job gone horribly wrong can send us running for the hills and never returning to home improvement. If that sounds like you, we'll do our best to prepare you for the next renovation.
Wipe corners and edges

For starters, corners and edges require you to carefully wipe the surface before priming or painting. Using a damp cloth, wipe off any dust or dirt that may be harboring on the wall or baseboard. Since we apply painter's tape to mark off delicate areas, we want to ensure there's no debris in our way, especially since corners and edges can discreetly pick up dust. After you've wiped the surface clean, wait for any dampness to dry before going in with painter's tape.
Prepare the surface of the edges and corners for painting
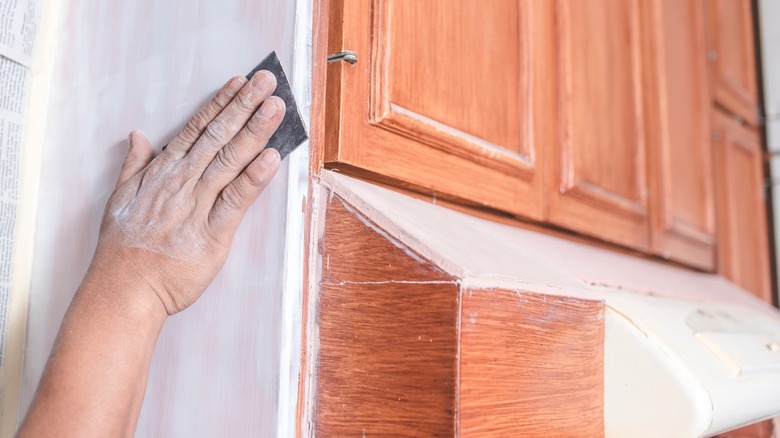
If there's residue from the last paint job, use a wall sander or scraper to remove the excess paint to ensure a blank canvas for the new color. If there are any remaining grooves or uneven textures, use the sander to smooth and level the surface. Apply a primer of your choosing, and allow the material to dry. Preparation is especially important for corners and edges, as these areas are extremely delicate. Once the corners are protected, sanded, and primed, you may begin by dipping your brush into the paint.
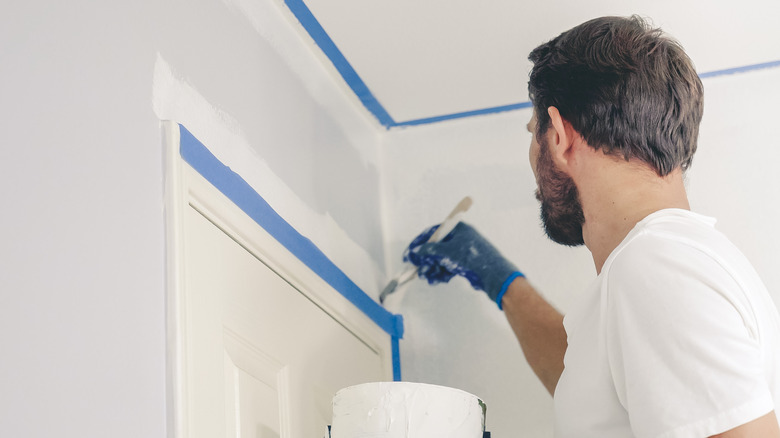
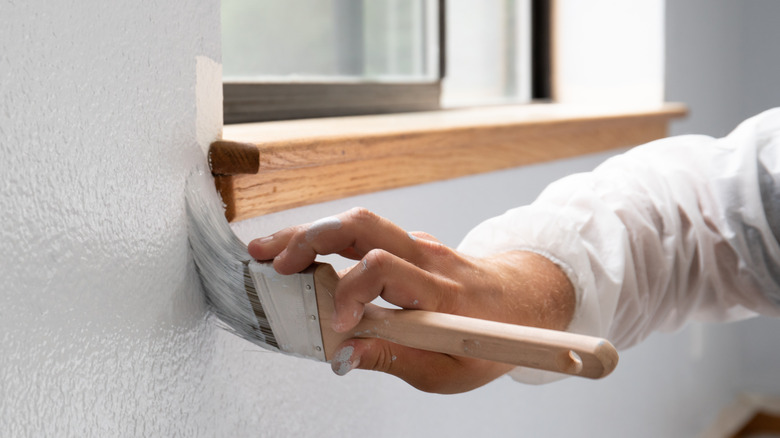
Consider angled brushes and paint edgers
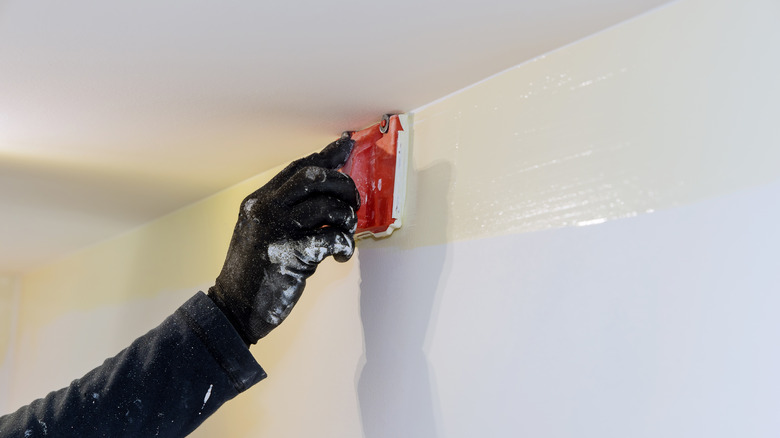
Angled brushes and paint edgers are both effective when it comes to painting edges and corners, but their purpose differs. Angled flat brushes are flexible brushes that can paint hard-to-reach corners with precision. Paint edgers are great for places that can't always be reached by an angled brush, such as edges and corners on the ceiling. They're also helpful for creating straight lines, since they're guided by wheels that keep them straight. However, some amateur painters have found that they're less accessible and easier to use compared to angled brushes.
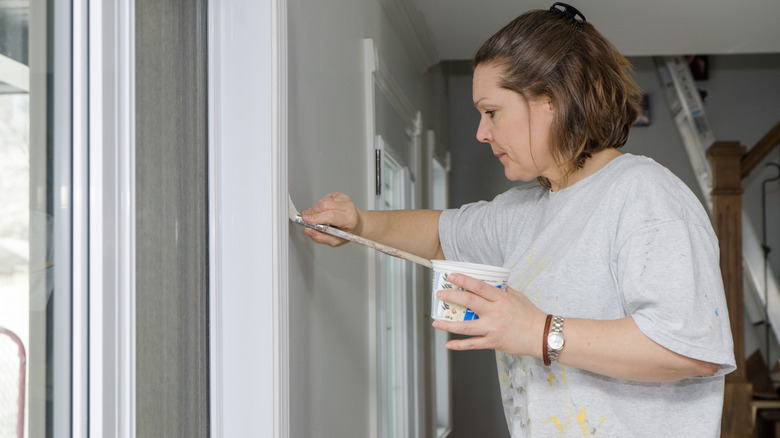
Use the right technique for corners and edges
Apply only a dollop of paint on your brush to make sure there's no drip. Press the brush onto the angled section of the wall and then begin stroking outwards. Create three to five overlapping strokes to make sure the paint is effectively saturating the wall without dripping. Once you've covered the edges and corners, these short strokes can become longer, eventually covering these areas before you move onto the rest of the wall. After the walls have dried, you're ready to apply the paint finish of your choosing.
Don't overuse paint in one stroke
In terms of what to look out for, overdoing it is number one, which is why it's important not to oversaturate the brush. Putting an excessive amount of paint in such a limited space will create an uneven paint job, likely leaving your corners and edges with thick globs of paint and drip stains. Instead, re-dip the brush as you go, only adding a small dollop each time. You know how the phrase goes — you can always add more, but you can't take away. Leave time for each coat to dry before continuing.