TikTok Shows Us How To DIY A Wooden Shoe Shelf For The Perfect Closet Storage
We may receive a commission on purchases made from links.
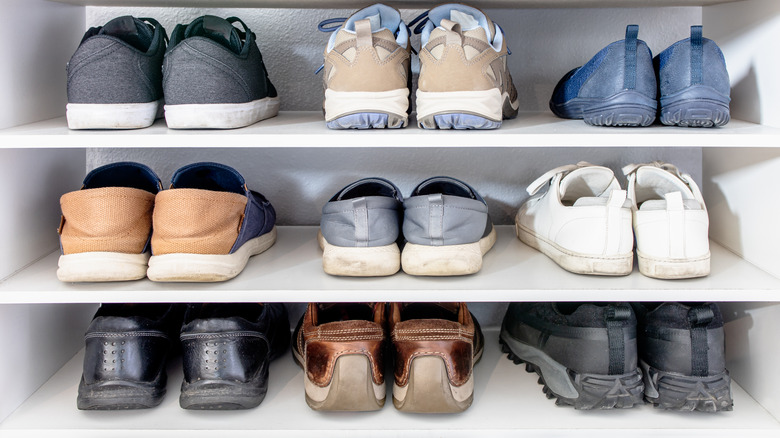
Shoes, shoes, shoes. While they're a fantastic fashion accessory, having too many pairs can result in a messy and chaotic closet, not to mention it can become all too easy to get them mixed up. However, by implementing a DIY wooden shoe shelf into your closet, you could end up with a system that actually keeps your shoes organized, as shown by several users on TikTok who have replicated the idea for themselves. This will also help to free up space on the surrounding floor and other areas where you stuff your shoes, such as above dressers or where you shovel them into the bottom of your wardrobe. Likewise, if you have an entryway overflowing with footwear, this should also help you clear up some room.
Due to its size, this wooden shoe shelf is ideal for larger families who need a lot of footwear storage, or someone with a larger shoe collection. You can also adapt it to your needs, for example, if you want to fit it into a smaller nook in your closet or another area of your home. It's also cheaper if you do it yourself, which is an added bonus. All you'll need is some 1-by-8 sections of pine wood, which you can grab from Home Depot for $30.74 at the time of writing, a pocket-hole jig, such as the Kreg Jig 720 or Kreg Shelf Pin Jig (available for $39.98 from Lowe's), a screwdriver, a tape measure, and a saw to cut your pieces to size.
Building TikTok's DIY shoe shelf
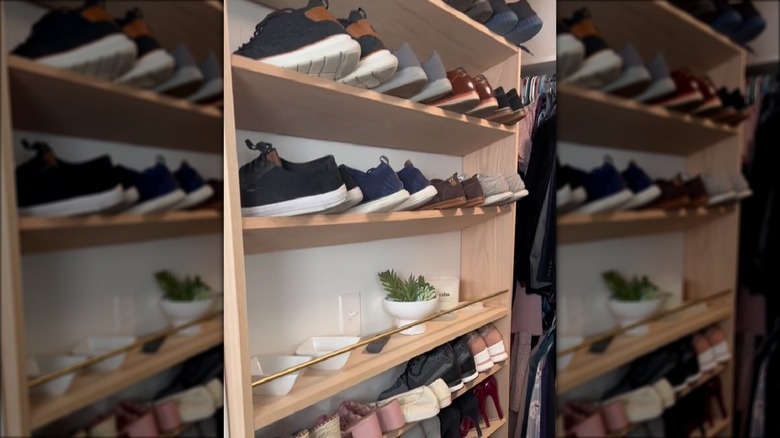
To start, you'll need to measure the closet area where you want to insert your DIY wooden shoe shelf and note down the dimensions, which you will use to cut your pine to size to create a frame. You should have two side pieces and a bottom and top piece for the frame. Once you cut your frame pieces, slice your shelf pieces. How many you end up with will depend on how many shelves you want. This is also a great time to saw off two additional smaller pieces, the height of which should be how high you want the space in between each shelf to be, which will help when it comes to positioning. As a rule of thumb, 8 inches between the shelves should fit your standard shoes.
Once you have all your slices, add holes for your shelves using your Kreg Jig tool and screw your frame together before securing it to your wall. Next, you can add your shelves and secure them in place with screws and your drill, ensuring that they're at the right angle to hold your shoes. If you're unsure, experiment with this before securing them. Now, you should be left with a DIY wooden shoe shelf that is fully functional. All that's left to do is slot your shoes in place, and add any special touches to make the shelf truly your own.
Add some style to your shoe shelf
Okay, so you have your DIY shoe shelf. But what if you're not a fan of the bare wood look? If it clashes, you can always paint it in various colors or implement some wallpaper behind your shelves. For something a bit quirky, opt for a nature-inspired wallpaper, such as this Blooming Wallpaper, on Amazon for $19.90. If you want a brighter pop or want to implement this in, say, a teenager's room, a wallpaper such as this pink tropical option on Amazon for $19.99 could be perfect. However, plenty of variations are available online, so it's down to you to choose a style that best complements your closet.
You can also play with lighting, installing puck or strip lights for an added flair that will illuminate your wardrobe. Of course, you don't just have to put this system in your bedroom space; it's also suitable for an entryway or laundry room, providing you have the room, of course. If you have taller shoes, such as boots, that you want to stow away, just make sure you consider this when installing your shelves. This hack works so well because it takes advantage of the physical height of your closet, maximizing vertical storage rather than leaving it empty.