TikTok Says To Skip The IKEA PAX Wardrobe And DIY This Closet Storage Instead
We may receive a commission on purchases made from links.
While custom wardrobes are an attractive purchase, they're not always the most budget-friendly option. The famous IKEA PAX wardrobe system that's all over the internet costs over $1,000 dollars. But what other options do you have? Well, thanks to a TikTok DIY video from @design2mine, you may be able to get exactly what you're looking for at a fraction of the cost. The influencer shared a video demonstrating how they built their own customized version of the viral wardrobe system for their bedroom using some wood, drills, and shelving, all for roughly $400. And the end result looks just as impressive as the real thing.
In addition to being budget-friendly, the DIY closet storage system is relatively easy to assemble. All you need are four pieces of 2-by-4s (available at Lowe's for $8.42) , a 1-by-4, a quarter of an inch plywood, two wooden pieces for the sides, paint, wood primer, a saw, drill, and pocket screws, and a tape measure. You'll also want to grab some wooden rail pieces and rail flanges for shelving.
How to construct your DIY closet storage
Before doing anything, you'll want to map out and note down the measurements you'll need for your wood. Be sure to consider dimensions like depth, width, length, and height. Once you have these, slice all your wood to size using a saw.
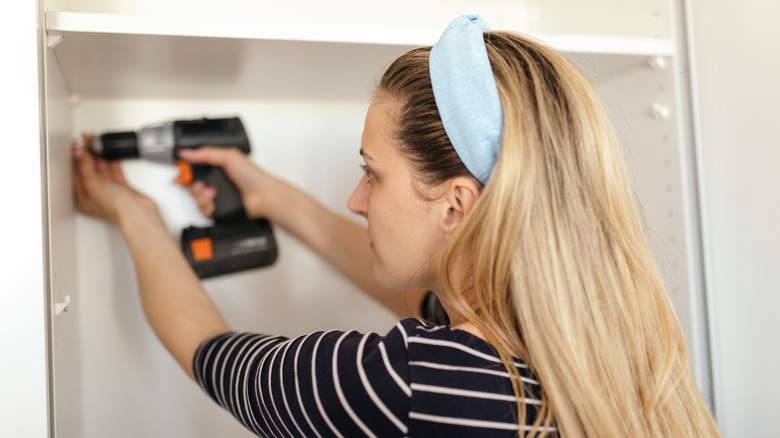
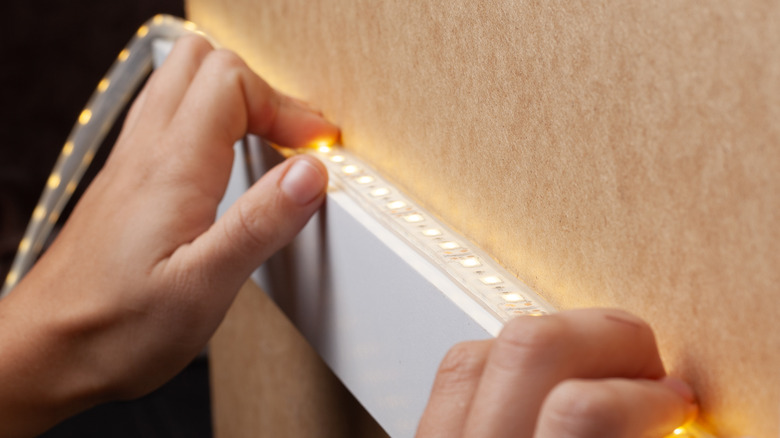
As explained by design2mine, begin by taking four of your 2-by-4s to build your rectangular floor base up against the wall where you want the wardrobe to be. Next, stand up your two wardrobe side planks. Remember, your regular wall should still be exposed. At this point, you can add in a closet rod or railing system at whatever height you prefer. Finally, using a 1x4 piece of wood, create a support beam that connects the two planks at the top of the wardrobe with screws. You can also screw in the bottom side planks to the base.
Finally, build your own shelving using 3/4 inch plywood and shelving cleats. When you're done, all that's left to do is apply a coat of paint to the wood and let it dry. After this, you can prime it, and again let it dry before adding hanging your clothes and transferring everything into your new system.
Ways to customize your system
The great thing about building your own wardrobe is that there are so many ways to customize it to your liking. For instance, if you don't want your new wardrobe to be open for view, you can easily add a curtain or door to the outside. Although it may require more effort and money, this extra step is ideal if you want to prevent guests or children from snooping.
In addition to doors, you can experiment with adding more drawers and compartments to fit your specific needs. You could even add some hooks for hanging smaller accessories such as necklaces or bracelets. Grab some brass-plated hooks from Home Depot for $6.48 and install them wherever you see best fit so you can organize your closet.
Aesthetically speaking, you could try different color paints or even apply some wallpaper to the back of the wardrobe, which can help create a very unique look that you may not have seen in other wardrobes before. The reason why this DIY works well is that you should be able to fit it into any space, making it a great option if you have custom dimensions in mind that a PAX wouldn't be suitable for. It also allows you to have more freedom with your design.