The Clever Way You Should Be Reusing An Old Jar Lid In Your Garden
We may receive a commission on purchases made from links.
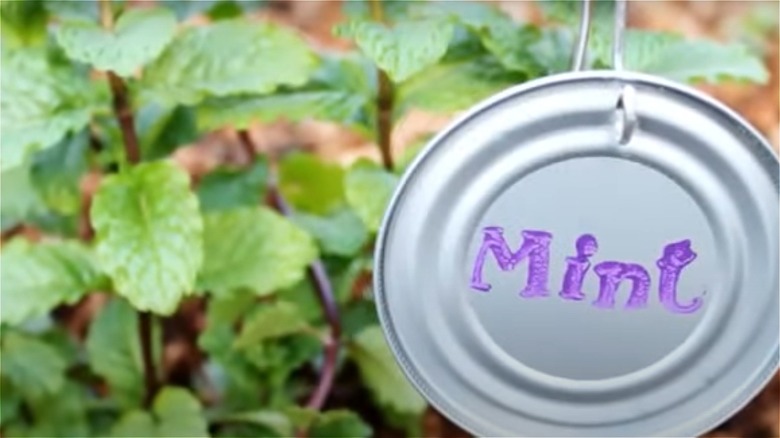
If you're a canner, you probably have a decent collection of Mason jar lids. After all, they can't be reused to preserve food. However, besides their rubber seal, they're still quite durable and probably in great shape, as they're made of high-quality, food-grade stainless steel. Instead of recycling them (or worse, throwing them away), breathe new life into old Mason jar lids — or buy some new — to make reusable and undeniably-cute plant labels for indoors or out. All you need are said lids (thoroughly-cleaned and dried), skills with a label template or access to premade labels, glue and acrylic sealer, a hole punch, wire or string, and sticks.
Why bother making plant labels at all? Perhaps you're proud of your ability to name all the plants in your garden by sight. And even if the name of a particular shrub escapes your memory, that plant identifier app you have on your phone can remember for you. However, not so fast! The seedlings of some species, like eggplants and tomatoes, look similar. Garden labels help you avoid mix-ups. If you've put a row of seeds into the ground or a seedling tray, a label helps you keep track of what's under the soil. They're also useful in planning a garden: insert a label in the spots you know you want to plant tomatoes or thyme in the future. What's more, visitors to your garden — children or adults less plant-savvy than you — can use them to identify any plants that are unfamiliar.
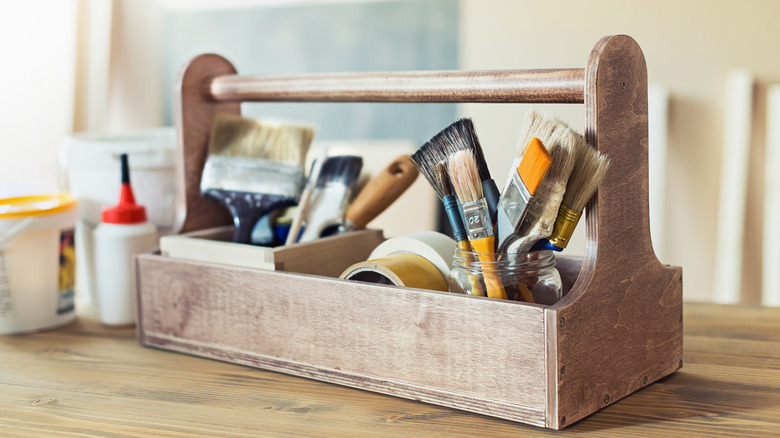
Gather all your supplies
If you don't have any lids already, you can buy them on Amazon, where a 24-pack of FORJARS wide-mouth canning lids costs about $10. Or, you can get a box of 12 wide-mouth Ball jar lids for around $5 at Walmart and regular-mouth lids for under $7 at Ace Hardware. With that sorted, it's time to move onto the labels. If you're not Canva-crafty, download a template. We particularly like the vegetable and herb sets from Hearth & Vine (for vegetables and herbs). Print these on standard printer paper or, better yet, waterproof sticker paper — OnlineLabels sells 10 sheets for about $15. Of course, you could always save yourself a step and write directly onto the metal lid with a permanent or paint marker. You could also stamp on the plant names with an adjustable rubber stamp and paint.
If you're gluing on paper labels, grab a jar of Mod Podge Outdoors, $9, from Amazon as well. It's an adhesive and sealer all-in-one. If you plan to hang your labels, you'll also need a roll of weatherproof twine. Or, to connect the plant labels to the stakes, get a roll of thin, flexible wire — copper or colored wire looks best — or a hot glue gun. (The latter is an arguably less attractive option, but who'll see the back anyway?). Finally, any bunch of slender sticks will do: popsicle sticks, bamboo chopsticks, floral picks ... even relatively-straight twigs from the garden can work.
Get making your new labels
Your tool kit for this DIY should contain sharp scissors, a leather or paper hole punch or awl, a small sponge brush or paintbrush to spread the Modge Podge evenly across the lid (no one likes wrinkly paper labels), and two needle-nose pliers if you're attaching the labels to the sticks with wire. Cut out your labels using the scissors and either stick them onto the top side of the Mason jar lids directly (in the case of labels printed on sticker paper) or adhere them using your brush and the Mod Podge Outdoors. If using this product, leave until touch-dry — about 15 to 30 minutes. Then, you'll need to let them cure completely for about a week.
Once your labels have been created, you'll need to attach them to the sticks. Punch one or two that are a half-inch apart holes in the top middle of the lid using your hole punch or awl. If you're using wire, wrap it around one end of a stick three to five times. Cut the wire, leaving around 3 inches of length. Thread that long end through the hole in the lid and back over the top a few times. Once again, secure the loose end in the coils at the back of the lid. If using string, simply thread a length of twine through both holes a couple times, then tie it onto the stick. And voila! You have a set of beautiful garden labels.