How To Deep Clean A Brita Pitcher For The Freshest Water Possible
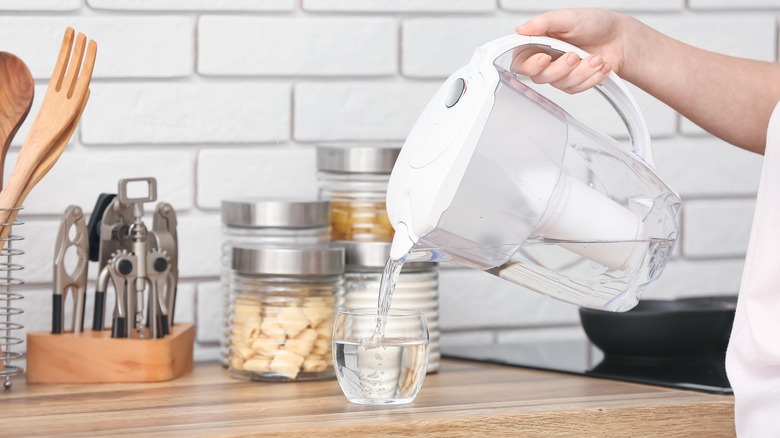
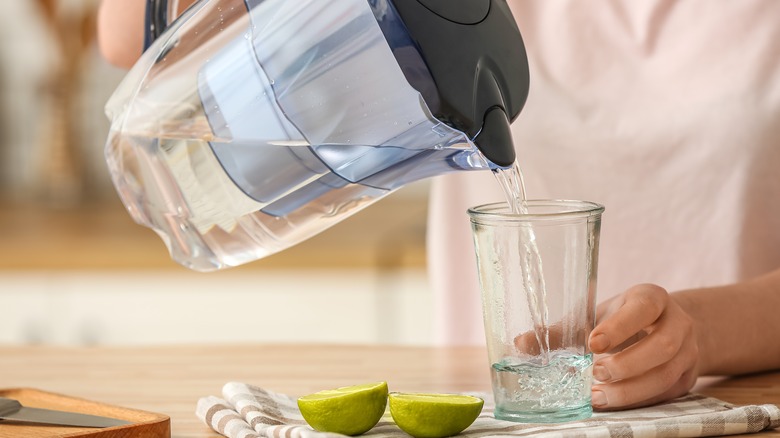
It's an early morning in your life, and you've just stumbled to the fridge to pour yourself a glass of water from the Brita. What you likely don't expect is the mold and mildew that's made its way inside your Brita pitcher and tainted the fresh water. Thankfully, there's an easy solution to the problem: deep cleaning your Brita with a soft sponge, some soapy water, and a dash of vinegar. You'll likely have these household essentials lying around, and since you'll want to drink the freshest water possible, it's time to get to work right away.
It's imperative that you toss out an old Brita filter immediately, especially if it's the reason mold and mildew have made their way inside your pitcher. When we fill our Brita pitcher up, the pressurized water from the tap passes through the filter and removes any sediments or contaminants that can enter our bodies without our knowing. If your Brita pitcher isn't properly cleaned, replaced, and maintained, the effectiveness of its filter is significantly reduced. Instead, you'll want to use these deep-cleaning tips to ensure the water you drink is clean and delicious.
How to clean your Brita pitcher
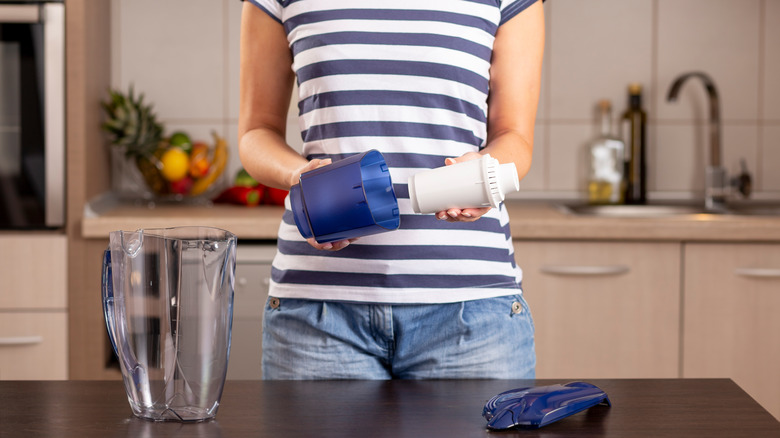
Just like you would clean your fridge's water dispenser, Brita pitchers require the same frequency of care. To start, remove all adjoining parts of your Brita to ensure you clean every piece. You'll want to start by washing the lid with soap and warm water, using gentle strokes to cover the entire surface. Once you've covered every corner and crevice, rinse the soap off with warm water. If your Brita pitcher is made with an electronic lid, be sure not to completely submerge the product in water. Similarly, use a soft sponge to scrub the filter itself and rinse thoroughly.
To directly address the mold or mildew, you'll want to let a solution of vinegar and warm water soak in the pitcher for a few minutes. While the solution will help lift any surface-level mildew, it's best to go in with a sponge and scrub off any remaining mold growth. If you don't have white vinegar on hand — or prefer another soak — use apple cider vinegar as a substitute. Be sure to wash thoroughly, as you don't want the lingering scent of vinegar to touch fresh water. Allow the individual parts to air dry before reassembling after a few hours.
Maintaining your Brita pitcher
Your Brita pitcher is now clean and ready for use, but not forever. Maintaining your Brita pitcher is essential if you don't want to repeat the same mistakes. Luckily for you, we have a few tips on how to keep your Brita pitcher clean over time. For starters, replace your Brita filter every two to six months, depending on the type of filter you have. Standard filters should be replaced every two months, while premium and elite filters should be replaced around the six-month mark. If you have a faucet system filter, replace the system every four months.
Additionally, avoid leaving the Brita filter out so that it's not overexposed to sunlight. Instead, keep your Brita in the fridge or a dark and insulated area. Similarly, cold-water drinkers should avoid keeping their Britas in the freezer, as it can damage the filter's microdisk much faster than would happen normally. It's also important to regularly wash your Brita filter before refilling the pitcher; since you refill your Brita often, it should be easy to incorporate a wash routine to keep your pitcher clean and your water fresh.