Easily Repurpose An Old Pair Of Rain Boots Into Stunning Spring Garden Decor
We may receive a commission on purchases made from links.
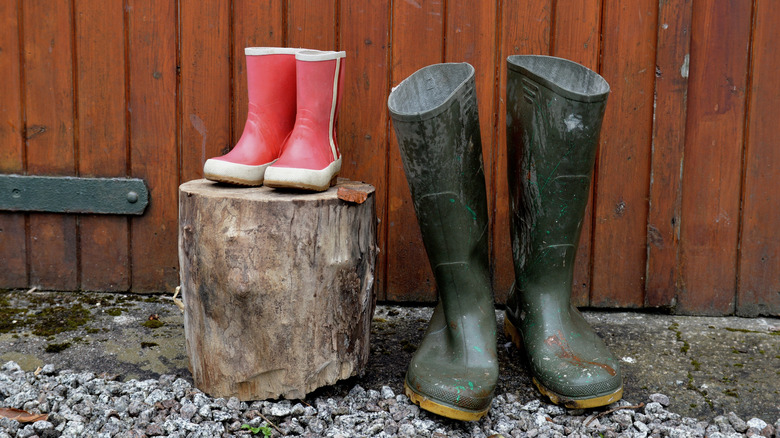
When the chilly embrace of winter gradually loosens to welcome the vibrant hues of spring, there's an undeniable urge to reflect this seasonal transformation within our personal spaces. Dormant gardens, having slumbered under a blanket of frost, now yearn for awakening. It's during this captivating shift that mundane pairs of forgotten rain boots, once resigned to navigating puddles, can now be filled with potting soil and embellished with colorful plants to become the stars of your spring garden decor.
Among the creative ways to repurpose old or unwanted items, upcycling rain boots into spring planters isn't simply a trend. Instead, it's a call for novice gardeners and seasoned DIYers to bring out the beauty in the unexpected with a blend of resourcefulness and creativity. Championing sustainability, it's a subtle rebellion against the throwaway culture contributing to waste mounting in landfills.
And the cherry on top? You may hardly need to invest in expensive tools or supplies to turn those overlooked items into something beautiful and purposeful. For example, potting soil mix is always readily and affordably available at local gardening centers. You can buy 25 quarts of Miracle-Gro Potting Soil Mix from The Home Depot for only about $10.
Steps to upcycle rain boots into spring planters
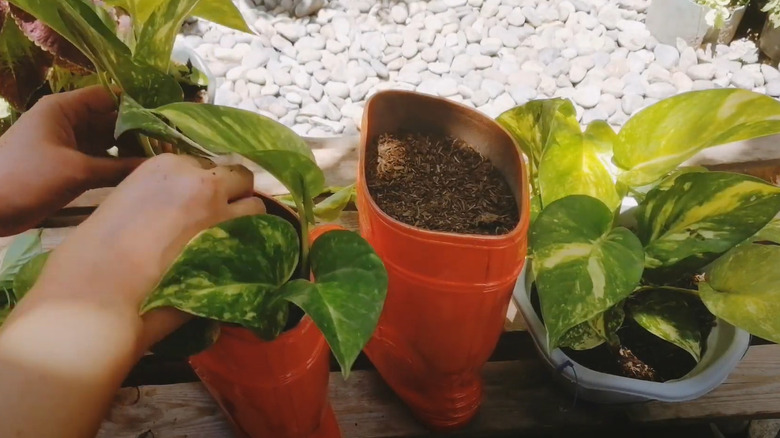
Begin the transformation of your old rain boots into planters with some elbow grease, mild soap, and water, scrubbing off any dirt or grime. Next, awaken the artist within you and color those sickly boots in bold hues that make them pop against your verdant garden. Here, consider a can of Rust-Oleum Painter's Touch 2X Ultra Cover Gloss Deep Paint+Primer Spray Paint, which goes for about $9 at Walmart.
Post-painting, drill three to five small holes in the bottom of each boot. This is your first line of defense against waterlogging and plant rot. Then, line the bottom with landscape fabric, coffee filters, or a bed of coconut fibers as armor against soil escape through those drainage holes. Up next, spoon in a premium potting mix that's loaded with goodies like peat moss, compost, perlite, and vermiculite — it's a gourmet meal that ensures your plants stay aerated, hydrated, and well-fed in their new snug homes.
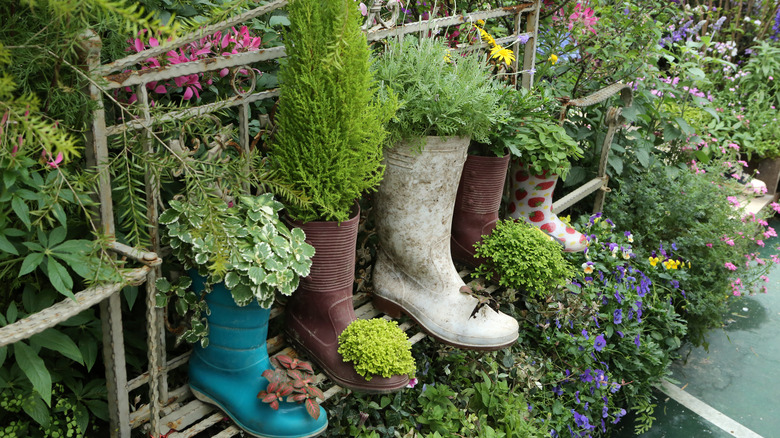
Choosing the right plants for your rain boot planters depends on your preferences — succulents are great if regular watering isn't your cup of tea, and you can propagate them for more plants. On the other hand, spring favorites like petunias and pansies will paint your garden with lots of color. Be gentle as you nestle your plants into the soil-laden wellies while ensuring ample space for root growth. Then, position your artistic creations where they'll grip gazes, perhaps along a garden path or on your front porch.
Precautions and alternatives for DIY rain boot planters
Worry not about the absence of an electric drill. A screwdriver or a hammer-and-nail combo fits the bill, preventing your stylish planters from becoming dreaded swamp boots. Further, if the perfect potting mix isn't on hand, resist the temptation to resort to garden soil. Despite its natural look and feel, garden soil is too dense, retains excessive moisture, and might be a clandestine safehouse for pests, weed seeds, and pathogens.
To inject a personal touch into these common household items turned into beautiful planters, consider adorning them vibrant ribbons, glow-in-the-dark stickers, or anything your heart desires. You could even etch the names of your loved ones on their respective shoes with a marker. These customizations make for a sensational activity for the family that not only beautifies your outdoor space but also sparks the imagination of your little ones.
Tucking a handful of pebbles into each boot's base is a clever trick to prevent your floral display from toppling over amidst gusty winds. And let's not forget the sun worshippers amongst your plants; rotate your boot planters to ensure every side gets its fair share of sunlight. But why let these boots just sit when they can bloom into a striking feature outside your home? Screw them onto your garden fence, dangle them from sturdy hooks with robust cords, or secure them on vertical trellises. Alternatively, mount them on wooden posts or fashion a living mural on an exterior wall.