The Installation Mistake That Can Ruin Your DIY Deck Plans If You Aren't Careful
When it comes to weekend home improvement projects, building a deck is top on homeowners' to-do lists. Although it's an involved project requiring a lot of advanced skills, it can be undertaken successfully with the right tools, patience, planning, research, and attention to detail. There are a lot of steps to remember and guidelines to follow, each one necessary for a renovation triumph. But there's one particular part of the installation process that will completely ruin your deck if not done correctly, and it's a fairly easy mistake to make. It involves the proper spacing of your decking boards, to allow for the natural expansion and contraction of wood, and there are different guidelines to follow depending on what kind of wood you're using to build your deck.
Obviously, there are many different varieties of trees, and popular types used for deck lumber include cedar, redwood, teak, pine, and ipe wood. But there are also different ways of preparing and selling those boards, whether at a lumber yard or a home improvement store. Is pressure-treated the right option? What does it mean if the wood is kiln-dried? Be sure to speak with the salesperson about their available options to determine which is the best choice for your job, and once you've got it home, make sure you follow the correct installation steps for the type of wood you have.
Building a deck with dried lumber
Experts recommend using dried lumber when undertaking any woodworking project because it will reduce the chance of your project warping, cracking, or having its structural integrity compromised by the natural drying process that will take place over the first several months after your deck is finished. If the lumber you use is already dry, any future expansion or contraction will be minor and easy to plan for. To wit, planks of your deck should be spaced ⅛-inch apart when working with dried lumber. This is true for either air-dried or kiln-dried, as long as the moisture content is within the recommended range for outdoor projects: 9% to 14%.
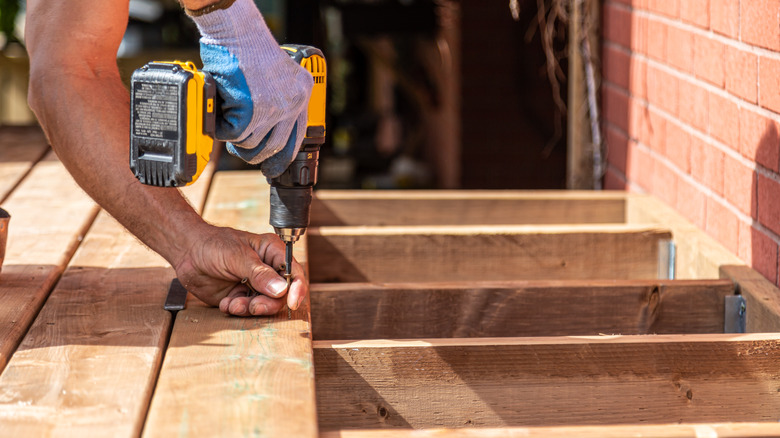
Your hardware or home improvement store will be able to direct you to their lumber inventory that has already been dried, but you can also determine the driest pieces by how much they weigh compared to one another. Boards with more moisture still in them will be heavier than drier boards. After laying down one board, place shims between it and the next board to ensure proper spacing before securing the second board to the rails. Repeat this process all the way across the decking with each plank in turn.
Using pressure-treated lumber or greenwood
Lots of outdoor woodworkers like using pressure-treated lumber in their projects because it's more resistant to moisture and the resulting rot, molds, and harmful bugs that can thrive in that environment. However, unless the pressure-treated wood you're buying is labeled as KDAT (kiln-dried after treatment), then it is almost certainly still green. Use a reliable moisture meter to accurately gauge the moisture level, but if it's anything above 20%, it's going to dry significantly over the next several months, shrinking somewhat in the process. You can air dry this wood yourself, but why wait up to another year before finishing construction? Simply build the deck accounting for the excess moisture content of the wood.
In this case, don't bother with adding that gap between boards because it will widen and sag as the planks dry. Instead, build the deck without any gaps between the boards. Simply lay the second board loosely against the first and screw it into place on the rails, then repeat the process for each subsequent board as you cross the deck surface. As your deck ages in that first year, the wood will naturally fall into a moisture equilibrium depending on the local climate, and your deck, if properly cared for, should last for years to come.


