Say Goodbye To Popcorn Ceilings Without Removing Them Thanks To This DIY
We may receive a commission on purchases made from links.
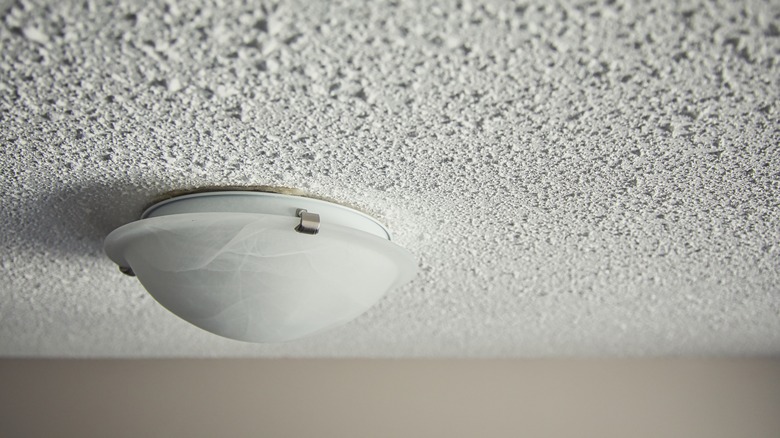
Popcorn ceilings are the bane of today's fixer-upper homeowners. They're the one mid-century modern trend that's unlikely to come back around. Scraping off the ceiling is an option, but it's laborious and, honestly, hazardous to lung health if done incorrectly. Another option for those with strong arms, lots of patience, and a burning desire to see the popcorn gone is skim-coating — that is, covering over the popcorn texture with successive layers of joint compound until you achieve a silky smooth, paintable surface. Sure, the process is a bit time-consuming due to drying times and multiple steps, but it's not difficult. Even an entry-level DIYer can achieve good results with patience and the right tools.
Why do homes have popcorn ceilings? The decorative feature flourished between the 1950s and 1980s because it was quicker to apply than smooth-finished ceilings, cheap, and looked good, at least in the opinion of homeowners of the era. Today, they're pretty much universally disliked for collecting dust, harboring spiders, and potentially containing harmful substances like asbestos. Removing popcorn ceiling texture is a pain, too. While really easy, the process involves a seemingly endless scraping session that'll have you cursing the now-probably retired tradespeople who installed it. It also creates huge volumes of debris — even if you spray the ceiling with water first. Unsurprisingly, disguising them under layers of joint compound and paint in your choice of hue is a far more appealing proposition.
Your skim-coating toolkit
As mentioned, one of the most dangerous hidden downsides of popcorn ceilings is that some contain asbestos, a seriously health-harming substance. If you have even an inkling that there's asbestos in your ceiling, don't proceed with this DIY until you've had the material tested by a lab. Once you have the all-clear, it's time to go shopping for joint compound, also known as drywall mud. Lowe's sells 3.5-quart buckets of Sheetrock Brand all-purpose drywall joint compound for $11.98. An 8-ounce container of Red Devil lightweight spackling costs $2.98 on Amazon. If you have a heavily textured ceiling, consider 3M's high-strength, large-hole repair, fiber-reinforced spackling compound — a 12-ounce bucket for $9.99 at Ace Hardware. Make sure whatever you buy is white or off-white in hue since it's easiest to paint over.
How much drywall you need to buy depends on the size of your ceiling. You need to apply multiple layers to hide the popcorn texture, so expect to use the same amount as you'd need to create a knockdown ceiling finish: about a gallon of compound for every 50 square feet. If you prefer more precise measurements, use an online drywall calculator — we like the one provided by Dan the Drywall Man. While at the hardware store, grab a handful of 150-grit to 220-grit sandpaper sheets (and a handheld sander and sanding pole if you don't already have one) or a few sanding blocks in the same grits.
How to do it
Toolswise, you'll need a step ladder, an electric drill with a paint mixer attachment, two buckets, a mud pan, putty knives, and a drywall sponge. To get started, prepare the room by covering up everywhere you don't want to get joint compound on with drop cloths secured with painter's tape. Take one of your buckets and mix a portion of the joint compound according to the manufacturer's instructions. (The instructions may differ across brands.) Pour your mixed compound into the mud pan, grab your knives, and climb the ladder.
Starting in one corner, place the long edge of your knife where the ceiling meets the wall and spread the mixture outward. The first layer probably won't cover all the popcorn texture, so focus on filling up the grooves. Let the compound dry — taking anywhere from a few hours to days if humid — before applying the next layer. If the surface isn't completely smooth, known as a "level 5 drywall finish," you may need to do a third layer. Once dry, sand the entire ceiling using a sanding block, handheld sander, or sanding pole, moving from the 150-grit to the finer 220-grit sandpaper. Stay safe: You should wear a mask while sanding, and goggles, too. Sponge away the dust, changing the water frequently between swipes, and let dry again. If you spot any small holes, fill them with extra joint compound, let them dry, then sand and sponge.

