How To Replace A Bathroom Sink Drain (And Common Errors To Avoid)

We may receive a commission on purchases made from links.
Ah, that moment in every homeowner's life when a minor inconvenience, like a leaky bathroom sink drain, swells into a pressing issue that demands immediate attention. Perhaps you've been brushing off that slow drip-drip of water, dismissing it as a quirk of your old plumbing. And here you are, gearing up for a DIY adventure and determined to replace your bathroom sink drain without professional assistance. Maybe it's an old drain demanding an upgrade. Armed with the proper know-how, supplies, and a dash of DIY spirit, you're about to embark on a gratifying endeavor.
The satisfaction of fixing a plumbing problem with your own two hands, not to mention the potential savings on professional bathroom sink drain replacement (which could see you part with at least $150), makes this challenge not just necessary but exciting. But remember, there's a fine line between tackling a DIY task with gusto and watching in horror as a minor issue escalates into a watery nightmare.
Recognizing common mistakes to avoid when replacing a bathroom sink drain can be the difference between a smooth operation and an SOS call to your local plumber. From over-tightening the drain pipe nuts and using plumber's putty on plastic components to overlooking the importance of double-checking the connections for leaks, these errors are not uncommon. Master the step-by-step procedure and sidestep the typical oversights, and you're on your way to elevating your plumbing game to new heights.
Gather your tools and materials

Replacing your bathroom sink drain begins with a critical prelude: gathering the required supplies. Envision yourself suiting up for a duel, only that your arena is the tight quarters under the bathroom sink, and your competitors are old, stubborn pipes and fittings.
Needle nose pliers are super handy for gripping tiny objects in cramped spaces. You can pick up a trusty pair, like the A PITTSBURGH 5-¾ in Needle Nose Pliers, without breaking the bank — they go for merely $2.99 at Harbor Freight. Another key player in your required toolbox will be channel-lock pliers. They've got the grip and strength to loosen those slip nuts. But don't underestimate a good wrench; your trusty sidekick is ready for action when things get tight.
To ensure a leak-free installation, you'll need a plumber's putty. The Oatey Plumber's Putty, available for $4.68 at The Home Depot, is a solid choice. A putty knife, an old towel, Teflon tape, and a bucket are essential parts of the team.
And the star of the show? We are talking about the drain replacement parts. The typical error here is to begin the project without confirming that you've got the correct replacement drain, as sizes and styles vary. You don't want to be halfway through the job and realize you need another size or even an extender. As for the price, a KES Bathroom Sink Drain Without Overflow is available for $19.99 on Amazon.
Clear the area under the sink
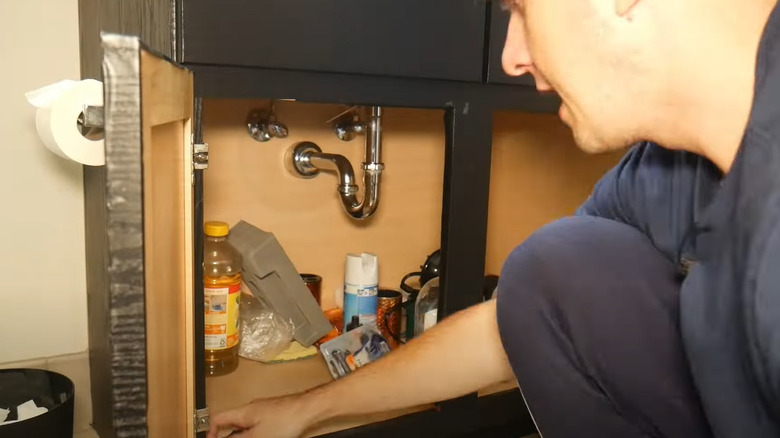
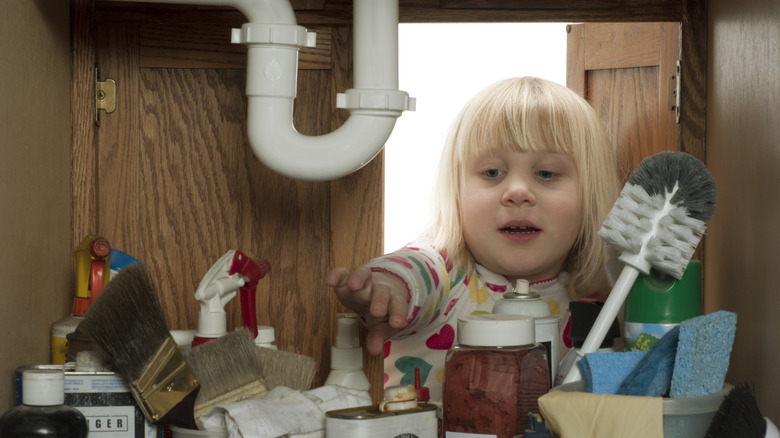
Decluttering under your bathroom sink isn't just about tidiness; it's more about gaining strategic advantage. You see, just as an archer needs a clear line of sight, you need a clutter-free workspace. Moreover, you protect the valuables stashed in your under-sink cabinet from potential water damage.
Now, envision this space as your command center, where every tool is within arm's reach, and a bucket stands ready to catch any surprise attacks in the form of water spills. An oversight could turn your workspace into a quagmire, cluttered with unnecessary obstacles you could have easily avoided with a little forethought.
Remove the P-trap
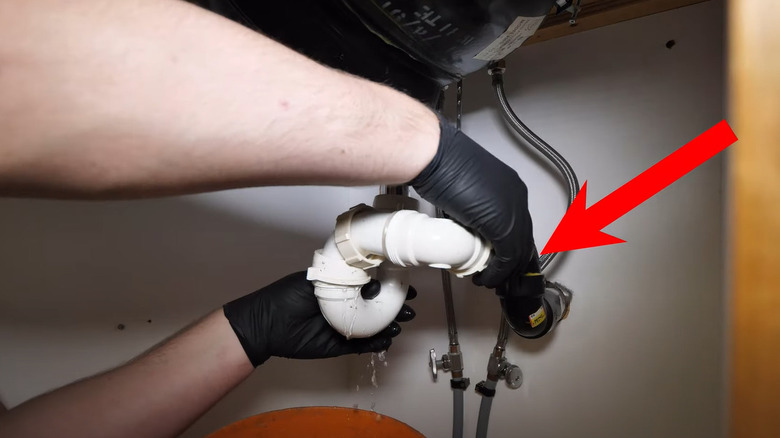
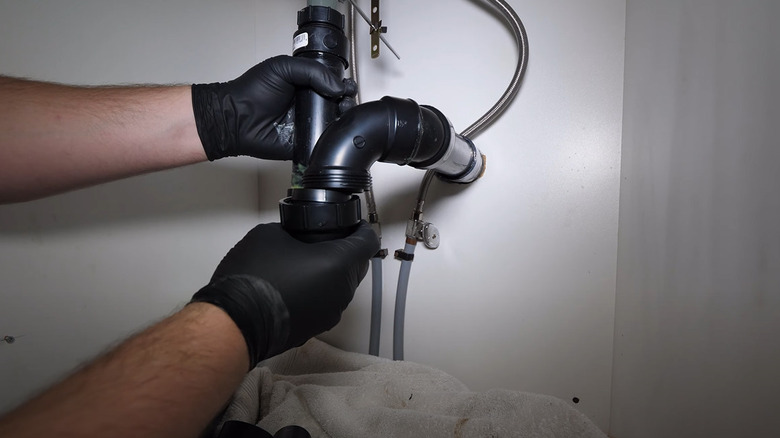
Positioned beneath the sink, the curved pipe known as the P-trap is designed to hold a small amount of water, preventing sewer gases from entering the bathroom. However, it now stands as the initial barrier between you and your goal — it must be removed. Placing a bucket underneath is a preemptive strike against potential spillage, a common foe in plumbing tasks.
With hands and possibly channel-lock pliers or a wrench, you'll engage in a delicate dance with the slip nuts securing the P-trap pipes. After that, pull out the P-trap lines. The common blunder here is unleashing brute force upon a plastic P-trap, a mistake synonymous with a bull in a china shop — that could mean damage to the plumbing components, transforming a simple mission into another repair job. So, apply enough force to loosen the grip without turning the operation into a destructive rampage.
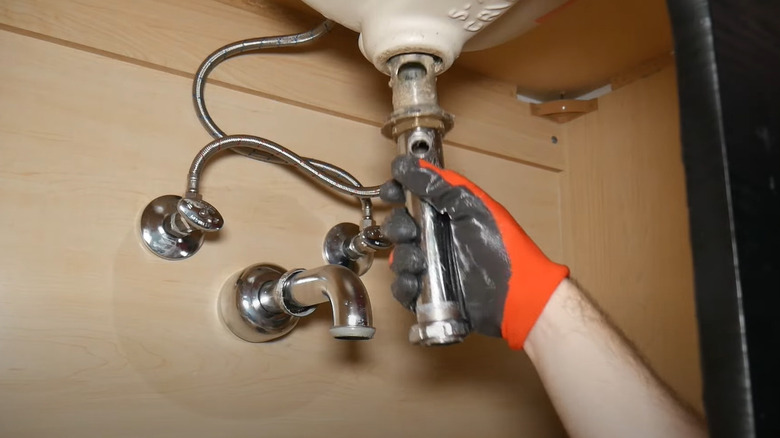
Disconnect the pop-up drain stopper mechanism
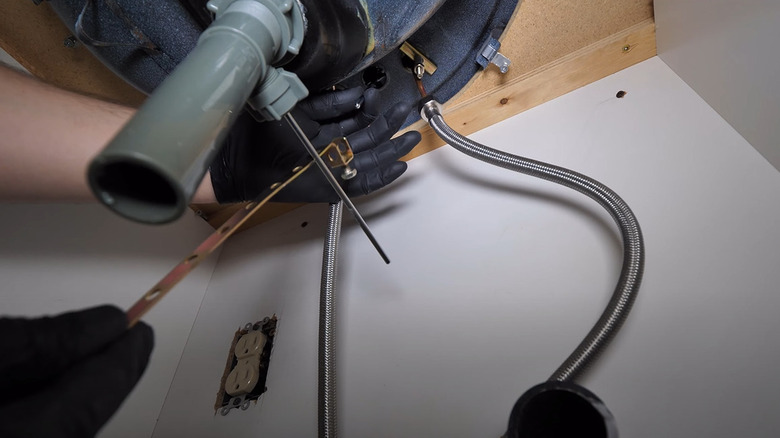
Next, when replacing a bathroom sink drain, move on to the pop-up drain stopper mechanism — a mighty component of your bathroom sink's anatomy that allows water to be held within the basin or flow freely down the drain as desired. Your first task is to locate the horizontal pivot rod nestled away at the back of the drain pipe and detach it from the clevis.
With a gentle yet firm hand, unscrew the pivot nut, thus freeing the pivot rod. This action signals the release of the pop-up stopper, which is now ready to be lifted out of the drain hole. Remove the lift rod, too. However, if your sink drain system doesn't employ a pop-up drain stopper mechanism, you are good to skip this step.
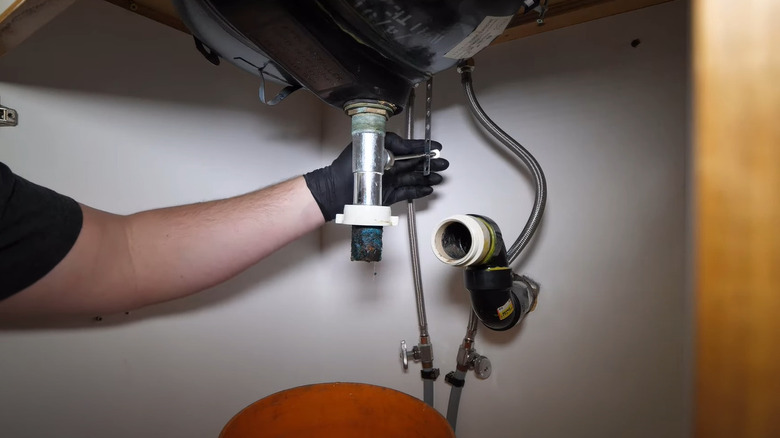
Remove the old drain
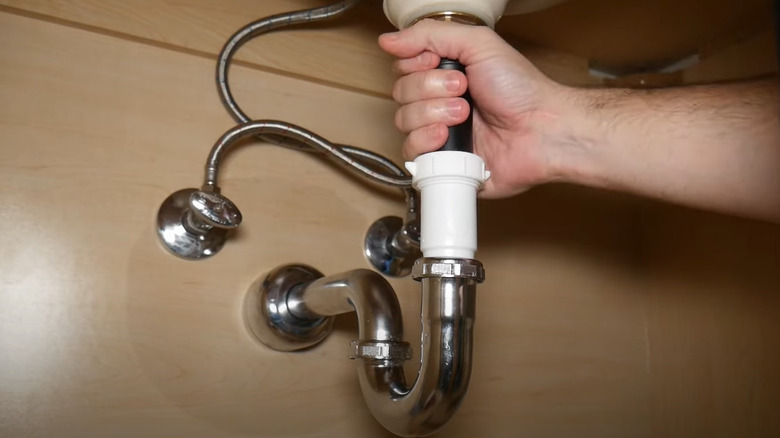
The adventure intensifies as you prepare to battle with the old drain. For this, arm yourself with channel-lock pliers or a wrench and approach with caution. Your grip is firm but calculated, applying just enough force to loosen the locknut that securely holds the drain to the flange. Beware of using excessive strength; this is a dance, not a brawl.
Should you encounter a locknut that refuses to budge, consider the application of a heat gun or use vinegar spray, spread evenly with a toothbrush, to loosen it. Then, with a strategic push from below, elevate the drain assembly. Seize the drain flange with your pliers, and with the other hand, twist the drain tailpiece off the flange. Remember, the drain might be messy, so wear a pair of gloves.
Clean the sink area
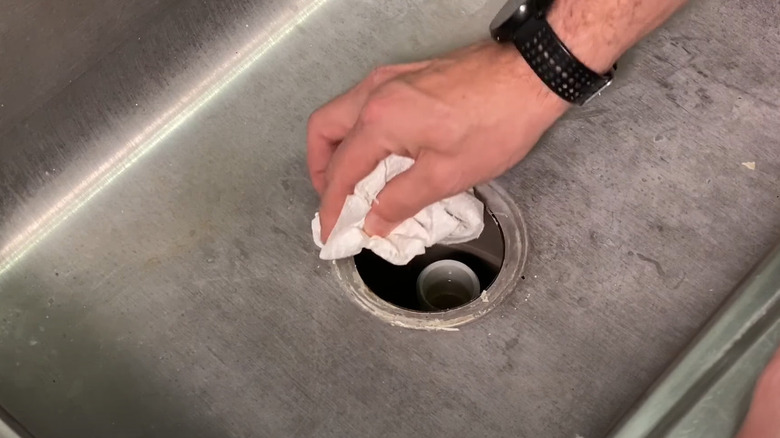
With the old drain vanquished, your quest to replace your bathroom sink drain nears its end, but not before you cleanse the battlefield. First, deal with the remnants of old putty or silicone sealant. A utility knife will suffice for this task, but let your strike be guided by grace, not force, especially when working on a ceramic sink. After all, your goal is to remove potential barricades, not mar the surface you're striving so hard to upgrade.
Now, on to the wash-up phase. With a cloth drenched in soapy water, clean your bathroom sink, paying special attention to the drain hole. And it's not just about cleaning; more importantly, you want the surface to be as welcoming as possible to the new sealant. Once satisfied, pat the area dry with a clean cloth or paper towel. And just when you thought you were done, the U-pipe, an often overlooked plumbing component, perhaps needs a quick cleanup, too.
Install the drain flange
The very first step of installing your new bathroom sink drain assembly is mounting the drain flange — a critical component that, if installed correctly, promises a watertight seal and a well-functioning sink. Begin this mission by unscrewing the flange from its assembly with a twist here and a spin there.
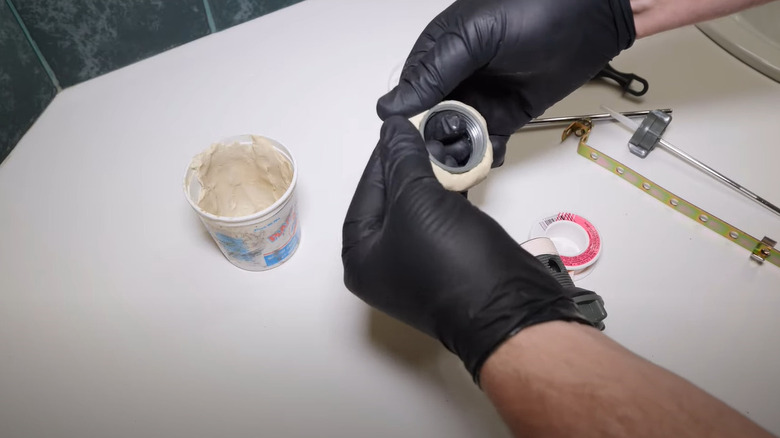
It's now time for the plumber's putty — your secret weapon. Knead and roll this formidable ally into a snake. With a careful, deliberate motion, wrap the putty snake around the bottom of the drain flange or lay it around the drain hole itself, depending on your strategy.
Here comes the twist, though: Plumber's putty plays favorites, pledging allegiance to stainless steel and leaving plastic fixtures vulnerable to cracking over time. If dealing with plastic components, a silicone sealant, like the Loctite Silicone Waterproof Multipurpose Adhesive Sealant from The Home Depot, steps in as a worthy substitute. However, if the drain replacement kit comes with a plastic gasket, you can skip the silicone sealant part.
Secure the drain body from below
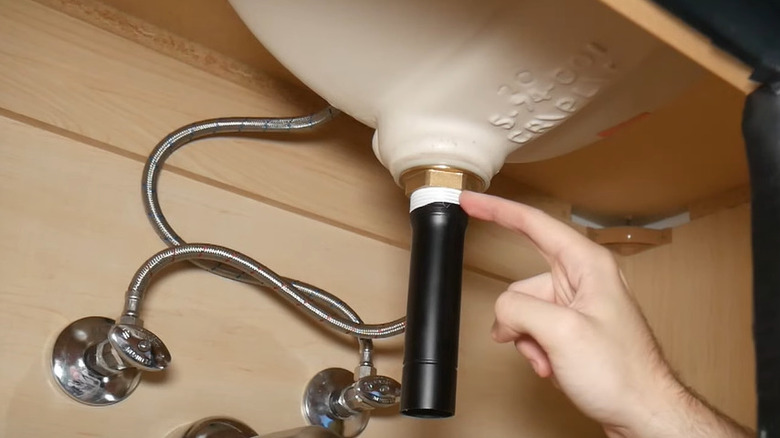
Moving on to the next step, anoint a portion of the drain body's thread with Teflon tape for a perfect seal that keeps leaks at bay. After which, lower the plumber's putty-embellished flange into the drain hole. Now, your journey continues beneath the sink. Guide the drain tailpiece into the sink hole from below and screw it to the flange. This maneuver requires coordination; with one hand steadying the flange and the other below, twist the drain tailpiece. Each turn binds the two components closer until they become one.
But, the battle is not yet won. The locknut awaits — first, a gentle hand tightening, followed by the decisive grip of a wrench or adjustable pliers. You should see the plumber's putty squish around the flange in a satisfying seal. But heed this warning: Overzealous tightening is a foe that can shatter dreams (and plastic drain assemblies), setting the stage for leaks.
Amidst your enthusiasm, it's easy to forget about the opening for the pivot rod. Ensure that it faces straight to the back. In the aftermath, remove any excess plumber's putty that dared escape around the new drain flange, leaving behind a clean finish on your bathroom sink.
Reconnect the pop-up mechanism
Picture, if you will, the mechanical ballet of sliding the pop-up stopper back into its stage — the drain hole. One mistake to avoid here is misalignment; you want the stopper's hole to align with the pivot rod hole. Then, there's an art to aligning the horizontal pivot rod back into the drainage pipe, threading it through until it finds the small, welcoming hole at the base of the pop-up stopper. At this point, the pivot nut becomes the final applause, securing the pivot rod in place. Only hand-tighten this nut; it doesn't demand as much tension.
It's not curtain call yet; there's one crucial test left to perform. If you got the alignment right, trying to pull the stopper out should be met with firm resistance — that's your silent salute to a job well done. Then, play around with the pivot rod, moving it up and down; its movement should dance in harmony with the rise and fall of the stopper.
Following this, the lift rod enters the party; slide it through the hole at the back of your faucet. Beneath the sink, connect the clevis and the lift rod. Then, insert the pivot rod accordingly, adjust, and tighten — each action more deliberate than the last. Usually, inserting the pivot rod into the second or third lowest hole on the clevis gets the job done right. Once the setup feels perfect, tighten the clevis screw using a wrench or pliers.
Reconnect the P-Trap and drain pipe
You can now proceed to the harmonious alignment of the P-trap with your newly mounted drain. Do not let the stability of your creation be left to chance; employ ABS cement to fortify the bond between plastics. For the cooperative nuts, a firm hand-tightening should do the trick. On the other hand, a wrench or adjustable pliers fit the bill for tenacious steel nuts. However, be mindful not to cross-thread or force the components into a relationship they resist.
And what if something doesn't fit quite right? For example, you may discover the drain tailpiece falls a little short when connecting properly with the P-trap pipe. In this case, an extension tube, when precisely trimmed, is the ideal problem-solver. Misalignment between the P-trap and the drain pipe on the wall? A 45-degree pipe fitting can save the day. Selecting the right fitting will ensure leak-free connections in the future.
Check for leaks
The climax of bathroom sink drain replacement is both thrilling and foundational. With everything in its rightful place, fill the sink to the brim. Then, let it go and watch the water cascade down, a grand display of your handiwork. Not a single drop of water should escape its intended path down the drain. However, the true test is in what you cannot see. Therefore, channel your inner detective and get tactile, letting your fingers explore every drain path in search of telltale signs of water where it shouldn't be.
In addition, your assembly should withstand both the calm and the storm, so bring on the hot water. As the pipes and joints expand with the heat, so too should your confidence in the watertight sanctity of your pipework. And if all remains dry, well, take your bow, for your performance in the grand theatre of DIY plumbing is commendable.
Reload the under-sink cabinet
You can now put back the items you removed at the beginning. But wait, did we sneak in a not-so-little hint yet? Your makeup and towels are among the things you shouldn't keep under your bathroom sink. While these are your bathroom allies, placing them under the sink is an invitation for mold. They are better off in places with lower humidity and ample ventilation.