The Must-Have Tool DIYers Swear By For Pulling Up Floors
We may receive a commission on purchases made from links.
When deciding which flooring option is best for your home, there are several factors to consider. Style and budget will likely top your list, as will the fact that your flooring choice can make it harder to sell your home. Another important consideration should be the time and effort it will actually take to pull up existing flooring before replacing it. If you're happy with your current aesthetic, you may want to just swap out any damaged floorboards or tiles and leave the rest.
If you're ready for a complete makeover, though, there are still things you can do to save valuable time and energy. Namely, you'll want to work smarter, not harder, by getting the right tools for the job. When it comes to the first step of your remodel — pulling up floors — DIYers swear by one simple gadget: the Zenith floor lifter. This handy $30 must-have was designed to pull, pry, and lift so you can remove hardwood and tile floors in a flash without needing multiple tools.
Pull up old floors with just one tool
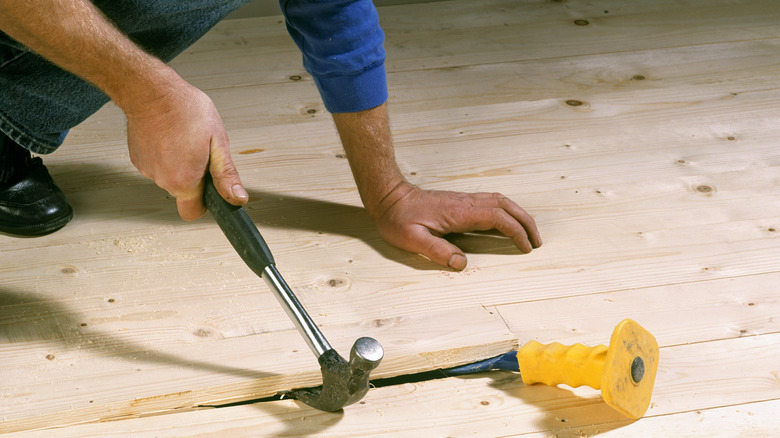
Influencers and DIY enthusiasts seem to love the Zenith floor lifter because of its ease of use and versatility. Indeed, it comes in handy every step of the way. For example, if you're taking out wooden floors, you can use the built-in nail puller to save hours from the get-go. Instead of wrestling with individual nails or staples, just run the tool over each of them and watch them easily pop out. Once that's done, use a hammer to drive the floor lifter under each floorboard individually. Its unique middle wedge does most of the work for you, prying up each panel until it comes loose, so you don't need to struggle to get them off. What's more, you can use the same tool to pull up subflooring and then put it to work removing moldings and baseboards. Just hammer it behind the panel in question and wriggle it gently to remove it without damaging the wall underneath.
If you're dealing with ceramic tiles, you can use the Zenith floor lifter in the exact same way. A good hack to get started is to scrape away grout and chisel away just one tile, giving yourself room to insert the floor lifter and pry up the rest.
Can you upcycle old flooring?
If you've been careful in removing your wood flooring or tiles and want to reduce waste, there are many creative ways to upcycle the old materials. For example, you can use any small intact tiles to create a set of coasters just by gluing cork to the underside. Meanwhile, bigger tiles can be used to refresh a side table. Simply stick them to the surface using tile adhesive, then place grout in between and voila. And if tiny pieces are all you've got left, you can glue magnets to them and make some fun fridge decor.
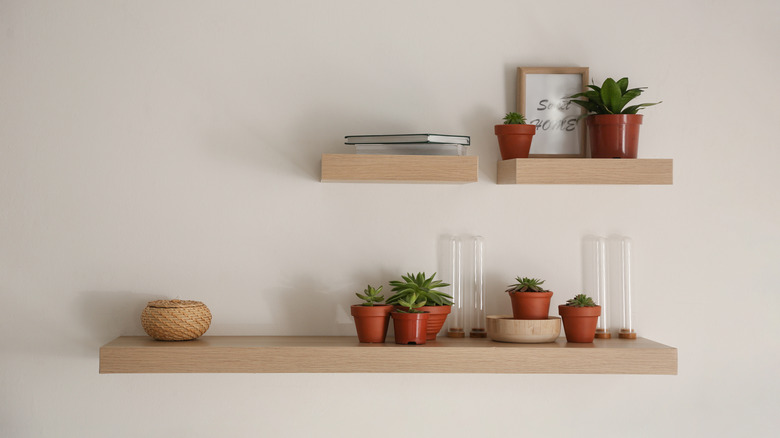
Rescued wood offers the most DIY possibilities, though. One of the easiest projects is turning floorboards into shelving: cut the pieces to desired lengths and attach them using shelf brackets. Alternatively, you can also nail together four pieces of flooring (each cut at a 45-degree angle) to create a rustically charming DIY photo frame. Or, for a more challenging project, you can turn boards into a benchtop. Woodworking pros, the Sawdust Sisters, recommend screwing a piece of plywood atop the bench frame of your choice, then using glue and nails to attach old flooring on top in any pattern you wish. You can also use some of the old floorboards as trim to cover the bench's edges.