Perfectly Fit Laminate Flooring In Even The Curviest Corners With TikTok's Hack
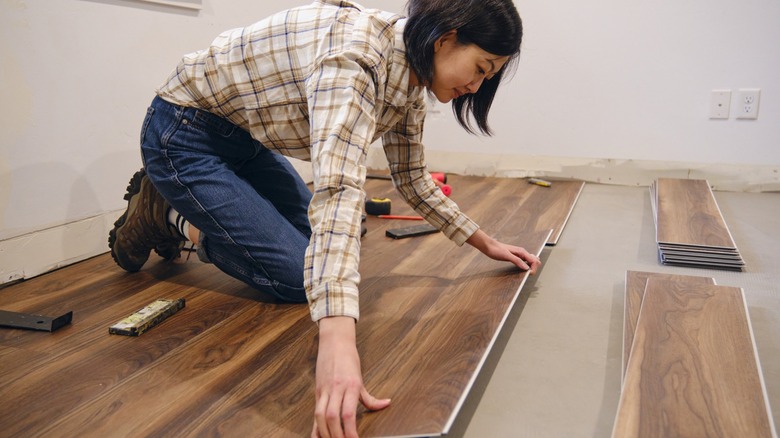
Installing new floors or replacing your laminate flooring is a great way to improve the current look and feel of your home, particularly if you're going for a particular home aesthetic. The process is pretty straightforward, which is why many homeowners opt for DIYing their floors instead of hiring a professional. Suppose you're planning to do it yourself. In that case, chances are you've already measured your space to figure out how many planks you need and closely studied any challenging areas, such as when you're installing laminate floors in your bathroom and need to work around an already installed toilet. You're in luck if you're puzzled about how to go about those tricky curves!
In their TikTok, @homeimprovementsuk shared a nifty trick for getting the perfect laminate flooring around curves without needing template papers or complex measurements. If you're on the final few rows of your flooring and are left with planks that need to be cut to fit around the curves, all you need to get that perfect fit is a pencil and something solid, like scrap 1x1 wood.
How to perfectly fit flooring around curves
Start TikTok's laminate flooring install hack by creating the tool. Drill a hole in the scrap wood large enough for the pencil to fit snugly. Then, cut the other end to a pointed shape so you can maneuver the tool smoothly around curves. Place the plank under the tool and guide it along the curve; doing so lets the pencil on the other end of the tool mark the same curve on the plank. Cut the traced part and fit it around the curved area.
While helpful, the video misses some key details crucial for ensuring accurate results with the tool. First, be sure you align the tile where you intend to trace the curve with the next row of tiles, as Mark Shows explains in his YouTube tutorial. Doing so ensures the curve's exact shape is transferred to the correct spot on your tile. Next, ensure that your tracing tool, including the pencil, matches the size of the tile. This alignment is essential so the mark you make is exactly where it needs to be on the tile. Lastly, pay attention to how you're holding the tool. Maintain it perpendicular to the curved surface you're tracing. This allows the curve to be accurately replicated onto the tile. Also, ensure that the tool and pencil are perpendicular to the tile. Even a slight tilt or slant can lead to inaccuracies in your tracing.