DIY A Custom Wine Rack By Upcycling Some Old PVC Pipes
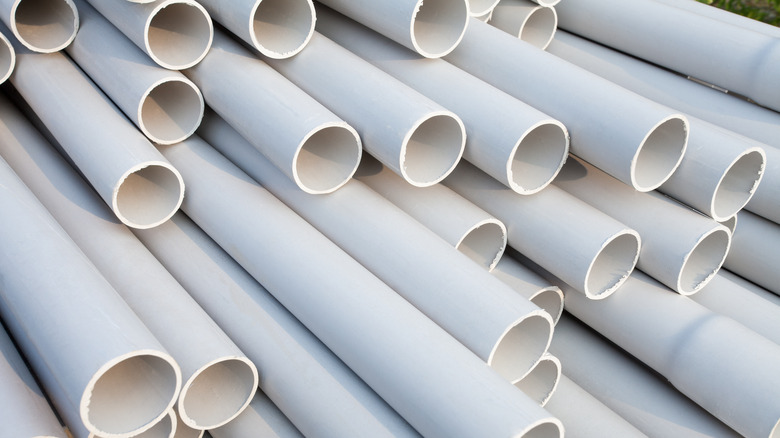
PVC pipes, those familiar hollow tubes in every home improvement and hardware store, are indispensable for numerous projects, especially in plumbing, irrigation, and sewage systems. But their usefulness doesn't stop there. These pipes are incredibly versatile, lending themselves to an array of DIY and repurposing projects. Your creativity and innovation are the limit for these versatile pipes. For instance, you can ditch your traditional laundry basket with a PVC pipe hack or easily upcycle PVC pipes into functional toilet paper storage. If you're a wine aficionado searching for extra space for your cherished collection, why not repurpose some old PVC pipes from your last plumbing project?
For this DIY wine rack project, you'll need a few essentials: PVC pipes, something to cut them to the size you want, and some spray paint to give it that polished finish. You'll also need a suitable adhesive to stick all the pieces together. The good news? These are pretty much the standard tools and materials for any PVC upcycling project you might take on in the future. This is definitely one of the many handy ways to repurpose extra PVC pipes in your home and garden!
Important considerations for the DIY wine rack project
When kicking off a DIY project, it's all about picturing what you want to achieve. Before you get down to the nitty-gritty of cutting and painting, you should sketch your design on paper. Most wine bottles come in various sizes ranging from about 2 and ²⁄₈ inches to 4 inches wide, so keep that in mind when you're fitting them. You'll want to pick PVC pipes that are just the right size — snug enough to hold the bottles but not too tight to risk damaging the labels. As for the length, most wine bottles stand at about 12 inches tall. Think about how much of the bottle you want to be visible or covered in your design.
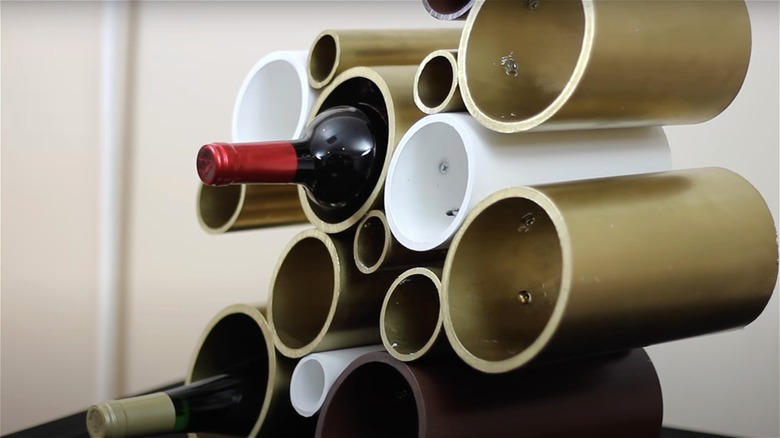
It's also crucial to plan out your design. Where will this piece live? Do you plan to put it on a surface like a countertop or display it on a wall? In terms of design, are you leaning towards something straightforward and simply want to arrange several uniform pieces in a particular manner? Or are you feeling more adventurous, perhaps mixing up pipes in different diameters and cutting them in a slanted fashion, as YouTuber David Seymour did with his?
How to DIY your PVC pipe wine rack
Begin by cutting the PVC pipes to the length you prefer. It's a good idea to spray paint the pipes individually before you assemble them. This way, you won't have to worry about missing those hard-to-reach spots once everything is stuck together. Try arranging six uniform pipe pieces into a pyramid shape for a straightforward rack design similar to Katie Rushworth from the Silverline Tools YouTube channel. Or, for a different look, you could line them up in two rows of three, similar to YouTube expert Leonard Muniak's style. Cedar boards at the bottom add a touch of class to his design, serving as stylish feet for the rack. If you want to be more creative, you can take inspiration from David Seymour's design and mix pipes in different diameters. Cut your pipes with a miter or chop saw, or use a hack saw to cut the pipes manually.
Once your pipes are cut, it's time to lay them out just as you imagined. Hold everything together with clamps, which makes it easier to glue the pieces. You can use construction adhesive, PVC cement, or even hot glue, depending on what you're comfortable with and the kind of hold you need. If you plan to hang the rack on a wall, it may be better to use a drill and connect the pieces with screws for a sturdier hold. You can then use an L-bracket to mount the piece to the wall.