DIY A Rolling Shoe Cart That Will Double Your Closet Storage Space
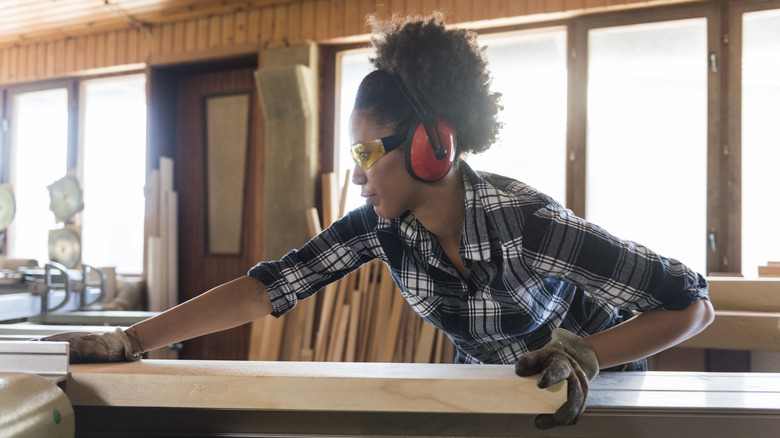
When working with a multi-functional space like a living room that doubles as a studio or an office that transforms into a guest room, the furniture you're using is an important consideration. For these versatile spaces, it's best to choose furniture you can quickly move around to maintain flexibility and ease of movement. Generally, shoe cabinets tend to hog a lot of space. Not only are they taking up too much space in your house, but they're also bulky, which makes it challenging to reconfigure the room when you need to switch its purpose. The solution is to find a shoe storage that's both easy to mobilize and takes up minimal floor space. Fortunately, the independent furniture organization Boydston Grove hit two birds with one stone by creating a narrow vertical shoe cart with wheels.
While plenty of shoe cabinets are out in the market, finding one that matches your shoe size and space needs can be pretty challenging. That's where the beauty of DIY comes into play. By creating your shoe cart, you can tailor it precisely to your requirements — ensuring it holds your shoe size comfortably and fits snugly in your chosen spot. Additionally, stumbling upon a shoe storage option that's also mobile isn't always easy, which is another reason to opt for the DIY approach.
Making the necessary preparations
A DIY rolling shoe cart is a beginner-friendly project. You need a plywood board, a cutting tool, a sander, and clamps. You also need a finish nailer to assemble the pieces, but you can use wood glue as an alternative. Lastly, you can use wood stain or paint to finish your project. For the caster wheels, choose a size that will let you move the shoe cart easily. For instance, you might need bigger caster wheels if you have carpeted floors.
Start your shoe cart project by drafting a sketch with the dimensions you have in mind. For the height, measure the specific spot where you intend to place it. Remember to subtract the combined thickness of your top and bottom shelves, plus the height of the casters, from this measurement. If you're not designing for a particular spot, choose a height that complements your home's style and is also practical for moving around. For the shelving, consider the size of your largest shoes. A good rule of thumb is to use the height of your tallest pair as a guide for shelf height. However, if you want more versatility, you can create shelves of varying heights to accommodate different types of shoes. The width of the cart depends on the space you have available. If you're not constrained by space, place your largest shoes side by side and measure the widest point to determine the width.
How to DIY a rolling shoe cart
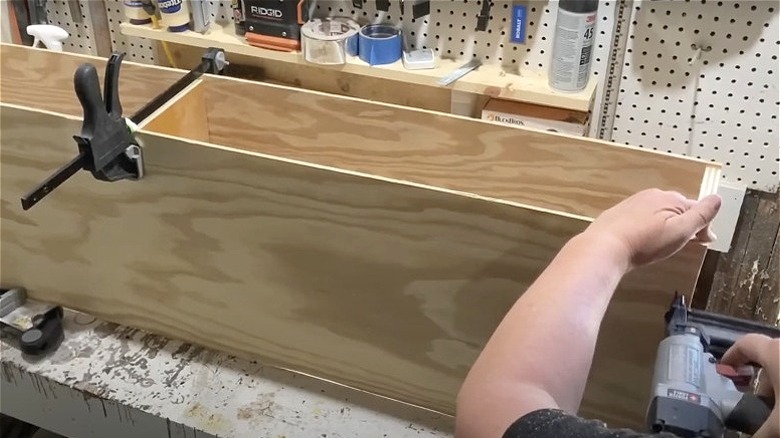
Begin by clamping the sides of the shelf to the bottom board. Place one shelf in the middle as a temporary support to keep the structure even. You can apply wood glue for initial adherence before securing everything with a finish nailer. Proceed to assemble the rest of the shelving. Consider using spacers to maintain even spacing between your shelves. Assemble the rest of the shelving — you may use spacers to keep your shelves evenly spaced. After assembling the shelves, attach the back part of the cart. Then, flip the cart to access its bottom and drill in the caster wheels. Complete your project with a finish of your choice, be it wood stain or paint, to match your home's decor and to protect the wood.
The narrow vertical build of this project allows it to fit seamlessly into any nook or cranny. In fact, its small footprint makes it a great shoe storage solution for your entryway. The addition of wheels is a game-changer that offers effortless mobility. You can glide it across the room for a quick layout change or move it aside to make your living room space bigger and more open. It's a smart solution that neatly sidesteps the bulkiness and immobility of traditional shoe storage.