Helpful Tips For Growing Basil To Ensure A Bountiful Harvest
We may receive a commission on purchases made from links.
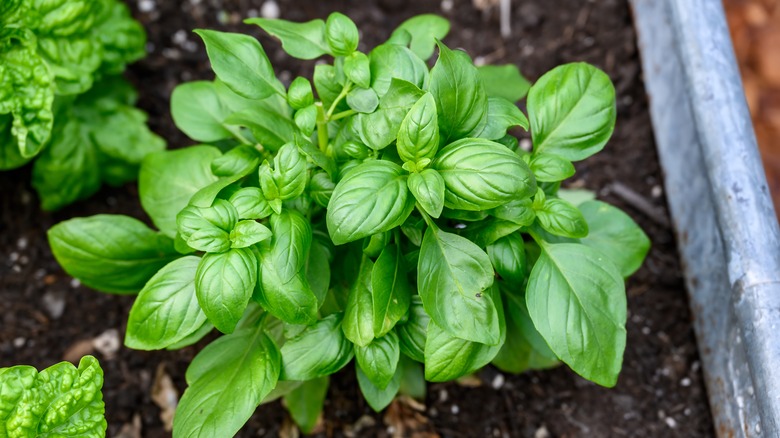
Having fresh basil on hand ensures your home-cooked meals are always full of flavor. The herb works well in a variety of Italian, Mediterranean, and Thai dishes, as it is both sweet and a little spicy. Basil also adds a decorative touch when used as a garnish for a special meal. Whether growing the plant indoors or outside in your garden, there are a few tips on how to grow and take care of basil that you'll want to follow to guarantee a bountiful harvest.
Once you've given your basil plants the basics, such as well-draining soil that remains moist and a location that receives full sun, you'll be ready to move on to a few additional techniques that aid in producing a thriving plant. Whether you're a beginner or a more seasoned gardener, you'll find these tips and tricks are easy to implement. Additionally, you'll discover the added flavor and more fragrant aroma produced by the abundant harvest are quite rewarding.
Use coffee grounds as a liquid fertilizer
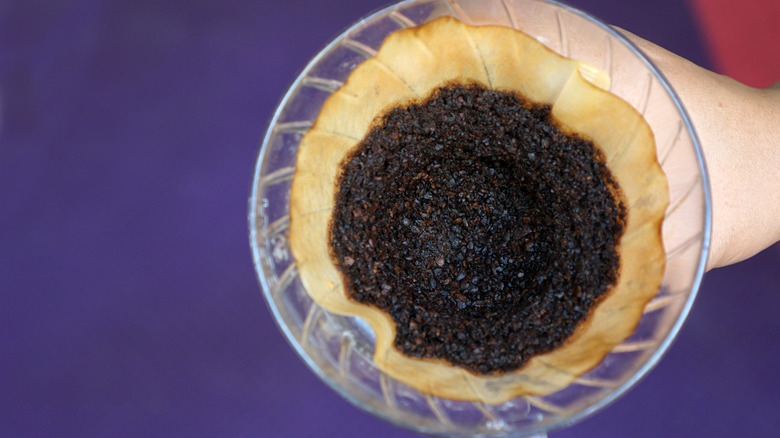
Like most plants, basil benefits from the extra nutrients from fertilizer. However, there's no need to run to your local garden center to purchase fertilizer; the herb will produce a bountiful harvest when given a liquid fertilizer made from coffee grounds. Coffee grounds contain nutrients similar to those of traditional fertilizers, and the grounds also help prevent fungal diseases and pest infestations. The best part is that you can use the wet coffee grounds straight from your coffee pot, reducing waste.
To create homemade fertilizer for your basil, collect 5 gallons of rainwater in a small barrel. Toss in 2 cups of coffee grounds before you go to bed at night. When you wake up in the morning, the brew is ready to feed your plants. You can lightly spray the fertilizer on the plant's leaves and stems or disperse it using a drip irrigation system. Repeat twice per month during the growing season to enjoy a healthy and flourishing crop.
Provide artificial light when bringing basil indoors during cold winters
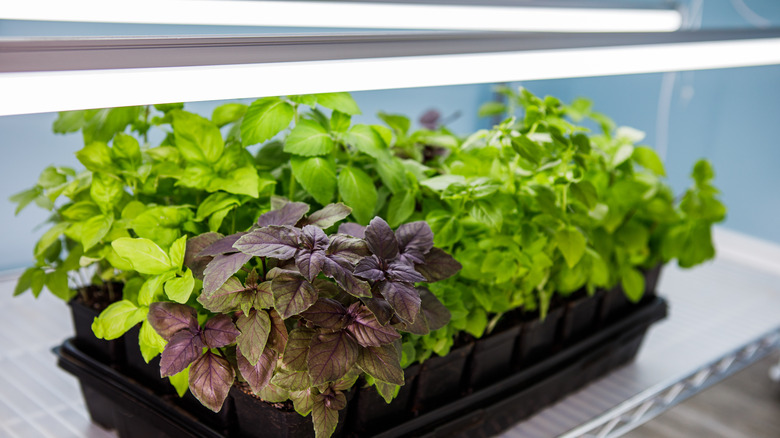
When basil is grown in colder climates, it's best to dig the plant up and relocate it to an indoor space before winter arrives. It's important to keep in mind that basil loves light. That means, in order for basil to thrive, it will need approximately 10 to 12 hours of light daily. Your home may not be able to meet this requirement naturally, so it becomes essential to select a grow light for your indoor plant and its lighting needs.
Set up an artificial light where you plan to keep your basil. If you don't already have a light, you can grab one for as little as $10 on Amazon.
Some lights even has a timer setting for 12 hours, so you can simply program the light to turn on and off on its own. This is an excellent option for individuals with hectic work schedules or busy moms who spend much of their time chasing toddlers. Once you've set up the light, you can go back to following the plant's traditional care requirements.
Choose the right variety for your growing zone
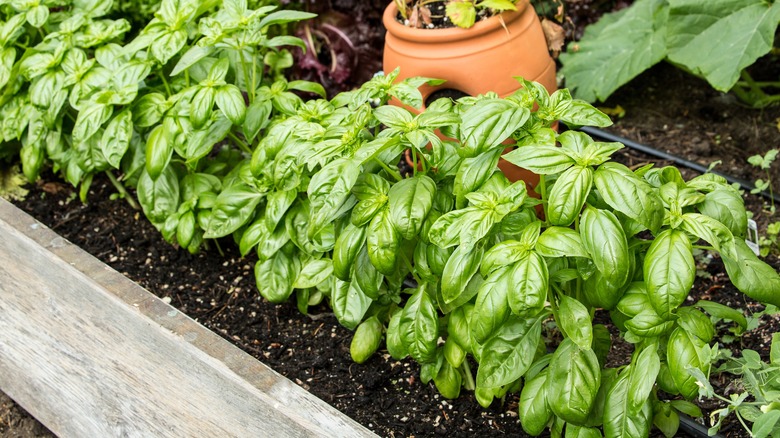
While the exact number of basil varieties is unknown, many believe the number is as high as 150. As you might expect, not all basil types grow best in the same climates. In order to produce a bushy plant, you must make sure the basil variety you wish to grow is labeled for use in your growing zone. No matter where you live, however, there is sure to be a flavorful basil option for your culinary masterpieces.
If you live in a colder climate, such as U.S. Department of Agriculture (USDA) plant hardiness zones 3 through 5, you'll find that sweet basil (Ocimum basilicum), purple basil (Ocimum basilicum 'Purpurascens'), or lemon basil (Ocimum basilicum 'Citriodorum') are able to handle lower temperatures. Should you reside in a more tropical climate, like USDA zones 9 through 11, you'll need to go with varieties like Thai basil (Ocimum basilicum var. thyrsiflora) or Genovese basil (Ocimum basilicum), as they are not cold hardy.
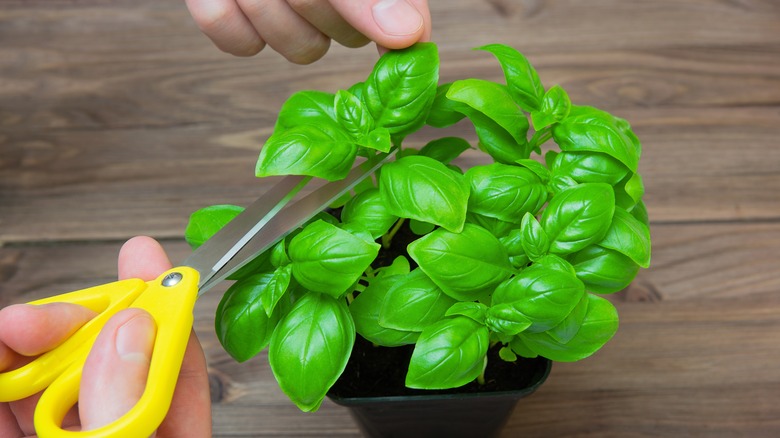
Harvest basil earlier rather than later

If you want a bountiful harvest, you'll need to begin picking the basil earlier rather than later. Otherwise, the plant switches its energy from providing you with fresh basil leaves to producing new seeds. Pay attention to the temperature and the height of the basil. The Old Farmer's Almanac, in "How to Grow Basil Plants: The Complete Guide," says the plant is ready for harvest when temperatures are around 80 degrees Fahrenheit and the plant has reached a height of around 6 to 8 inches.
Grab a set of kitchen scissors or a small pair of pruning shears and head out to the garden first thing in the morning. Harvest the basil by cutting off the leaves, being sure not to remove more than 20% of the plant at one time. Repeat weekly during the growing season. A healthy plant will produce between 4 and 6 cups of basil each week. If you can't use all of the basil, you can freeze some for later use or give some away to family and friends.
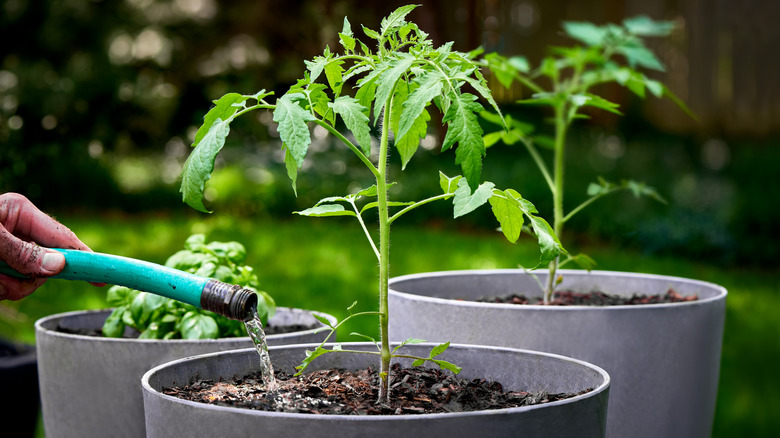
Add tomatoes or marigolds as a companion to basil

When sowing, it's important to consider companion plants that will thrive alongside the basil and provide additional benefits to the crop's success. Regarding basil, both tomato and marigold plants have something to offer. Tomato plants provide basil with shade and moisture retention, while marigolds deter pests that are known to frequent the plant.
In order for plants to work well together, they need to have similar growing requirements, which basil, tomatoes, and marigolds do. They all enjoy plenty of sunshine and a well-draining soil that remains moist. When opting for tomatoes as a companion plant, you have the option of planting the basil seedings around already-established tomato plants or sowing the seeds in the ground at the same time as you're transplanting newly established tomato plants. Marigolds planted directly next to basil should be done at a depth of ¼ inch. Each plant should be spaced 12 inches from the next.
Fertilize the soil with liquid seaweed
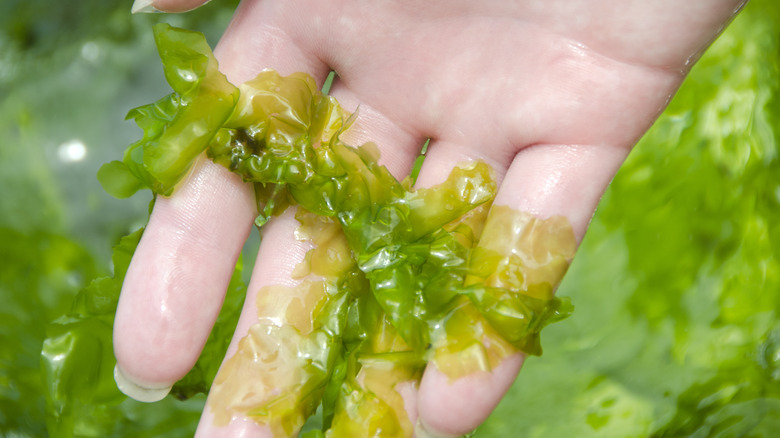
If you don't have any coffee grinds because you don't regularly drink caffeinated beverages, you can still give your basil some additional nutrients with liquid seaweed. Seaweed provides micronutrients that plants need, and it can be used alongside a fertilizer that meets the plant's traditional nitrogen, phosphorus, and potassium requirements. Rodale Institute describes how to utilize seaweed to increase the fertility of the soil and make the basil better able to resist pests and diseases.
Seaweed is sold in a powder that needs to be mixed with water to create a liquid fertilizer for your basil. You'll find bags are available on Amazon for just under $20. Follow the directions on the packaging to properly mix the seaweed with water, as some manufacturers list ¼ teaspoon per gallon, while others require 1 tablespoon per gallon. Once the liquid fertilizer has been prepared, you can spray it directly on your plant's leaves or onto the soil surrounding the base of your basil plant. This fertilizer works well on both indoor and outdoor plants.
Note: Some companies recommend also adding a small amount of liquid soap to the seaweed fertilizer, as it helps the fertilizer stick to the plant.
Set up a barrier to protect basil from the wind
When adding basil to your garden outdoors (rather than indoors), you'll have to consider wind if you want to grow a prolific plant. Basil doesn't particularly like wind, so you'll need to offer it protection. It's essential, however, that you don't use any wind protectors that block the sun, as basil requires full sun to thrive. In addition to wind barriers, you can also plant basil in locations where nearby structures offer natural protection from the wind.
Take a look around your property to determine if any structures exist that could offer wind protection, such as a shed, fence, gazebo, arbor, or pool house. Keep in mind that the sun must still be able to reach the basil. If no structure is available, you can use mesh bags to protect your garden instead. Home Depot has a variety of these barriers for as little as $40. You simply anchor the mesh dome over the basil plant for instant protection. As an added benefit, the dome will also keep out small critters and fallen leaves.
Use a glass of water to propagate basil

As long as your basil plant is healthy, you can use it to create new plants, thus increasing your total yield. While you can grow the herb by seed, it's much easier to propagate the plant using a glass of water, which requires less time and energy on your part. In fact, the process is so simple that even a novice gardener can do it. Plus, this method is cost-free, so you won't need to head back to the garden center to purchase seeds or a new plant, saving you money!
Locate a section of a healthy basil plant that hasn't yet produced a flower. Cut just underneath a leaf node using a sterilized pair of kitchen scissors or shears. You want the section to be at least 4 inches in length. Remove the bottom 2 inches of leaves and then place the cutting in a small glass of water. Move the glass to a location that receives plenty of light, and then keep an eye out for roots. You'll need to change out the water every couple of days, but once the roots have grown to a length of 2 inches, you can plant them in a pot and follow all of the traditional growing requirements.
Note: While it isn't necessary for basil, a root starter could be key to your propagation success.
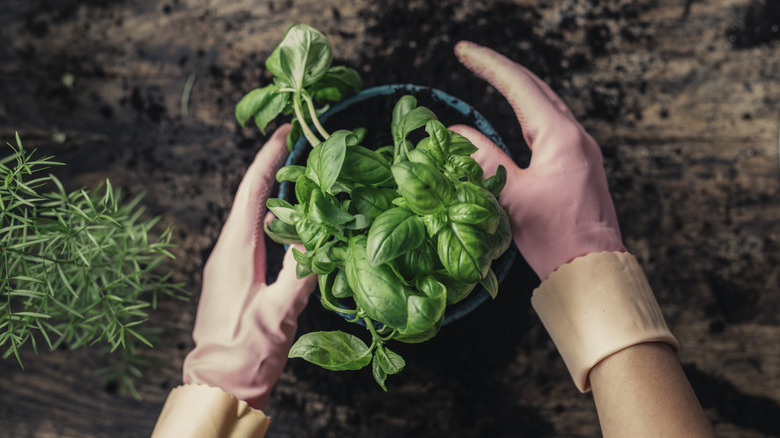
Prune basil to grow new branches
If you are looking for a bushier basil plant, you'll need to practice pruning. Pruning is essential for keeping the plant healthy, as well as encouraging new growth. Additionally, if flowers are allowed to emerge on your basil plant, the herb's flavor will be negatively impacted. Before you begin, make sure you have sterilized a pair of kitchen scissors or pruning shears so that disease isn't introduced to the plant.
Wait for new plants to reach a height of 6 inches and to have at least six leaves before you begin pruning. Once these conditions are met, use the scissors to trim down to the second set of leaves. Keep an eye on the new branches as they develop, and prune each of those back down to the first set of leaves once they have grown at least six leaves. Anytime you see a flower, simply pinch it off with your pointer finger and thumb. You don't have to toss the flower, as it is edible. Consider adding it to your next salad. After approximately six weeks, you can switch from pruning to harvesting.
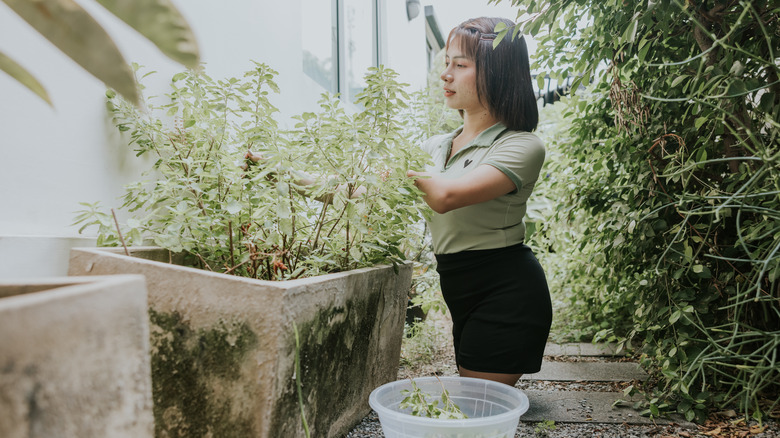
Separate crowded store-bought basil
When you purchase a pot of basil from the store, the plant is often too crowded to produce a bountiful harvest. This is because the pot is actually housing a host of smaller basil plants. For a larger abundance of basil, you'll need to separate the herb and then plant each section into its own pot. Follow the helpful tips here and each pot is sure to produce an abundance of healthy basil.
Place your hand around all of the basil stems, and then gently pull the plant out of the pot. The soil will come out with the plant. Carefully remove each section of basil at the roots. Transfer each section to its own pot. Rennie Orchards describes the best pot size for basil, pointing out that the more room you give basil to grow, the bigger the plant will get. They recommend using a ½-gallon pot when keeping the herb indoors and a 2-gallon pot when setting the herb outdoors.
Note: If planted outside in the ground, make sure the plants are properly spaced to avoid overcrowding.
Avoid watering basil from above
Basil is one herb that does best with plenty of water and soil that is kept nice and moist but not sopping wet. Typically, basil thrives when watered every three to four days at a depth of 1 ½ inches. Of course, temperature, wind, and humidity can all alter the actual amount needed. How much water you provide the plant is only one factor in increasing your yield. Knowing the best method for watering your basil plants is the other. Improper watering not only results in the plant wilting but can also leave the herb susceptible to a variety of fungal diseases.
When you water your basil plants, make sure you never get the water directly on the plant's leaves. You want to stick to watering around the plant's base in the soil rather than overtop the basil. The best time to give your plants a drink is first thing in the morning. Always check the soil before administering the water to avoid overwatering. You only want to water if the top 2 inches of soil are dry.
Increase sunlight with a reflective mulch
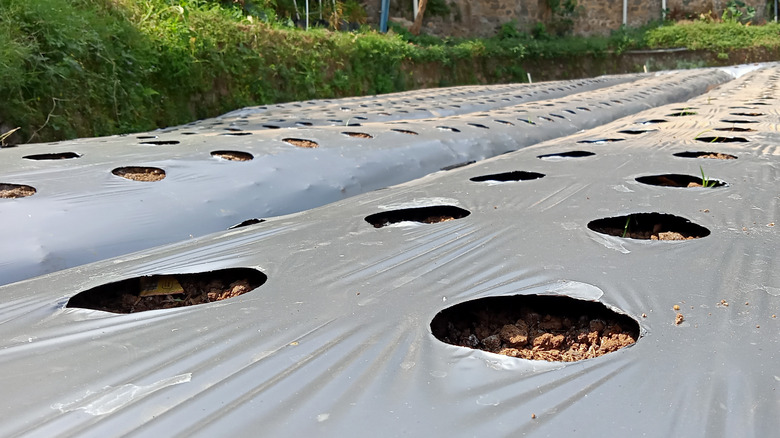
As mentioned above, no matter which variety of basil you choose to grow in your home or garden, providing the herb with plenty of sunlight is a must. Basil uses solar energy to create the nutrients needed to thrive. Setting the plant in a location that receives full sun is just one way to ensure your basil gets enough light. You can also apply reflective mulch around basil grown in the garden to help redirect sunlight to the plant.
To prepare your garden for the reflective mulch, start by removing all the weeds. Since reflective mulch is sold in rolls, you'll need to measure and cut a section to fit in the area you plan on using for your basil. To secure the mulch, you can either push an anchor down over each corner or set a rock or a pile of soil over the corners. Next, cut out your planting holes and transplant the basil. You can purchase the reflective mulch on sites like Amazon for as little as $20. If budget is an issue, there's also the option to lay down landscaping fabric and paint it with silver spray paint.