Common Hydrangea Issues To Know About Before Growing Them In Your Garden
Hydrangeas (Hydrangea spp.) are beautiful flowering plants that can generally be grown without too much trouble. There are, however, a few common mistakes everyone makes when planting hydrangeas. If you fail to avoid these mistakes, or if you've inherited hydrangeas from a previous homeowner who did, a few problems can crop up. Even if you do everything right, issues can still occur, like the appearance of the insidious Japanese beetle or hungry garden slugs.
Fortunately, there really isn't much that can go wrong with a hydrangea that you can't fix. Once you've identified the problem, a little know-how can usually fix you right up. Sometimes, as in the case of incorrect pruning, the answer is as simple as waiting until next spring so that the plant has time to develop and bloom on old wood. In other cases, a little extra water will do the trick. Whatever you run into, it will be easier to deal with if you're prepared and know about common hydrangea issues before you plant them.
The plants won't bloom
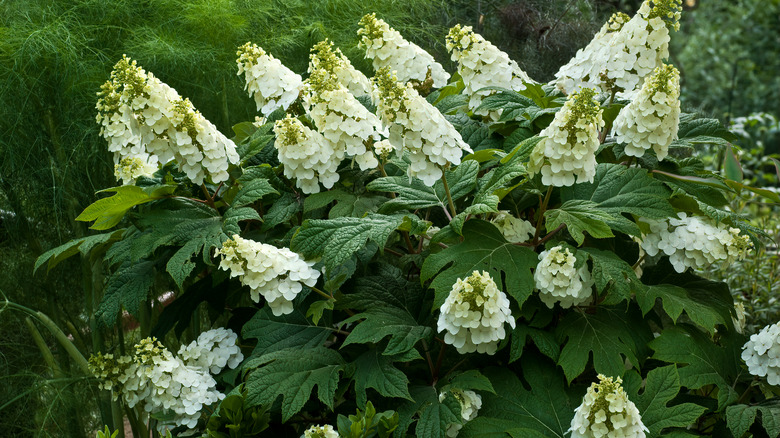
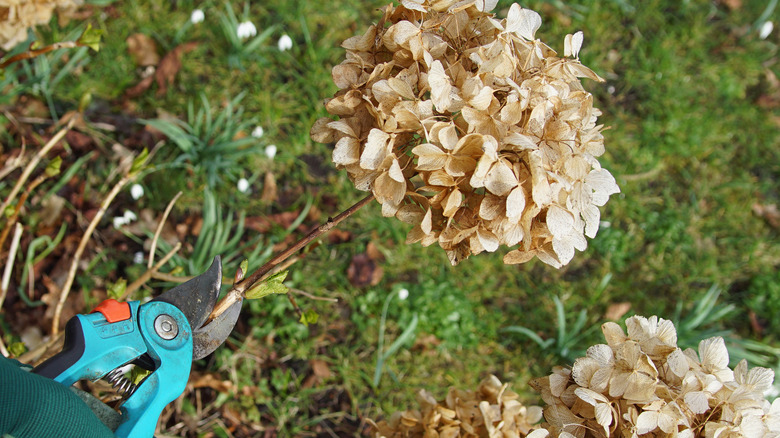
You probably wanted to plant your hydrangeas for their beautiful flowers, so a plant that refuses to bloom is beyond frustrating. Often, the problem is improper pruning. Several species of hydrangea bloom on old wood, so pruning at the wrong time of year means you'll cut off next season's blossoms. Species that bloom on old wood include oakleaf hydrangeas as well as many bigleaf and mountain varieties that don't rebloom. Although pruning is often the issue, too much nitrogen can also limit blooms by encouraging the plant to focus on leaf growth instead of flowers.
Although hydrangeas do enjoy part shade, too much will prevent them from flowering. Ideally, you should pick a planting spot that gets morning sun and afternoon shade. If you have a variety that blooms on old wood, you really don't need to prune it at all except to remove dead or sick limbs, which should be done in the spring. Another key to getting blooms is to watch your fertilizer. An 8-16-6 or similar fertilizer ratio works best and will help you avoid providing too much nitrogen at the expense of blooms.
The flowers won't change colors
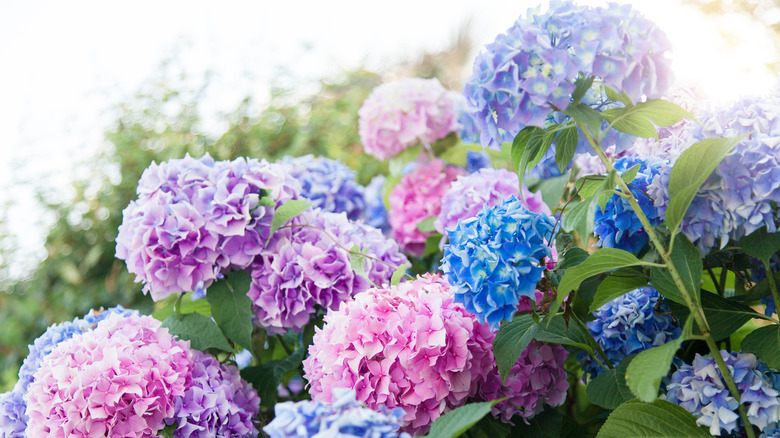
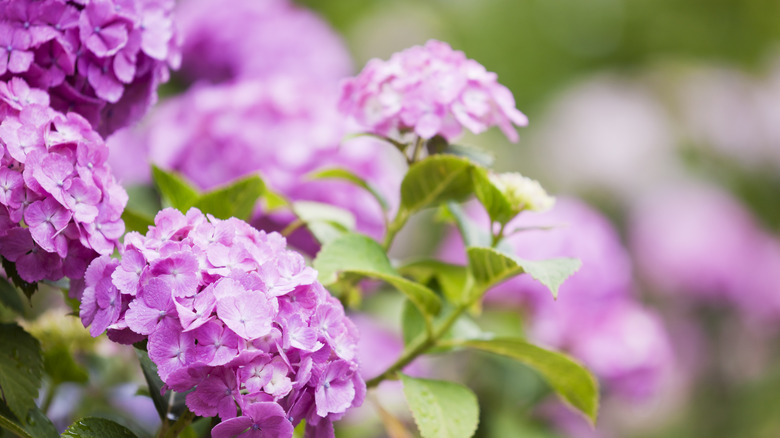
People often plant hydrangeas expecting to be able to alter the color of their flowers. While it's true that changing the soil pH can change the blossoms' color, this trick only works on two hydrangea species: bigleaf and mountain. You can't change the color of other hydrangeas, and trying to can create other problems since altering soil pH changes the availability of nutrients. Your flowers may stay the same color, but purple leaves indicate a plant that needs more phosphorus. Yellow leaves with green veins mean the plant needs more iron.
If you have a color-changing variety, lowering the soil's pH will make the flowers blue, and raising it will turn them pink. You can lower soil pH by adding elemental sulfur or aluminum sulfate. To raise it, apply limestone or hydrated lime. You have other options as well, as there are ways to change your hydrangea color. If you can't get your flowers to change color no matter what you try, it's probably best to stop trying. Monkeying around with soil alkalinity can cause the problems listed above and create other issues as well. If your plants won't change, try to simply enjoy them as they are.
The leaves are droopy and sad
Sometimes the leaves on hydrangea plants wilt and droop. This can be quite a dreary sight, especially on bigleaf hydrangeas. This is normal during periods of extreme heat, but it could also mean you'll need to adjust your watering schedule.
The best way to avoid this problem is to plan ahead when planting. Hydrangeas like morning sun but afternoon shade. If it's too late to change positions, watch your plant closely. If it looks droopy in the afternoon but recovers by the next morning, you're probably fine. But if it still looks sad tomorrow, your first step is to make sure it's surrounded by a 2 to 3-inch layer of mulch to help the soil retain water. You'll also want to water whenever the soil 1 or 2 inches deep feels dry.
If the overall plant looks okay but the flowers droop, ease up on the fertilizer. Too much nitrogen produces lots of leaves and thin stalks that can't support the weight of large hydrangea blossoms.
There are holes in my hydrangea's leaves
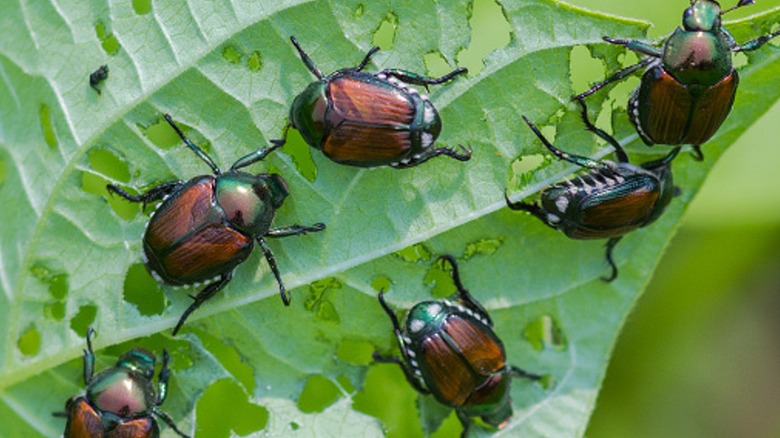
If you find holes in your hydrangea's leaves, you're not the only one enjoying the plant — insects have probably been nibbling on it. Holey leaves mean you are likely playing host to Japanese beetles, caterpillars, or slugs. It's easy to determine which one you have with just a quick look at your plants since each of these well-known pests looks very different.
Japanese beetles are problematic because they often show up in large numbers. Although most prevalent on oakleaf hydrangeas, these pests can attack any species. The best way to remove them is to pick them off by hand and drop them into soapy water or shake the plant in the morning when the bugs are most sluggish. If you shake the insects off, try to shake them onto a blanket and then drop them into soapy water. You can also treat the plant with neem oil. Additionally, you may be able to rid your garden of Japanese beetles with a simple two-ingredient mixture. Avoid Japanese beetle traps, however, as these use pheromones that can attract even more insects to your garden.
Caterpillars, too, are best removed by hand, as are slugs on the rare occasion when you see these nocturnal pests. You can help prevent slugs by raking up fallen leaves regularly. You can also kill slugs with beer traps. Just bury an empty tuna can near your hydrangea so that about an inch remains above the ground. Fill the can with 2 inches of beer, and remove the drowned slugs in the morning.
The leaves are covered in brown spots
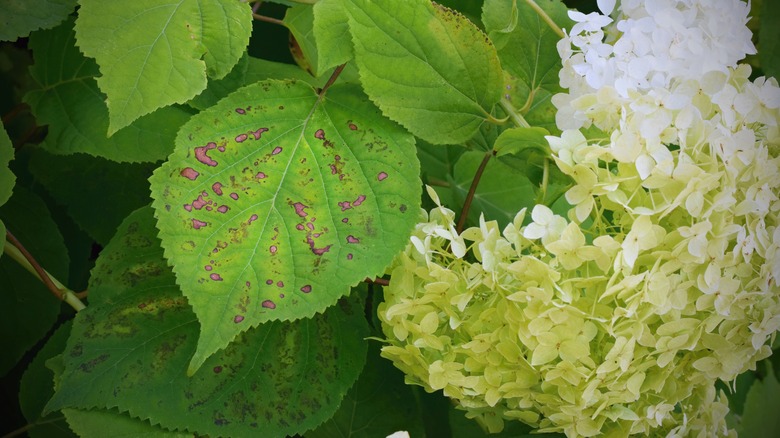
Sometimes hydrangea leaves become covered in brown or gray spots late in the summer or early in the fall. If you look closely, you will usually notice that the outside edges of these spots are a reddish-purple color. These spots indicate a fungal disease caused by the Cercospora hydrangea fungus. Fortunately, this infection is unsightly but not fatal. You can, however, take steps to prevent it if it bothers you.
To avoid spreading the fungus, always water the base of the plant and avoid wetting the leaves. Water in the morning as well, so that the sun has adequate time to dry the plant during the day. If you see spots on any leaves, remove them and rake up the fallen leaves from the ground.
If you've had problems with Cercospora in the past, you can prevent future outbreaks by treating the plant with fungicide early in the spring. Choose a product that contains chlorothalonil, mancozeb, or thiophanate-methyl. Reapply the fungicide about every two weeks. These products work as preventatives but not treatments, so don't expect them to clear up problems once they're already present.
The leaves are covered in black and purple spots
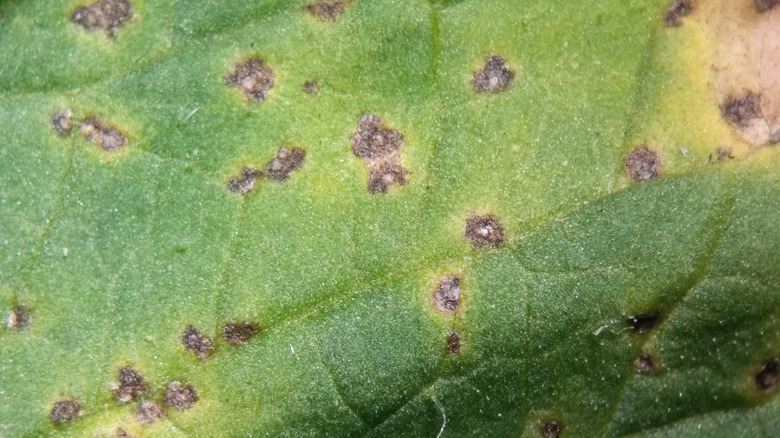
While fungal leaf spot features multi-colored lesions, bacterial leaf spot typically involves uniformly colored black or purple spots. These spots are caused by the bacteria Xanthomonas campestris, and the spots typically appear some time in June. These spots usually start on the bottom of the plant and work their way up. Happily, this is another disease that may make your plants look bad but won't kill them. It does tend to be worse on oakleaf hydrangeas than on other varieties. It can also impact other plants in your garden, so you will want to know what leaf spot is and know if it's wreaking havoc on your plants.
Unfortunately, there really aren't any effective treatments or preventatives for this bacterial leaf spot. Copper fungicides may provide limited protection when applied late in the spring but are usually unable to slow the disease during the warm, wet weather that it likes. Your best bet is to plan your plantings in a way that gives your hydrangeas plenty of breathing room and avoid watering them from overhead. If you see the spots on a leaf, remove it immediately.
My blossoms are turning brown
Hydrangea flowers are big and bold, so it's obvious when something is wrong. If it becomes an issue for you, you'll surely want to know why your hydrangea flowers are browning and how to fix the problem. Although the blooms sadly won't last forever, if they're browning too quickly, the culprit is likely too much sun and/or not enough water. Unfortunately, blossoms may prematurely brown if they are allowed to get too hot, even if you fix the issue. Flowers that have been allowed to dry out too many times may be beyond saving. An overheated plant will usually recover with a little water, but one that has gotten too hot too many times may not be able to keep the current round of blooms.
To avoid this problem, plant your hydrangea where it will receive part shade. Morning sun and afternoon shade is the best combination. Water your plants if Mother Nature isn't providing at least an inch of water per week. When the mercury rises, even daily waterings could be necessary, so keep an eye on the heat and soil moisture. If your plant is sitting in full sun and getting droopy with crispy blooms, consider transplanting it to an area with more shade or potting it so that you can move it as necessary.
There is mildew on the leaves
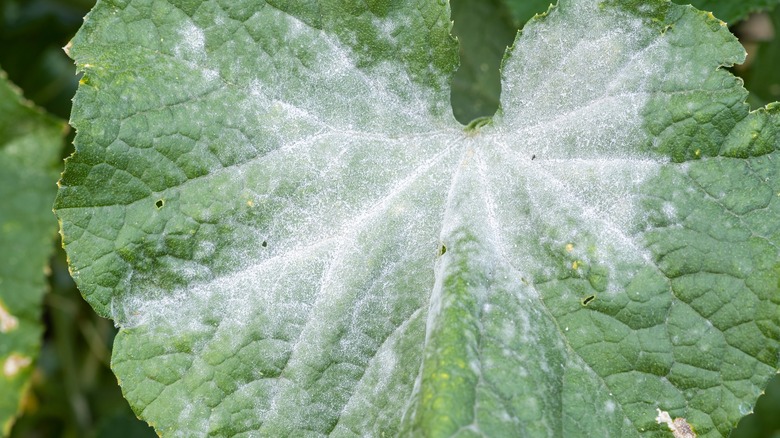
Sometimes hydrangea leaves are covered with a white powdery film. This is a fungal disease known as powdery mildew that is common on plants that like shade. Although not lethal, powdery mildew can slow or stunt a plant's growth, sometimes to the point where the plant stalls and stops growing. Of course, the issue can also be an aesthetic one, as most gardeners dislike the look of powdery mildew.
Fungicide sprays and horticultural oils can help with powdery mildew, but as is often the case with fungal infections, these chemicals often work better at preventing the disease than treating it. You should start using these treatments during hot days, followed by cool nights, as this is when the condition is most likely. Cultural controls tend to work best, so clean up fallen leaves and follow hygienic gardening practices, including removing affected leaves. When planting, provide adequate space between plants to ensure adequate airflow. Following this and other basic tips for growing a healthy garden reduces the risk of disease.