Deep Clean Your Juicer With Kitchen Ingredients You Already Have
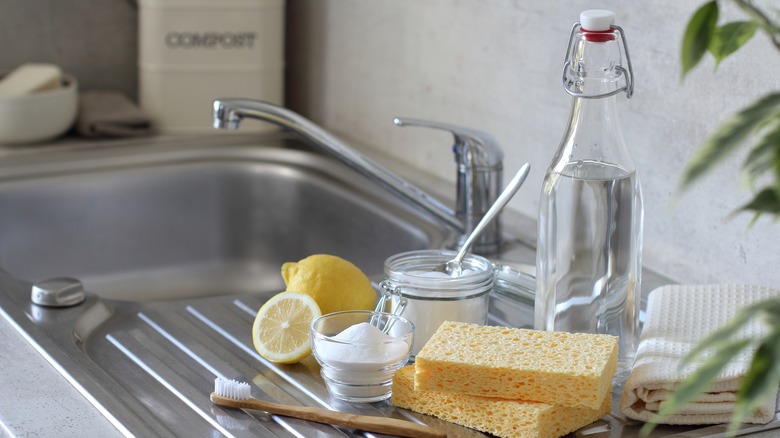
Making your own juice at home is a great way to save money and boost your nutrient intake, and having a juicer makes that process much easier. The main downside of juicers? Cleaning. It's like cleaning a blender but harder because of the extra parts. Luckily, you can deep clean your juicer with kitchen ingredients you already have in your kitchen, such as vinegar, baking soda, and lemons.
Best practice is to clean your juicer after every single use. This prevents buildup from hard water minerals and food particles, keeping your juicer working properly for longer. It also reduces your risk of illness: When old pulp sits in the juicer, it quickly breeds bacteria that will end up in your next batch of juice.
The less often you clean your juicer, the more work you'll have to put in when you do clean it. But every juicer could use a deep clean from time to time. Vinegar and baking soda get rid of mineral deposit stains as well as regular food stains — and in a pinch, lemons can do the trick.
How to deep clean a juicer naturally
There are a few ways to deep clean your juicer using household ingredients. Soak the juicer components overnight in a baking soda and water solution (one tablespoon of baking soda to one liter of water). The next day, sprinkle more baking soda, scrub with a brush, and rinse. You can also use vinegar in a similar manner: Soak the juicer components overnight in a solution of one part water to one part vinegar for 30 minutes, then rinse.
Baking soda's gentle abrasive action is great for scrubbing and loosening scaling, while vinegar's acidic pH level allows it to dissolve the minerals in hard water stains. There's no need to combine the two ingredients — mixing baking soda and vinegar to clean isn't very effective except for the bubbles. However, you can use vinegar and baking soda at different stages to reap the benefits of both. One method is to sprinkle baking soda on the stain, let it sit for 30 minutes, and then scrub it with a cloth dipped in vinegar.
One last technique is to use citrus on hard water buildup. Citric acid is highly effective for removing mineral deposits if you happen to have any on hand, but lemons also contain enough citric acid to be worth a try. Juice a lemon (rinds and all) in the juicer, then remove the components to air dry. Then, soak them in warm water for three to four hours, then scrub and rinse.
Other juicer cleaning tips to know
When you deep clean your juicer, be careful not to soak parts that aren't water-friendly, such as the sensor area of the housing or the base — check your manual if you're unsure. Always unplug and carefully disassemble the juicer before cleaning. For the parts that you soak, let them air dry fully before reassembling the juicer. For the parts that can't soak, wipe them down with a microfiber cloth, dampened with water and vinegar, then towel dry them.
You can reduce how often you have to deep clean your juicer by practicing good juicer hygiene. Not only should you clean your juicer after every use, but you should do so right away — letting it sit for even a few minutes can result in hardened debris that's more difficult to remove. If you can't wash it right away, let the components soak. Regular old dish soap is perfect for soaking and gently scrubbing your juicer parts using warm water. Some juicer components are even dishwasher safe.


