7 Gardening Tools You Should Be Sharpening Regularly (& How To Do It Properly)
The shovels, pruners, edgers, and other bladed tools we use so often in the garden need regular sharpening to work as expected. Dull blades can take the fun out of your gardening time in a few ways. First, a dull tool is a tool that's harder, and possibly more dangerous, to use. Jobs that should be straightforward take more time and effort than they should, and often the results aren't as neat and clean as you'd like. In addition to fatigue, working with dull tools can also result in injury because you have to use additional force to cut through something. Dull tools also result in ragged cuts, which leave your plants, from lawn grasses to trees, more susceptible to pest and disease issues.
In general, you'll need a few tools to undertake most sharpening jobs. A metal file or sanding stone (or a range of them, from coarser to finer grit), vise or clamp, and pumice stone or steel wool are all important to have on hand. Cleaning cloths and lubricants (such as machine oil or WD-40) are also important for keeping the blade in good shape. And don't forget safety equipment. Leather gloves and eye protection are essential to stay safe while sharpening your garden tools.
Keep pruners and shears sharp to reduce plant diseases
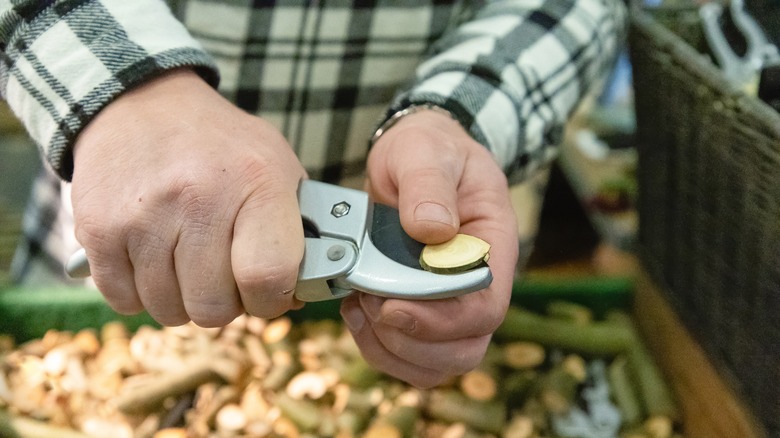
Pruners and shears are among the most often-used garden tools, and because of this, they can quickly become dull. This dullness makes them more difficult to handle, but, even more so, jagged cuts can introduce pest and disease issues to plants. How often you'll need to sharpen garden shears will depend on how often you use them. It's a good idea to inspect and clean the blades after each use. If you notice that they're binding up when you prune with them or leave ragged, messy cuts, it's time to sharpen.
When sharpening your shears, you'll need to determine whether you have anvil or bypass types. Anvil shears only require sharpening on one blade, while bypass shears need both blades sharpened. To sharpen, inspect the blades for nicks, then use a sharpening stone or emery paper to remove them and refine the edge. Afterward, deburr the blades to remove any metal burrs, lubricate them with oil, and lubricate the screw joint for smooth operation.
Make digging easier by keeping shovels sharp
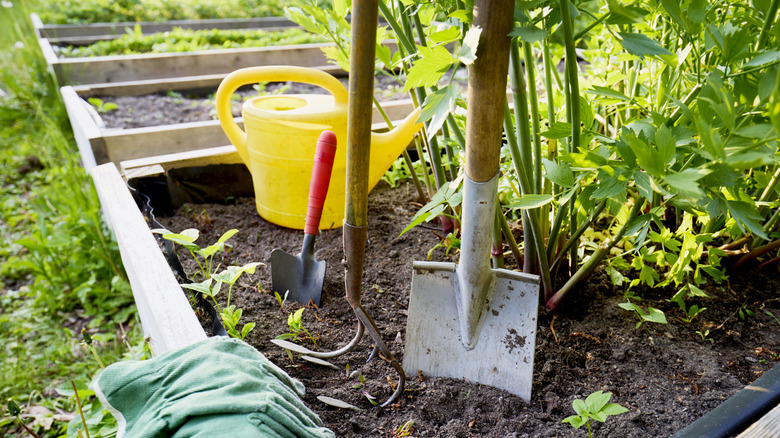
Garden shovels tend to take a beating. Not only are they tasked with powering through soil, but it's common to hit rocks and large roots when digging, which dulls them even more. A dull shovel requires more effort to cut through soil, leading to fatigue and potential back strain. A sharp shovel can make a cleaner cut, reducing the risk of damaging plant roots.
A well-maintained shovel can also last longer, saving you money in the long run. Luckily, sharpening a garden shovel is a fairly simple task and you can accomplish it in a couple of ways. To start, secure the handle of the shovel to a sturdy surface with clamps or a vise. Clean off any dirt or debris with a brush or scrubber. Once it's clean, you can use a file or a sharpening stone to smooth out the edge of the blade, first on one side, then on the other. Start with a coarser grit and gradually move to a finer grit for a sharper edge. Or you can sharpen a shovel with an angle grinder for quicker results.
Sharpen garden hoes for easier weeding
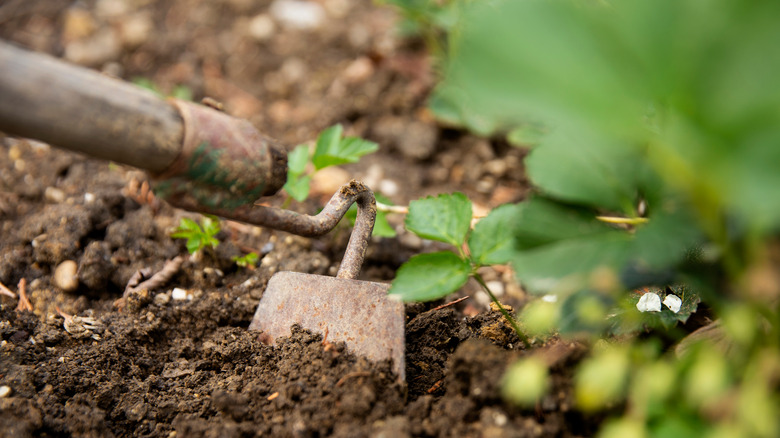
Garden hoes work by cutting the stems of weeds just below the surface of the soil. They take a lot of abuse from hitting rocks and roots, and a dull blade won't cut the weed stems as easily. It makes it harder on the gardener, and in some cases, a dull blade might just scrape the stem rather than cutting it cleanly, which means the weed might keep growing.
Sharpening various types of garden hoes is similar to sharpening a shovel. Start by cleaning the hoe to remove any dirt or debris. Then, use a file or a sharpening stone to smooth out the edges of the blade. Start with a coarser grit and gradually move to a finer grit for a sharper edge. Be careful when sharpening not to alter the original angle of the blade. Once the blade is sharp, it's not a bad idea to protect it from rust by rubbing it with mineral oil or spraying the blade with WD-40.
A sharp ax (or hatchet) makes pruning easier and safer
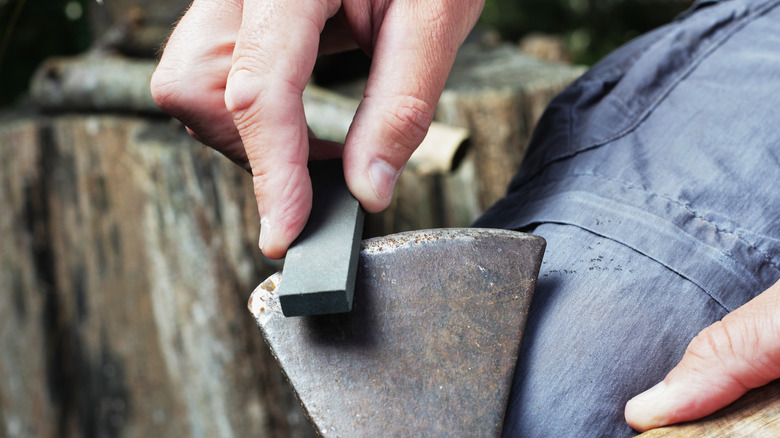
A sharp ax or hatchet is helpful for chopping wood, clearing brush, and pruning trees. A dull ax requires more force to cut through stems and branches, increasing the risk of injury and fatigue. Just as importantly, a sharp ax or hatchet makes cleaner cuts, which reduces the chances of splintering or damaging your trees or shrubs. Damage from ragged, messy cuts can invite pest and disease issues as well, since any pruning wound can be an entryway for pathogens, but a messy, ragged one takes even longer to callous over. This leaves the tree or shrub more vulnerable to these pathogens.
You can tell your ax needs to be sharpened if it's becoming harder to cut with it, but you can also inspect the edge. If you see flat spots or nicks in the blade, it's time to sharpen. You'll need a file, a vise, and a cloth for cleaning the blade, along with your protective gear. Start by cleaning the head of the ax to remove any debris, then secure it in a vise clamp. Use a file to sharpen one edge, maintaining the original bevel. Then move on to the other side of the blade. Inspect the blade to make sure any imperfections have been removed. Wipe a lubricant over the newly-sharpened ax head to keep it rust-free. While a file is the most common way to sharpen an ax, you can also use a sharpening stone or an angle grinder, with the same basic process of sharpening one side of the blade and then the other.
Sharpen metal weed whacker blades for a neater-looking lawn
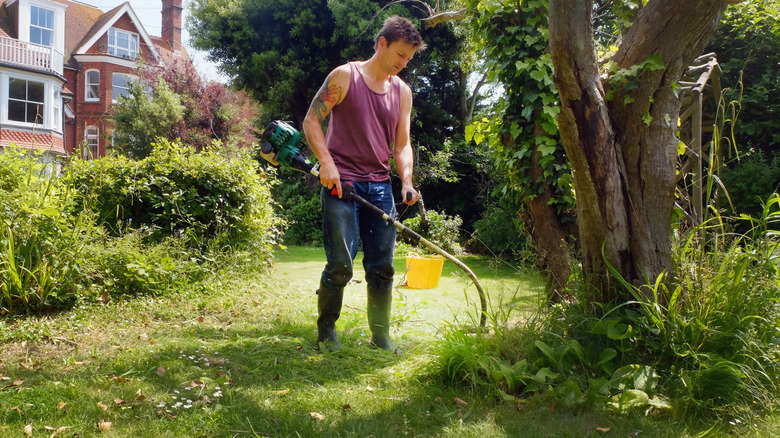
A sharp metal weed whacker blade is essential for efficient trimming and edging. A dull blade can lead to uneven cuts, which can damage plants and leave behind unsightly debris. Additionally, a dull blade can require more force to use your weed whacker, increasing the strain on your body and the tool itself. The more often you use it, the more often you'll need to sharpen your metal weed whacker blade. Inspect the blade after each use to determine if it's time to give it some attention.
Before you start, unplug the weed whacker (if you have a corded model) or disconnect the battery. Follow the manufacturer's instructions to remove the blade from your weed whacker, then evaluate it. Small chips and dents can possibly be fixed with sharpening, but if you notice cracks or a heavy amount of damage, it might be better to replace the blade entirely. Attach the blade to a vise or clamp it down, then don your safety equipment. The most common tools for sharpening a metal weed whacker blade are files or a bench grinder. A file will be more than enough for most homeowners.
Use the file to sharpen first one side of the blade, then the other, maintaining the original angle to remove any burrs, nicks, or unevenness. The edge should be consistent and even along the length of the blade. Once you're finished sharpening, reinstall the weed whacker blade, reattach the battery, and you're good to go.
Sharp lawnmower blades reduce lawn pests and diseases
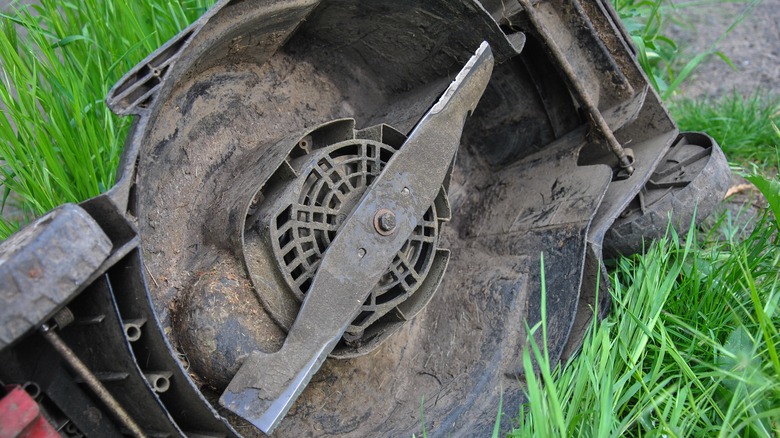
Having sharp mower blades is crucial for a healthy lawn. Dull blades can tear and shred grass, leaving it ragged and susceptible to disease. This can also reduce your lawn's ability to absorb nutrients and water. Additionally, sharp blades cut cleanly, promoting even growth and a neat, clean, green appearance. Ideally, mower blades should be checked for sharpness after every 8 to 10 hours of use. For most gardeners with average-sized lawns, that ends up being two to three times per year.
To sharpen a lawnmower blade, start by disconnecting the spark plug or removing the battery before working on your mower to prevent accidental starts. Remove the blade according to the instructions for your particular model, and secure it using a vise or clamp so it stays put while you work on it. Check for any nicks, wear, or dents in the blade; if the damage is too severe, it might be best to just replace the blade with a new one. Use your file or sharpening stone to sharpen the blade. Work from the tip to the center of the blade, maintaining consistent pressure and adhering to the original angle. Do the same on the other side of the blade, then use a finer-grit file to remove any burrs or roughness from the edges of the blade. Then, just wipe the blade clean with a rag, give it a light coat of oil (to prevent rust), and then reattach it to your mower.
Keep beds and walkways defined with a sharp edger
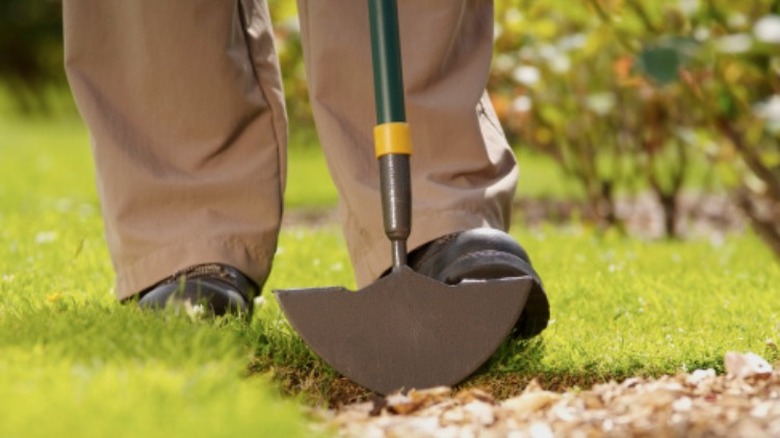
Everyone wants neat, clean edges along walkways and garden beds. An edger is how you get them. These tools are garden workhorses and can take a lot of abuse, especially if you garden in rocky soil. If you have a yard that's full of tree roots, your edger can take damage from them as well. A sharp edger makes it easy and quick to cut through sod, including the roots. This is important because a clean cut both looks neater and prevents the grass from quickly creeping back into the bed. Edging cuts basically "shear" the roots of the grass, exposing them to air, which keeps them from quickly growing back.
Use a metal file or sharpening stone to sharpen a garden edger. These tools need to be sharpened on both sides of the blade, creating a V-shaped cutting edge. Run the file along one side of the blade, maintaining its original angle, then flip it over and do the same on the other side. The edge should be neat, straight, and even, free of dents or gouges. Wipe the blade clean, then coat it with a light layer of oil to prevent rusting.
