Tips And Tricks For Winter Seed Sowing
Winter seed sowing, a clever strategy for getting a head start on spring gardens, is a great way to start your seeds, even if there are still months to go until spring and you still have feet of snow on the ground. This technique involves creating a controlled climate inside a plastic container and provides seeds with many of the same benefits as a greenhouse, while also eliminating the need to harden off the plants before transplanting. As long as you choose the right seeds, correctly create and label your winter sowing containers, and select the right time to open your containers and transplant your seeds, you're sure to find winter sowing one of the easiest ways to start seeds on a budget.
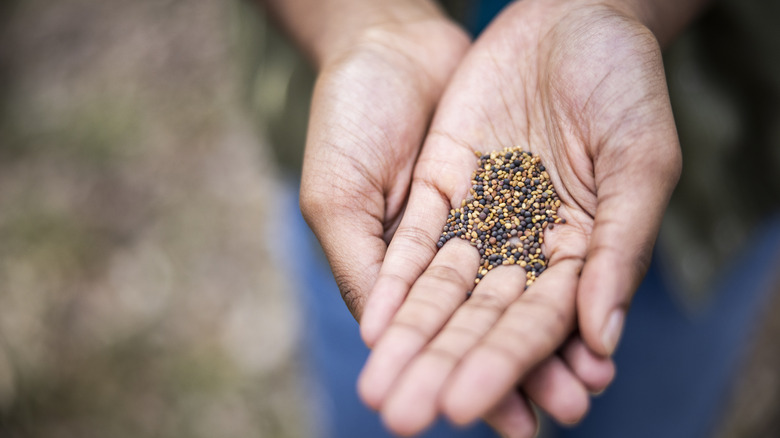
One of the most important things to keep in mind when winter sowing is when to plant which seeds. The method is generally recommended for seeds from native plants and cool season annuals. Seeds that require stratification are especially good options for winter sowing because this method requires far less effort than many other stratification methods, which often involve placing seeds in the refrigerator with a damp paper towel. You can also use a version of the winter sowing method for warm season flowers and vegetables, but these seeds should be started later, in March or April, instead of in December or January as you would for cool season flowers, vegetables, and native plants.
Creating your winter sowing containers
While winter sowing containers can be made out of a variety of materials, one of the most popular strategies is to use old milk jugs. Just make sure your plastic milk containers are clean and are translucent or transparent, allowing a fair amount of light through. You'll also need duct tape, scissors or a boxcutter, and potting soil.
Begin by using your scissors or box cutter to cut drainage holes in the bottom of your milk jug or other container. Then, cut your milk jugs in half horizontally about 4 inches from the bottom of the containers, creating either a hinge or a way to completely lift off the top half of the jug. Next, fill the bottom 3 inches or so of your containers with moist potting soil and plant your seeds at the depths recommended on their packages. Then, put a label inside the container and tape your container closed. Don't put the cap back on your milk jug; your seeds will get water through the hole. Once this is complete, your winter sowing containers are ready to be placed in a sunny area to wait for spring.
When to open the containers and transplant your seeds
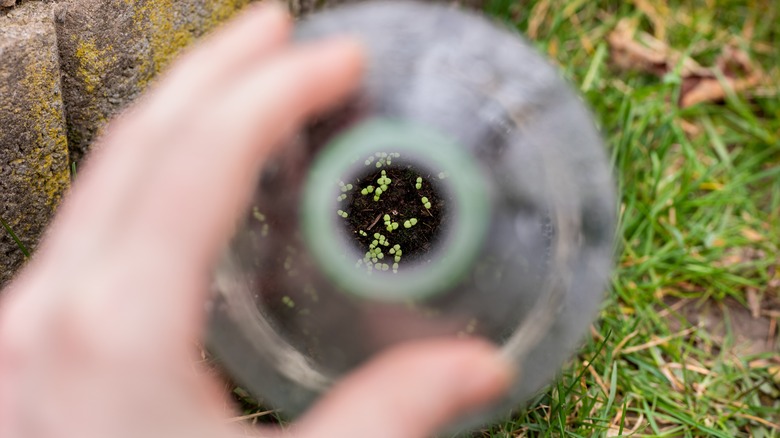
Check in on your winter sowing containers occasionally, especially if you've gone a while without precipitation, and add additional water through the top hole as needed. Once temperature begin to warm and you notice the seedlings growing, you can cut the tape and open the containers on nice days. Continue to close the containers at night, though, if necessary.
Check your seeds' packages to see when they can be transplanted. Planting most seedlings will need to wait until the soil reaches a specific temperature. Once those temperatures are warm enough, and the seedlings are a few inches tall with two sets of true leaves, you can transplant them to their permanent home in your garden. Unlike seedlings grown inside or in large greenhouses, your winter sown plants shouldn't require hardening off to thrive and acclimate well.

