How To Replace A Bathroom Sink Faucet (And Know When To Call The Professionals)
Attempting your own plumbing repairs may seem intimidating at first, especially considering how much damage a water leak in your home can cause. However, there are some jobs that are perfect for intrepid DIYers, and that includes replacing a bathroom sink faucet. Manufacturers make it easy to do by including almost everything you need to replace your old faucet in the kit for the new one. For the most part, replacing a faucet is a simple cosmetic fix. If you're not noticing any leaks or other issues, you should be good to grab a wrench and get to work.
Before you start taking your old faucet apart, run the water for a few seconds to check for any existing leaks. Assuming everything is working properly, you are ready to move forward. Go ahead and turn off the hot and cold water supplies which are usually located under the sink — if you do not see these or they are leaking, it may be worth calling in a professional to install shutoffs which are crucial in an emergency.
Removing an old bathroom sink faucet
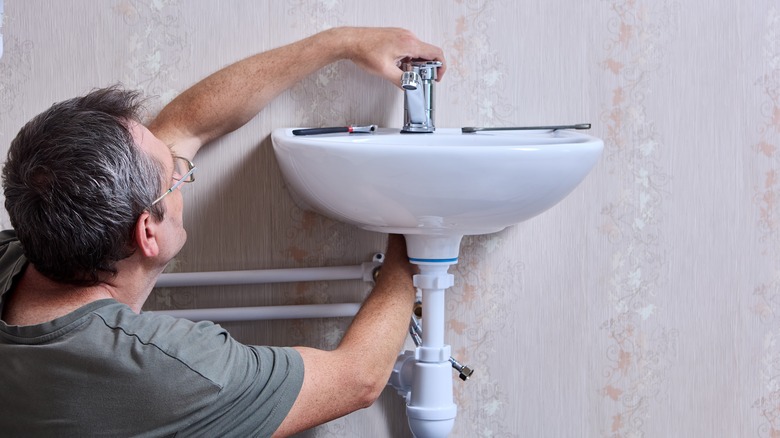
Turn the taps on again just to make sure the water is truly off and the line is empty, and then you are ready to get down to business. Disconnect the old faucet by removing supply lines that run between the shut off valves and the tap — it's a good idea have something handy to catch any water that's still in the pipes. From there, you can remove any washers holding the faucet in place and dislodge the faucet and its gasket from the top. Do the same with the old drain, as most new faucets come as part of a matching set with a drain included.
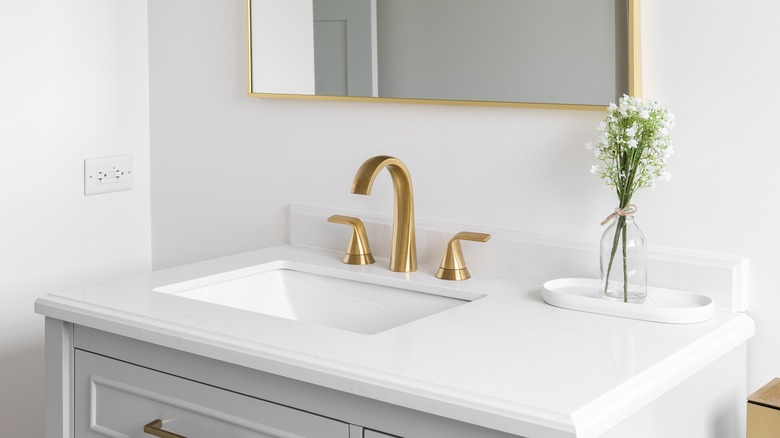
Once the old parts are removed, mix up some soapy water and grab a plastic scraper to remove any residue left behind. With everything cleaned up, you can place the new gasket over the holes in the sink top and position the new faucet securely over the gasket to ensure water cannot penetrate under the fixture. Now you are ready to move on and install your new fixture. If you need help picking out a new faucet, check out this advice on single vs. double handle fixtures.
Connecting the new faucet
It's time to reconnect the hoses using the new washers and nuts provided by the manufacturer. Secure the new hoses to the underside of the taps and to the water lines. The hoses should be color coded to make sure you know which one is for cold water (blue) and which one is for hot water (red). You should also see a rubber gasket inside new supply lines. This helps to create a seal, meaning you do not need plumber's tape or any extra supplies to get a water-tight fit.
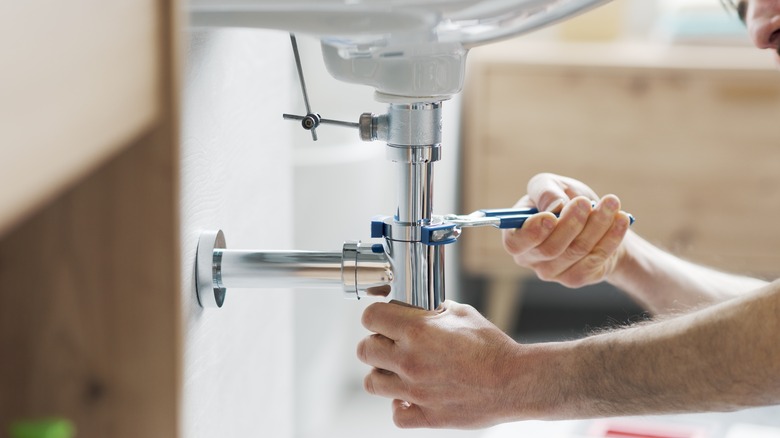
When you replace the drain, be sure to line up the hole on the side of the fixture with the hole in your sink that connects to the emergency drain. When installing the new rubber gasket under the sink, tighten the nuts against it snugly before reattaching the p-trap to your new drain.
Once everything is secured, open the supply valves, as it's time to test for leaks. Make sure everything is dry, then a paper towel under the drain to make it easy to spot leaks. Run the water, and if everything looks good, congratulations! Calling a plumber to replace a faucet can cost between $150 and $400, so you've saved yourself some serious cash. While it's normal to feel proud of yourself after completing a project like this, it's still important to know your limits. Replacing a faucet is a fairly simple DIY, but there are plenty of plumbing projects you should not attempt without a professional. If you're facing major repairs or notice other issues while swapping your faucet, it's better to err on the side of caution.


