The Simplest Method For Installing Cabinet Crown Molding For Beginners
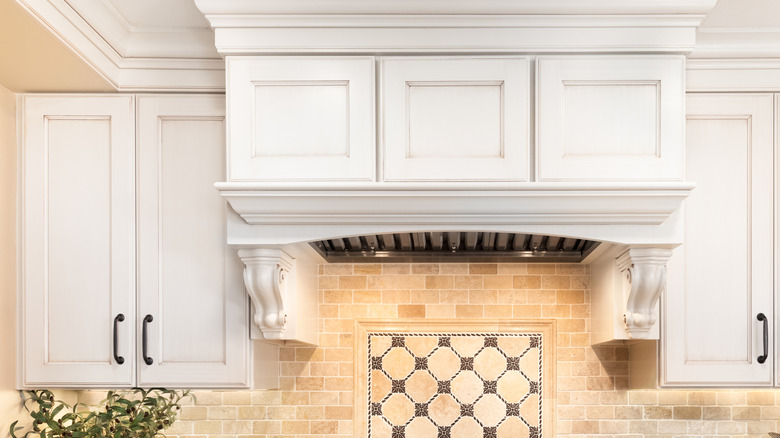
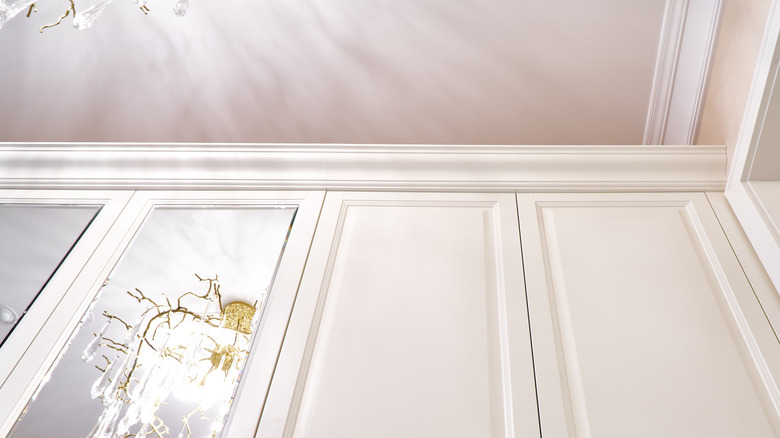
Adding crown molding to your kitchen cabinets can elevate the look of the entire room. It can also be a kitchen upgrade that sets the stage for other improvements like beautiful over-cabinet lighting, as well as decorative touches like faux plants and fancy pottery. Having a contractor install crown molding can cost a pretty penny, though, and about half of that cost is just for labor. For a kitchen cabinet upgrade like this, it may make more sense to buy the supplies and do it yourself. Installing crown molding, though, comes with challenges, and the slightest misstep can leave you having to redo major steps in the project. Fortunately, there is a super simple method for installing kitchen cabinet crown molding that is doable even for beginners. It involves attaching your crown molding pieces to a nailer board and then positioning the entire unit above the cabinets prior to nailing anything in place.
This method gives you elegant-looking kitchen cabinets and eliminates the need for some of the measuring and repositioning that takes place during installation. The crown molding unit is measured ahead of time and then simply slides into place. Whether you are making your own crown molding or buying it ready-made, this method is sure to save you time and frustration. For this project, you need a saw, enough nailer board to line the top of your cabinets, crown molding pieces, measuring tape, a nail gun, a screw driver, wood glue, and an adhesive like 2P-10 Adhesive and Activator.
How to install kitchen cabinet crown molding the easy way
To begin this project, you need to measure the length and width of the top of your kitchen cabinets with a tape measure. These measurements will be used for the nailer board only. Then, cut your nailer board pieces to the length of your measurements. You can attach the side pieces to each side of the front strip using either a mitered butt or basic butt method. To attach the pieces, apply a strip of wood glue and a couple of small dabs of 2P-10 adhesive to the ends of your front strip of wood. Then, spray a small amount of 2P-10 activator onto the glue and attach the side pieces. You can cut and glue your crown molding pieces while you allow the wood glue time to dry. (The crown molding should be measured to the outside edges of the nailer board.)
When your crown molding is assembled and dry, it's time to attach it to your nailer board. To do this, simply place the crown molding unit around the nailer board unit and use a nail gun to secure it from the outside. Then, apply a thin bead of 2P-10 adhesive to the inside seam and spray with activator. Finally, center the entire unit atop your cabinets and secure it with a screwdriver from inside the cabinets. That's it — you've got beautiful new crown molding.
Adding security and customization to your new crown molding
Now that you've used this crown molding hack, it's time to make the unit a little extra secure. This step is optional, but if your crown molding is especially heavy, it's a good idea. You can do this step prior to installation, but it's also easy to do afterward (as long as you have several inches between the cabinets and ceiling). In order to do this, cut a small piece of wood that's angled on one side to fit against your crown molding. Apply wood glue, 2P-10, and activator to the bottom and angled side of the wood piece and affix it to both your nailer board and molding. You can do this in the middle of your longest molding board, or in multiple places if you like. This will help you feel certain that your crown molding is not going anywhere.
Before you fill the nail holes and paint, it's time to think about different ways in which you can customize your molding. When you think of an attractive set of cabinets, you might think of one color for both the cabinets and the molding. Choosing an accent color for your crown molding or even matching it to a hue in your countertops can add a nice accent to your kitchen, while also framing the room, though. If you have wood beams in your kitchen, painting the molding with a matching wood tone is also a nice-looking option.

