How To Replace A Bathroom Shower Arm
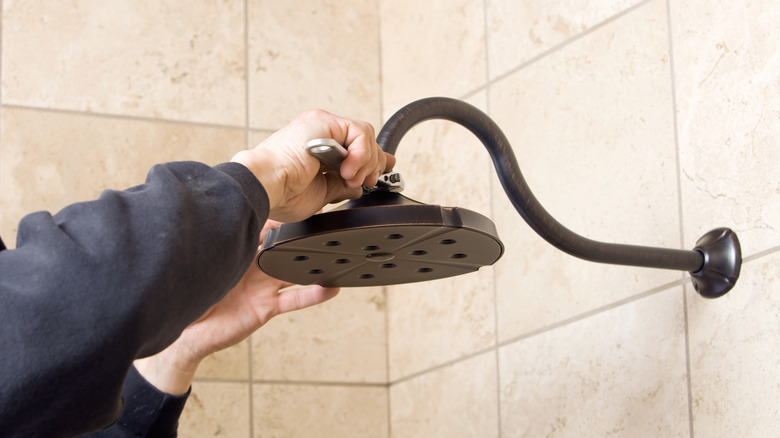
When renovating a bathroom, the small details can make a big difference, which is why you might want to replace your shower arm. A shower arm connects the shower head to the water supply in your wall. Typically, the arm is angled to ensure water flows out of the head at a comfortable position while maintaining consistent water pressure. Replacing this can benefit your bathroom aesthetically. Further, if you notice inconsistent water pressure, leaking at the connection point of the shower wall, or corrosion, it's time for a replacement. Otherwise, the symptoms will worsen, leading to rusty water and potential health risks. Fortunately, replacing your shower arm is a simple project that shouldn't require professional help. To complete this task, remove the old pipe, wipe any dirt and grime off the treads of the water supply connection, wrap teflon tape around the new pipe, screw it into place, and add your shower head.
Finding the proper arm to upgrade your shower is key. After all, the pipe comes in a variety of materials, some with longer lifespans and others with sleek appeal. For durability, solid brass is highly recommended due to its visual appeal and natural properties that combat bacteria, viruses, and fungi. Alternatively, stainless steel is another good choice for similar reasons. Also, this could be a convenient time to pick out a new shower head as well so you don't have to worry about mismatching colors.
Replacing your shower arm
After shopping for a new shower arm, it's time to get the rest of the items you'll need. You'll also need an adjustable wrench, allen wrench, teflon tape, plumbers putty, cleaning cloth, and a screwdriver (flat head or phillips).
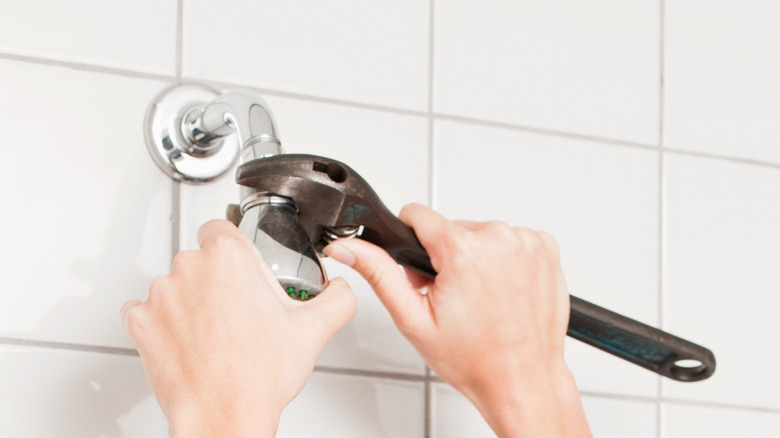
Start by ensuring that the water is turned off. Once that is done, you can unscrew your shower head, loosening the nut around the neck that connects it to the arm. Set your shower head aside to clean after you finish replacing your shower arm. Now take your wrench and turn your old shower arm counter clockwise, setting it aside. Alternatively, if it's tight, you can insert your screwdriver into the arm to give you some leverage. With the arm removed, take your cleaning cloth and wipe any mildew off the treads on the water supply line.
Take your new shower arm and run it through the flange, which will sit at the joint of the arm. With your teflon tape in hand, avoid making a common mistake by wrapping it clockwise around both ends on the treads about three or four times. If you wrap it counter clockwise, the tape can unravel when you're screwing your shower arm in. Align your new shower arm to the treads of the water supply line and screw it in clockwise, turning until it's snug. After installing the shower arm, make sure the flange is flush with the wall and use your allen wrench to lock it in place. If it's not, use plumbers putty to level it out. Then install your shower head. Finally, all that's left is to give your new shower arm a quick run through to make sure there's no leakage.