DIY Wood Stair Treads That Would Normally Cost Thousands
Changing out carpeted steps for wood treads is a great way to add value to your home. It can also upgrade the look of your boring staircase, such as the one leading to a basement. However, hiring a professional to do the work can be expensive. You can save money by DIYing this project, but it's not the simplest undertaking. If you're comfortable with power tools and take your time, you can create a beautiful wooden staircase for a fraction of the price of hiring a contractor.
Before we get started, you need to understand a few terms. The tread is the part of the step on which you walk. The nosing is the edge of the tread that extends over the riser. The riser is the vertical section between steps. The stringer is the structure that supports the steps, and the skirtboard is the decorative trim that runs along the wall. The process for redoing your steps will depend on what you're starting with and what you want to achieve, so we'll give you some general guidelines.
Preparing your staircase for refinishing
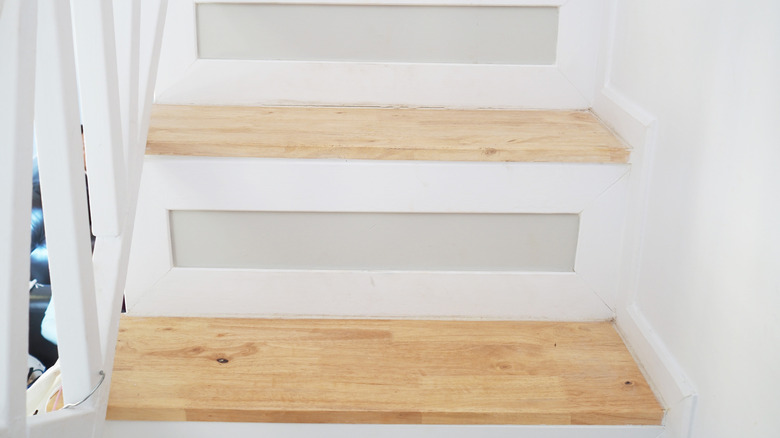
To begin, you need to prepare your steps. If you're sprucing up a utility staircase, this may be as simple as sanding down any rough spots and painting the skirtboard. If your stairs are covered in carpet, it'll be a bit more complicated because you have to remove the carpet first. Use a utility knife or box cutter to cut the carpet into manageable sections and pull up the carpet and the pad. Then remove the tack strips and staples with a pry bar and pliers. If your existing treads have a nose, use a circular saw or jigsaw to cut it off so the tread doesn't extend past the riser. Hammer down any nails that are protruding and sand the steps. Go ahead and prime and paint the skirt board to avoid the hassle of taping off the treads later. Don't forget to wear a mask, eye protection, and gloves.
Now that your staircase is prepped, you're ready to lay down new treads. Although this is a fairly simple remodel, it's a good idea to check the building codes in your area before you start — not only for safety, but also to protect your resale value. For stairs, the most important issue is keeping distances uniform. Unexpected height or width changes could cause someone to trip.
The simplest way to retread your steps is by purchasing finished stair treads and risers from your local home improvement store. Measure the length and width of your treads and order the appropriate size. Measure each tread individually because there may be some variation. Order a size big enough for the largest measurement. Do the same for the risers. A stair-measuring tool will make this easier and help you account for any slightly off angles.
Measuring and cutting wood for treads and risers

Now for the fun part! Work on one step at a time, and install the risers first. Trim the risers if needed. Check the fit, then apply construction adhesive to the back of the new riser and the front of the existing surface. Press down firmly and nail the tread in place along the edges with a brad nailer. Follow the same process for the treads.
You can save money by making your own treads from ¼-inch plywood, but the process is more complicated. Choose a hard plywood, such as oak, since it will need to withstand a lot of wear. For the risers, use hardboard or MDF board. With a table saw or circular saw, cut the plywood and hardboard to fit your risers and treads, one at a time. Make sure you account for the width of the new riser when you cut the tread. Follow the same process as above for fitting, gluing, and nailing. However, one big difference will be that your tread will be flush with your riser since you don't have nosing yet. Sand the edge of the tread to create a smooth transition from the tread to the riser.
Finishing your stairs

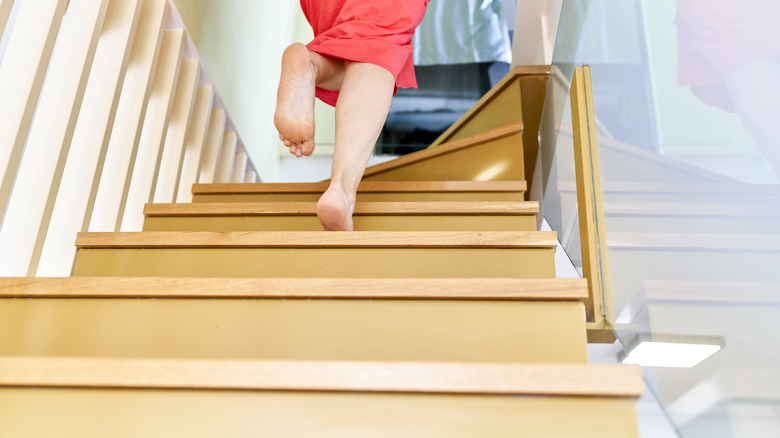
It's time for the finishing touches to make your staircase a stylish focal point. If you made your own treads, you need to add the nosing, also called the tread return. This makes your staircase look nice, but it's also an important safety feature. As with your risers and treads, you can either buy finished nosing or make it yourself. To make your own, buy 1-inch by 2-inch strip of the same type of hardwood you used to make the tread. Cut the strips to fit each tread and route the top and bottom to create a rounded surface. Attach to the front edge of the tread with construction adhesive and brad nails. If your steps have exposed sides, attach the trim to the exposed side of the tread as well. You'll need to make 45-degree miter cuts where the side nosing meets the front.
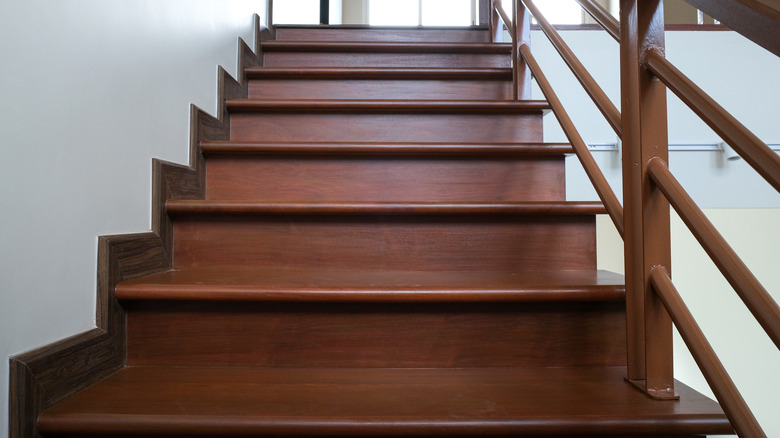
Sand carefully to make sure the entire surface of the tread is smooth. Wipe away any excess glue fully if you plan to stain your treads. Otherwise, your stain will have blotches. For squeak-free stairs and to prevent dirt and debris from building up in hard-to-reach cracks, caulk around each step. Apply caulk at each joint where the treads meet the risers and where the risers and treads meet the wall. Finish your stairs by painting or staining them. Apply polyurethane to protect your finish and create a more durable surface.
Tips and tricks to make retreading your steps easier
Now that you understand the process, here are some tips to make it more efficient. Instead of doing each step one at a time, you can batch the work by doing all of the measuring, cutting, and finishing at once. However, you'll still need to take the measurements for each tread and riser individually. Number your steps and each tread/riser so you don't mix them up.
If you're pulling up carpet from a main staircase that was designed to be seen, such as one in the entryway going from the first floor to the second floor, you may not need to retread at all. When you pull up the carpet, you may find that it was installed over a finished staircase. This is particularly likely in older homes where the carpet was added later. In this case, you can just remove the carpet, tack strips, and staples, and then sand and finish the stairs. For all staircases, you may be able to use the existing riser, especially if you plan to paint rather than stain it. This will save time and money and give your stairs a major design upgrade.