Learn To Install Can Lights In A Finished Ceiling With Ease
We may receive a commission on purchases made from links.
If you're trying to make your home more eco-friendly — whether to reduce your environmental impact or just have a lower electricity bill — LED lights are a great, easy step. One of the main reasons LED lights are better than regular light bulbs is that they simply consume very little electricity. Running an LED light in your ceiling can cost about $1 per year. That's not to mention the various colors and brightness levels the bulbs have to offer. And, when it comes to adding can lights to your home, experts say that it's not actually all that difficult for DIYers, but there are some common mistakes to avoid.
Chris Lozano, Master Electrician and Virtual Electrical Expert at Frontdoor, spoke exclusively with House Digest about the process of installing can lights (sometimes referred to as pot lights) into your ceiling. He said that just about anyone can accomplish this task without professional help, so long as you've got a little bit of DIY experience under your belt and have the right home setup. "I do not recommend this project as a first-time DIY task, but any homeowner with patience and the right mindset can certainly accomplish this on their own," Lozano said. "The most challenging scenario is when you don't have attic access — in those cases, you may want to hire a pro for help. However, if you know how to patch drywall and feel confident doing so, you can complete the job on your own if you'd like."
Preparing to install can lights

The steps for installing a can light into your ceiling are, fortunately, quite simple, and Lozano laid them out exclusively for House Digest. The process begins with preparing the space. "First, establish where you'd like to install the can lights. This is crucial — if there is something blocking the space above, such as an attic, you may need to take additional steps, like cutting and patching drywall to route wires to the can lights and switch. Determine the direction of the joists to plan the most efficient access holes for wire routing," Lozano shared. "Next, determine which style of can lights best fits your space," he said, adding that most homeowners opt for the white 6-inch Canless LED Recessed Light Kit, which you can grab from Home Depot for under $40.
"Measure the room and determine the best lighting layout to ensure even light distribution. Use a tape measure (and a laser, if available) to mark on the ceiling where you'll cut the access holes," Lozano said. "I'd recommend wearing a mask and protective glasses to prevent dust from getting into your eyes, nose, or mouth," he continued. Considering the amount of dust this task will produce, you should also protect the area below the hole locations with some sort of cover. When ready, use a jab saw (although a drill and a hole saw could work) to cut out holes in the drywall. "Be careful of insulation when cutting into the ceiling — it may fall out," Lozano warned.
How to install the lights
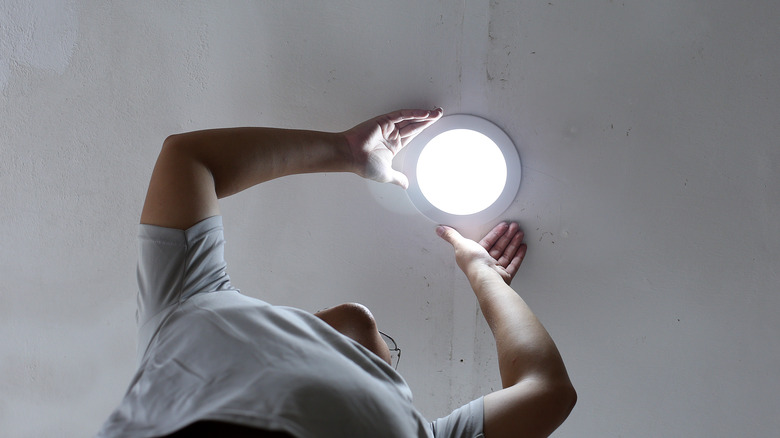
Once everything is set up and the holes are ready, it's time for the electrical portion of the task. That means sliding the wires through to the access holes, which is easier to do if you have access to your attic. From there, you can wire the lights in a typical installation. "The springs can be strong on the can lights, so be mindful of pinching your fingers," Lozano warned in his exclusive interview with House Digest. "If not installed correctly, the springs can also snap and damage the ceiling." You can help avoid damage by making sure the springs point directly up to the ceiling. He noted that you should use wire strippers instead of a box cutter to cut the wire at this point in the process, to avoid injuries or damaging the wires.
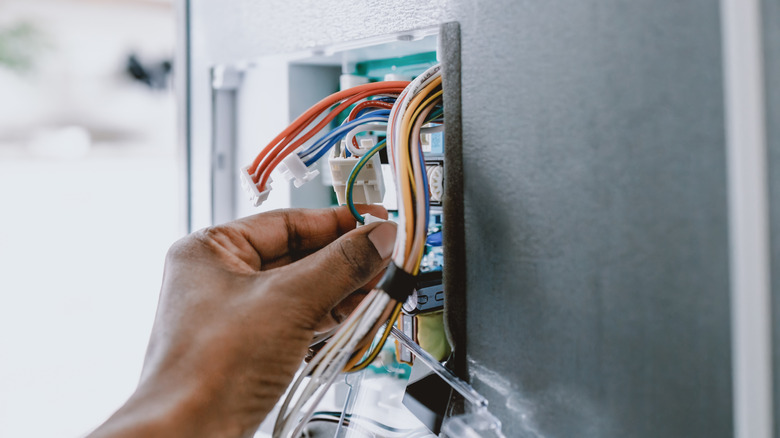
Then, you'll need to use the wire to connect that area down the wall to the switch. "Use a paddle bit to drill through the wall's top plate and have a switch, cover, and remodel box at the ready," Lozano detailed. You can then use a nearby circuit that still has bandwidth to output more electricity and find a nearby junction box that's already connected to a circuit. Look in the attic or basement ceiling for a junction box connected to a suitable circuit. "Once you choose a circuit, route power to the switch box along with the can light switch wire," Lozano says.
Common mistakes to avoid

Before you get to work on the steps outlined above, take heed of the advice Chris Lozano gave exclusively to House Digest about common mistakes he sees people make. First off, you should familiarize yourself with common dangerous mistakes to avoid in DIY electrical work. "When working with electricity, always shut off power to the area you are working on. Never assume wires are safe to touch," Lozano said. You should also place your ladder in a safe area, never access the top two rungs, and don't approach the project with a sense of urgency. "Take your time and work carefully when using power tools to avoid injuries and prevent damage to your home."
Lozano also had helpful tips about the process of spacing out the lights and getting the area ready for installation. "Measure twice, cut once — especially when planning your layout. Watch for things that might cause glare, like TV placement," he said. You can also use a laser to get things perfectly in line, use a pencil for markings so you can erase mistakes, and opt for the brighter LED lights, but install them with a dimmer. "It's better and easier, in my opinion, to dim bright lights than to install more fixtures down the line," said Lozano. Last but definitely not least, you can call up an expert like the ones at Frontdoor to ask questions about your specific setup if you run into issues, even if you plan to DIY the project after discussing it.