How To DIY Your Own Push-To-Open Cabinets For A More Efficient Kitchen
We may receive a commission on purchases made from links.
Making home-cooked meals offers a lot of psychological benefits and can be healthier than eating out; people who use their kitchen more often tend to have better cholesterol and blood sugar and are less likely to develop diabetes. However, there are barriers to entry when it comes to cooking: Finding the time for meal prep between jobs, being in the kind of food desert that contributes to millions of households being food insecure, or living with disabilities that require more accessible kitchen features. One cheap solution for greater kitchen accessibility is cabinets you can push to open rather than needing to pull soft-open hinges. The good news is these are relatively easy to install on your own.
Of course, there are reasons you might be interested in push-to-open cabinets beyond accessibility. Working in the kitchen is a notoriously messy process; being able to open your cabinet by pressing it with your elbow rather than grabbing the handle with egg yolk hands undoubtedly makes your life easier. This is especially true if you've done your best to organize cohesive-looking mixed kitchen cabinets, meaning you're constantly going in and out for different cooking tools. You only need a few pieces of hardware to get started, both of which can be picked up online: A pair of Touch push-to-open hinges as well as I-EasyDWW door latches.
Installing push-to-open cabinet doors is easier than you think
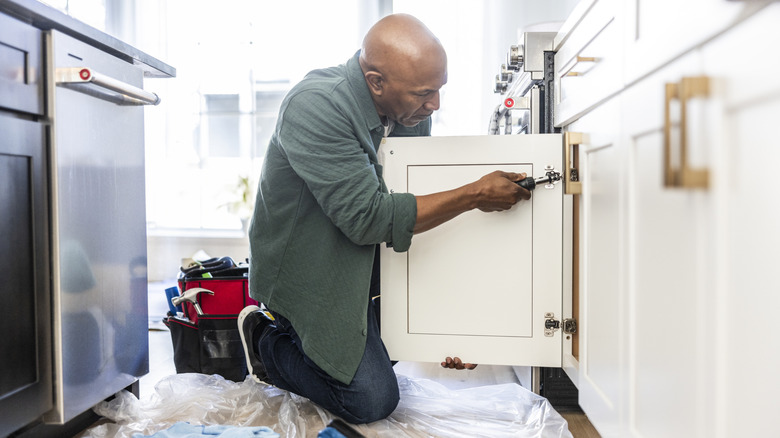
Getting started on your DIY push-to-open cabinets requires taking the doors off your walls, so unscrew the interior hinges and set them at an open table with lots of room to work. From there, remove the hinges from the cabinet doors and replace them with your new push-to-open hinges; if these aren't a matching standard size, you may need to drill your own holes. This project can be done with a screwdriver, but power tools make the job easier and probably help your kitchen cabinets feel more solid. After your new hinges are set, you can screw them back into the wall.
Push-to-open hinges should be paired with latches to keep your new kitchen doors from hanging ajar. DIY YouTube channel @theoriginalwoodchuck recommends a particular attachment strategy to make aligning your cabinet latches easier: Screw the base piece into the cabinet's interior opposite where your hinges are set, then insert the unattached door piece with a piece of tape on the back. If you close the door, it pulls that free piece out exactly where it should sit. That makes it much easier for you to mark the spot on your door, wherein you can screw the piece into place.
Kitchen cabinet DIY projects should be undertaken with caution
Taking extra time to ensure door hinges are solidly attached and level — alongside latches that connect with accurate alignment — is worthwhile for any DIY kitchen cabinet project. Your doors could be off-center or have open gaps along the edges if you don't place things correctly, leaving the interior more accessible for dust or bugs. However, even if you do set everything right, push-to-open doors can offer their own upkep problems. For example, if you're touching the doors directly rather than using handles, you're more likely to rub off the paint over time. There are pros and cons for many common kitchen cabinet finishes, but you may not want to repaint these features often.
While any door hinge can break over time, especially in a room where ambient steam and water might rust the metal, push-to-open hinges can also lose their springiness over time. Having latches should help keep the doors working for longer, but this is still something to consider if you're trying to make your kitchen more accessible for everyone. There are plenty of other changes you can make to keep a more effective kitchen, from installing lights in dark cabinet spaces to bringing in chairs with adjustable heights for easier reach while sitting.