How To Turn The Empty Vertical Space In Your Kid's Room Into A Climbing Wall
We may receive a commission on purchases made from links.
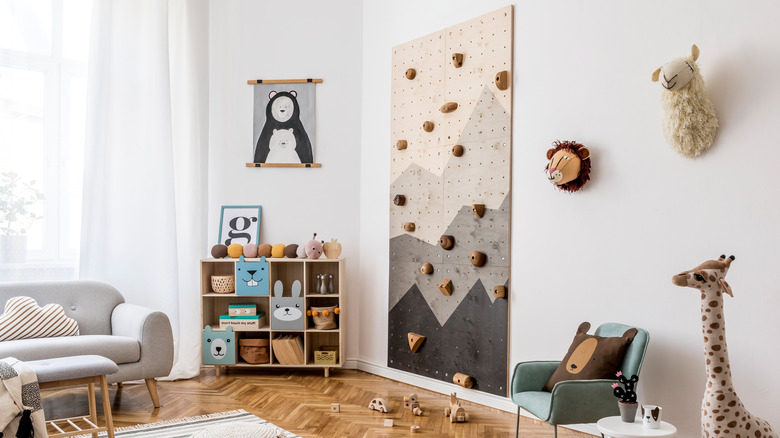
A child's bedroom should assist with their development, which is why it's important to include decor that will help kids learn. Similarly, it's a great idea to fill a room with activities that let kids work off extra energy. If your kid's room has some extra vertical space, adding a mini climbing wall will do both. Installing a climbing wall may seem a bit extreme, but it's a surprisingly straightforward DIY project that's definitely worth it to give kids a fun and active way to play. Plus, climbing walls are endlessly customizable so you can keep them fresh and exciting. Along with some basic carpentry tools, you'll need ¾ inch plywood, some climbing wall holds, like this set of colorful holds in different sizes from Amazon, and the appropriate size T-nuts and bolts to secure the holds.
After cutting a few plywood panels to fit an empty wall, mark the surface with a grid in pencil so you can drill holes every foot on the x- and y-axis. The spacing between these holes doesn't have to be perfectly even, but you can use measuring tape and guidelines to achieve a precise and professional final product if you prefer. Drill the holes using a spade bit that can bore a cavity that will fit the T-nuts you buy. To make the process go even smoother, pick up a top-rated drill that can tackle any home project.
Make an adjustable board to move climbing holds
Once all the holes have been drilled, use a hammer to wedge a T-nut (a fastener that you can screw bolts into) through each hole so that the hardware is all facing the same way. This basically completes the climbing wall itself, so feel free to give it a coat of varnish or a fun paint design before the next steps. Ideally, you will be installing a climbing wall somewhere with plenty of wall studs. Find the studs, and secure the plywood panels to them using at least four screws per stud. Before you fasten anything for good, make sure that the flat base of the T-nuts are all on the backside of the plywood against all the holes so that you can customize the route.
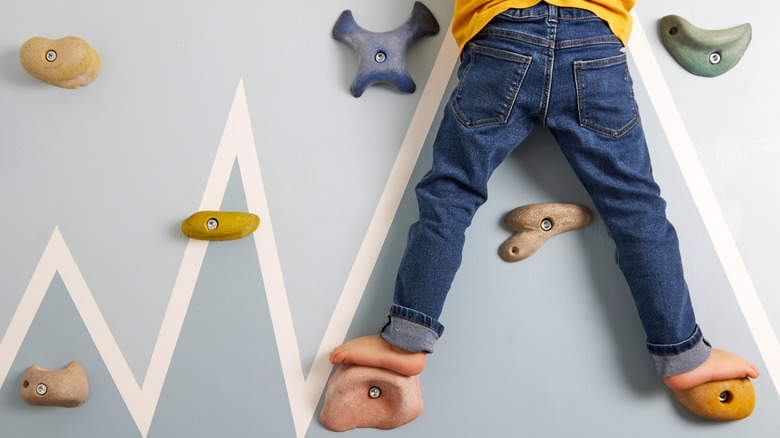
Now comes the fun part: Experimenting with different hold placements to make a route that will be super fun for your kid. Where you attach each hold will change as your kids get bigger and better at climbing, so continuously try out different patterns to see what works. Installing climbing holds to the gridded plywood is very simple, so there is no problem if you need to adjust where things are. A final job is making a soft landing for young children who might need it when attempting the wall; you can purchase crash mats from Amazon for this purpose. Making your child a climbing wall is a small labor of love that is much more straightforward than it sounds, and is certainly a playroom idea that will make other parents envious.

