How To Make A Portable Bidet You Can Use On Any Toilet

One of the most widely learned lessons of the pandemic was that we can't take toilet paper for granted. The sight of empty store shelves may be behind us, but those challenging moments were enough to get many people thinking about practical alternatives. The bidet was a lifesaver when rolls ran empty, offering a more budget-friendly, eco-conscious, and hygienic method of cleaning than traditional wiping. In fact, many never turned back even after the toilet paper supply stabilized, opting instead for bidet attachments or more advanced Japanese toilets. And if you're among those converts who prefer the wash-and-dry method, you may be glad to know that you can take it on the road with an easy DIY portable bidet!
Any materials you need for this hack are likely already lying around the house. Repurpose a plastic water bottle — or any bottle that's squeezable and has a removable cap for easy filling — and use it as a reservoir to hold fresh water for your mobile bidet. Poke a hole in the end of the cap just big enough to snugly fit a makeshift nozzle. You can make the nozzle with a flexible plastic straw, pen tube, supply tubing, or anything else that creates a narrow conduit and can bend into an L shape. Fit it into the hole in the cap, fill the bottle with water, and screw the cap on. Now, you just need to bend the straw to direct the flow — with a squeeze of the bottle, you'll release a jet of water to keep yourself clean!
Tips to make an effective DIY portable bidet
Alongside your straw and water bottle, a bottle of glue and some tape will help bring this simple DIY together into a more dependable design. When inserting the straw into the cap, for instance, you may want to seal the connection to prevent any unwanted leaks and wasted water. Apply tape or glue, using a type meant for plastic that can withstand water. You can use one of the common types of glue you likely have on hand at home, such as epoxy or super glue.
You can also adjust the stream coming from the nozzle by narrowing or widening it. A tighter nozzle will release the water at a faster velocity as you apply consistent pressure, potentially increasing its cleaning efficiency. Starting at the end where the water comes out, cut a slit down the tube about ½ inch long. Then, overlap the separated pieces of that end to taper it into a narrower section. To hold it in place, wrap a piece of waterproof tape around it.
It's worth noting that you can simplify this design by poking a small hole in the bottle just below the cap. Then, you can squeeze the water through this hole in an upward direction — no straw needed! Just be careful about how you orient the bottle to prevent water from spilling out of the hole.
Taking care of your DIY portable bidet
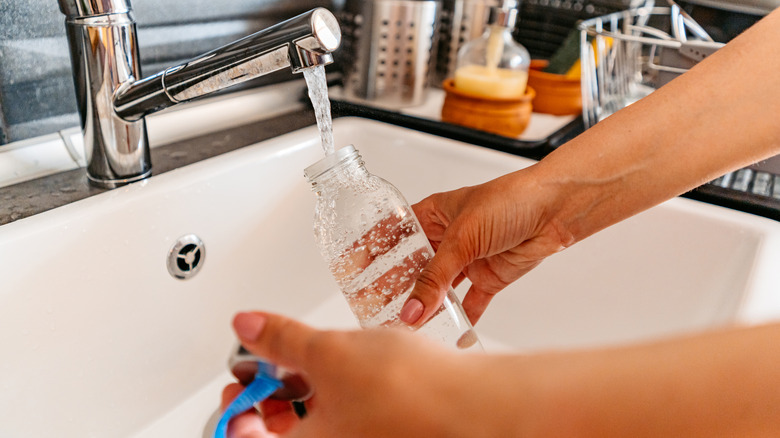
Maintaining a clean water bottle and nozzle is a critical aspect of getting the best use from your portable bidet. Always thoroughly clean and rinse new pieces before using them, and only use fresh water. Avoid using warm water, and be careful with the spray direction to prevent the unwanted spread of microbes. Alongside the bidet, you may also want to pack some spare towels or toilet paper, as drying is just as essential after using this portable version.
As you can imagine, bidet nozzles can harbor numerous bacteria and leave you open to infection. After using it, separate and rinse the pieces thoroughly. Wash with soap and water, using a pipe cleaner to get into the nozzle. Let each piece dry completely before assembling and putting it away.
Store your DIY portable bidet in a clean, dry place when not in use. Before each use, check it carefully for damage or dirt, especially any mold buildup. Vinegar is another versatile cleaning tool with antimicrobial and deodorizing properties, so you can try cleaning your bottle with a mixture of vinegar and warm water in a 1:1 ratio. When traveling, you may even want to use a separate case to keep the bidet protected — and to keep your other belongings protected from it.