Upcycle Tired, Outdoor Wicker Furniture With Wood
We may receive a commission on purchases made from links.
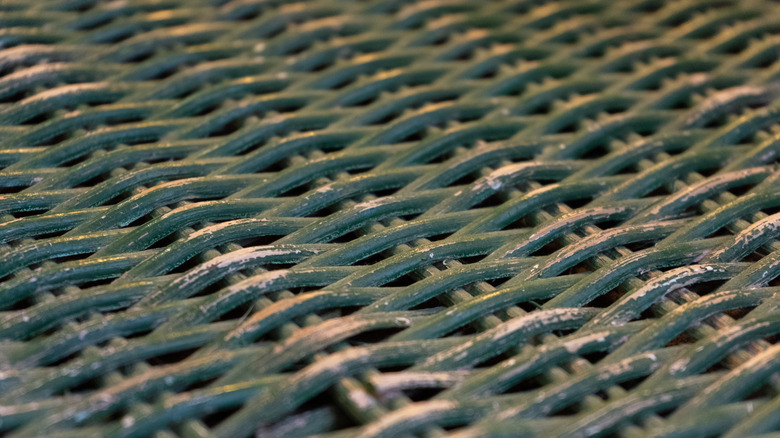
As outdoor wicker furniture ages, it can suffer from wear and tear, including broken weaves, faded finishes, and weakened structural integrity due to rain, wind, and sun exposure. Over time, your wicker furniture can become less comfortable and less attractive. It can also develop tears and holes, making it unsafe for use. If the damage is beyond repair, you might be considering replacing your outdoor wicker furniture with a new set. It's possible to give your old, tired wicker set a facelift with a fairly simple upcycling project, however!
This DIY requires you to take your furniture set down to the frames and replace the wicker with decking boards. To repurpose your old patio furniture, you need a circular saw, a hacksaw, sandpaper, C-clamps, a flathead screwdriver, decking boards, a box cutter, metal paint, a drill, an electric screwdriver, and some hardware.
When your upcycle is complete, you will have what looks like a brand-new patio furniture set. This project is budget-friendly, and the finished product is weather-resistant, so you will be able to enjoy it for years to come. There are also plenty of ways in which you can customize your new outdoor furniture set, so there's no need to settle for something plain or something that doesn't suit your decorative tastes.
How to make old wicker furniture look new using decking boards
To begin this project, you need to get the most painstaking and time-consuming part out of the way — stripping the wicker away from the frames. Use a box cutter to cut away the wicker and a flathead screwdriver to pry the staples away from the frame. Then, wash the frame using soapy water and a wire brush.
When it has dried, apply a coat of Direct to Rust Metal Paint to protect it from rusting. If the frame needs new screws, take it apart and then clean it, paint it, and replace the hardware before putting it back together. Before adding the decking boards, use a weather-resistant spray paint color of your choice, or leave it with the black rust-proofing paint.
Next, measure and cut wooden decking boards to fit the length and width of your furniture frames and sand the edges. A hacksaw can be used if notches are needed in the wood. To secure the decking boards to the frame, fasten the boards to the frame using C-clamps, then drill pilot holes through the boards and into the frame. Then, secure them with screws, taking care to space the decking boards evenly. Use the same process for the backs of your furniture pieces as with the seats. Finally, apply weather-resistant wood sealant to all of the decking boards, and that's it — instead of throwing away a broken outdoor furniture set, you made a new one.
Customizing your new patio set
Your new patio set will be functional and beautiful as-is, but there are some ways you can improve it. One easy way to elevate both the look and comfort of your outdoor furniture set is to add cushions. You can either purchase patio furniture cushions or make them yourself. This is a great way to add a pop of color to your patio without having to paint anything.
Another way to bring colorful elements into your new decking board furniture is to either paint the frame or the decking boards themselves. Painting the frame can give your furniture a subtle complement of color, while painting the boards would be more of a bold choice. This is a fun idea for patios that are surrounded by colorful gardens and yard decorations to pull the look together.
You can also choose from different tones of weather-resistant wood stain. Each shade of wood stain provides a distinct look and will complement different cushion colors. For example, a dark wood stain is perfect for creating an elegant-looking outdoor space. Blue, green, or red cushions complement dark wood stains well. If you choose a light-colored wood stain, yellow or grey cushions can look nice. There are so many wood stain and color combinations to choose from. Whatever direction you choose to take this project in, you should be happy with the results.

