Upcycle Wooden Crates To Make A Perfect Shelf System For Organizing
We may receive a commission on purchases made from links.
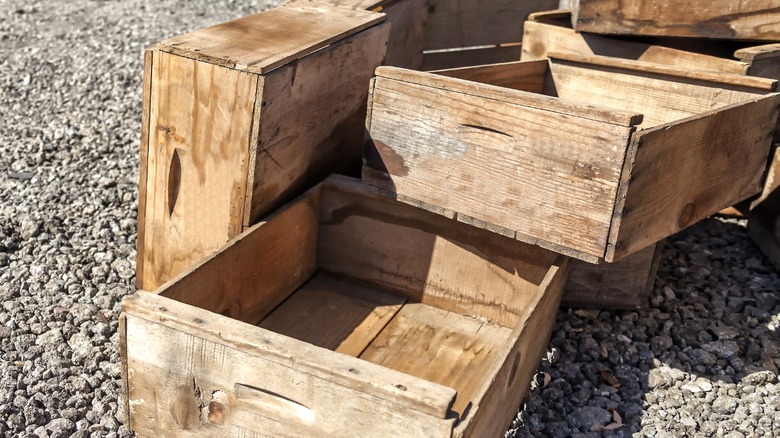
A bunch of leftover wood crates is rarely an issue when you have a creative mindset and storage needs to address. With simple wood frames, it's almost too easy to combine and reshape crates into custom pieces to help around the home. Just look at all the ways you can repurpose Dollar Tree wood crates for decor and storage. Taken to a larger scale, one of the best options for the crates you gather from market trips and craft stores is to turn them into a flexible shelf system.
For this budget-friendly DIY, you only need some crates and side supports to hold them together as a stacked unit. You can repurpose posts from an old metal rack or use lumber, such as two-by-fours, to make four corner post to hold your crates. Initially, your crates may feel a little rough for their new role. Smooth their surfaces as desired with a sanding block or orbital sander to remove splinters and prep them for finishing. Decide how you want to use your shelves in order to plan the design — whether it's repurposing fruit crates to improve your shed storage, freeing up garage space, or making your gardening routine a little less back-breaking. Add some casters to cart it around (or heavy-duty wheels, like POWERTEC 6-Inch Casters, for rugged terrain in the yard and garden), and it could be the ideal time-saving accessory for your home projects.
Upcycle your wooden crates into functional shelving
Start your wooden crate shelving upcycle by laying out your crates and planning the spacing based on the items you're storing. Keep in mind that your lowest crate in the column can also act as the base where you can mount your legs or casters. If you're using wood corner posts, cut them to equal lengths. Before assembly, add a finish to protect and beautify the finished structure. Some crate materials, such as southern yellow pine or poplar, create unique challenges when staining, so to make things simple, you can sand, prime, and prep your wood for paint to create an attractive, durable seal.
Once they're prepped and dry, the wood crates can go on your supports. Measure and mark mounting points on the posts for the shelves, and drill pilot holes for the screws. Install the crates by drilling through the supports and into the wooden sides of the crates. You can also tilt your crates forward slightly on the supports, allowing for easier access to stored items from one side. If your crates aren't quite the same width, attach the widest crates first. Then, install the narrower crates, using ripped down wood spacers to fill the gap between the shelves and the supports.
Finish by installing casters at the four corners of the shelving unit. If you don't feel confident in fixing them directly to the bottom crate, install a fresh piece of plywood underneath as a base to which you can fasten your wheels. You're now all set to load it up and start making life easier around the home, workshop, and garden!