The Affordable Card Trick That Will Help You Get Perfectly Closing Doors
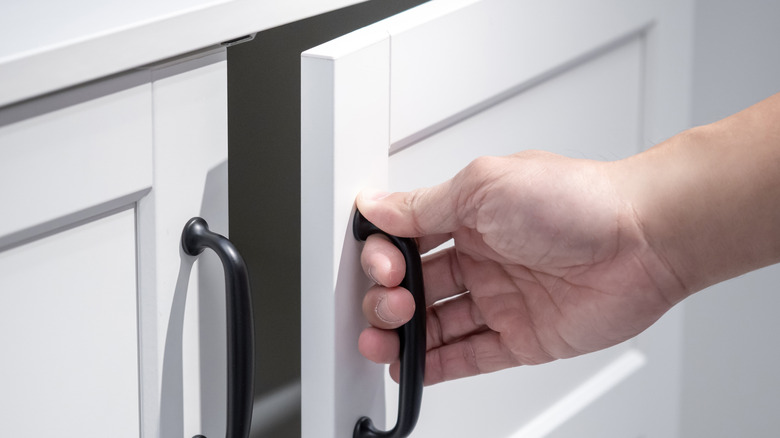
Few things can be more frustrating than cabinet doors that refuse to close smoothly. While tightening or fixing broken cabinet hinges can often improve the problem, sometimes it's the wood itself. Humidity making it swell, paint buildup over the years, or just poor craftsmanship can stop the doors from closing properly. Before calling in a professional, there is an inexpensive way to fix this issue with a little DIY. With a simple piece of cardstock, you can find the problematic spots just by sliding it along the cabinet door frame. The spots where the paper catches show you where the door should be sanded down.
The simplicity of this method makes it handy for a quick fix, and there is no need for a bunch of specialized tools. Plus, disassembly isn't required — just a little patience to identify the problem and some elbow grease. You will need some sandpaper, or a handheld electric sander to make it even easier, and any piece of cardstock you have lying around. Thick cardstock works best, but you could do this with almost anything similar, such as old gift cards, postcards, greeting cards, or even a playing card.
How the cabinet door card trick works
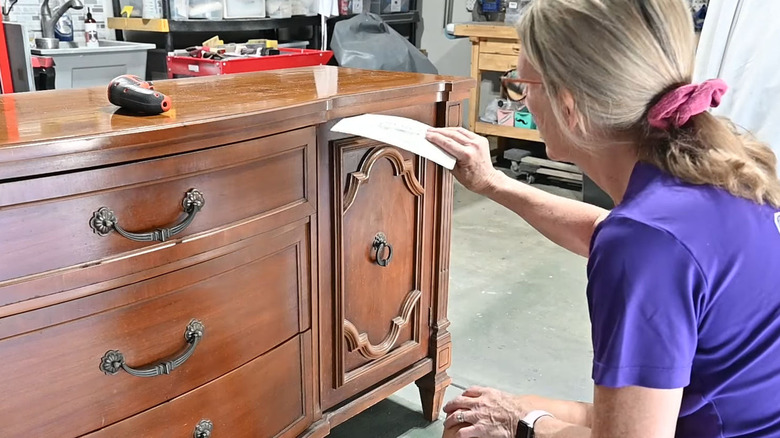
Before you begin, take a quick look at the door hinges and make sure they are tight and secured. If they are, you'll start by taking your cardstock and sliding it along the gap between the closed cabinet door and the frame; it should slide around the door seamlessly. If you notice that the card gets stuck, then you've found the trouble. These tight spots are where the door is rubbing against the frame and need adjustments. You can mark the spot with some painter's tape and continue on, or just sand each area as you find it.
Next, use an 80 to 120 grit sandpaper and carefully sand along the edges of the troublesome areas, being careful and working in small sections. If you don't have a handheld sander, you can try the simple dish sponge trick to make sanding easier. Just cut a sponge into a small, rectangular piece that fits comfortably in your hand and wrap some sandpaper around it for a better grip. After each pass, retest with the card until it glides smoothly through the entire gap. For painted doors, you may need to follow up when finished with a touch-up of paint. Don't stress trying to create a perfectly uniform gap all around the door; just simply fix the areas causing the issue.
Signs you need a different solution
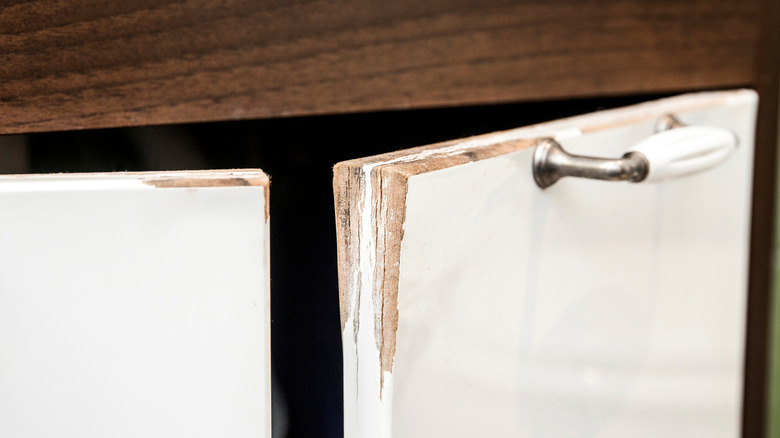
While the card method is great for minor adjustments, this technique does have its limitations. Cabinet doors with severe warping or gaps that are much wider than the card's thickness may need more than just a simple sanding. Alternatively, if your cabinet doors are laminated, you will need to be much more careful, as the laminate is often very thin and you could damage it. The card method also can't fix issues that are caused by a misaligned frame; if the entire cabinet is wrong, no amount of sanding will fix the problem.
Stained wood doors may show a noticeable color variation after sanding as well, which will require extra work to fix the look. When in doubt, consult a professional for vintage or more complex cases where a DIY fix might do more harm than good. Either way, this card trick is an easy way to quickly diagnose and resolve cabinet door issues without the need for expensive professional work.