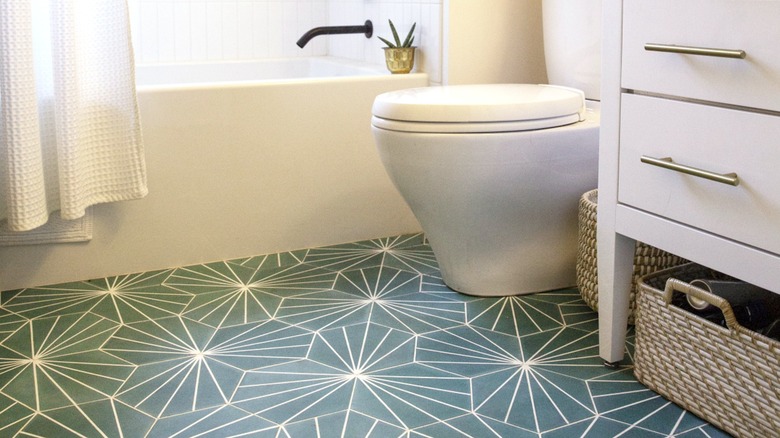
The Vinyl Flooring Trimming Trick Works Around Toilets, But There's A Better Way
Experienced pros always seem to make even the most challenging projects look like child's play. Installing vinyl flooring, for instance, can be surprisingly frustrating to line up, cut cleanly, and lay flat, but you'd never know it when you watch experts install it. With a few clean slices using a utility knife, the space around the bathroom toilet gets an instant upgrade. It almost looks too easy, doesn't it? As nice as it appears, cutting corners like this isn't necessarily the most advisable approach nor, surprisingly, the most DIY-friendly.
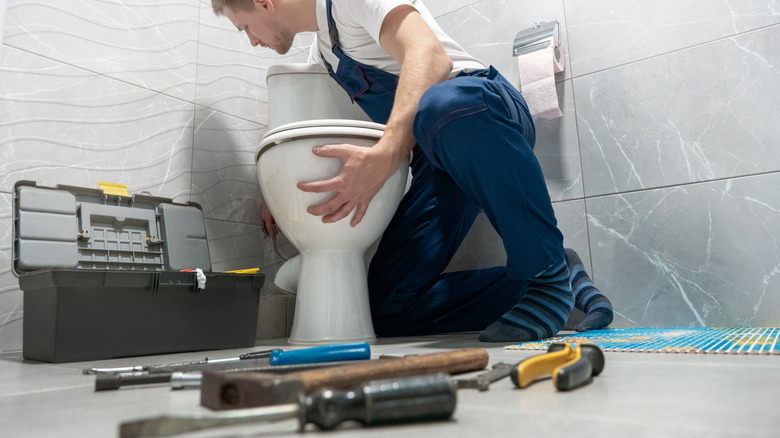
Speaking exclusively with House Digest, Skylar Bartlett, owner at Kreer Construction, filled us in on why it's ideal to safely remove baseboards, the toilet, and other obstructions before putting in vinyl bathroom flooring. "Cutting around the toilet usually ends up being more of a hassle than just doing it the right way. Getting a perfect cut that hugs the base takes a lot of trial and error — and most people spend more time on that than if they had just pulled the toilet to begin with," she explained.
"Vinyl needs to lay flat and have room to move a little with temperature changes. If it's forced to bend around fixtures, it can shift, lift, or even leave the toilet sitting unevenly — which can mess with the seal and cause leaks." As Bartlett discussed, removing the toilet may seem like a tedious step, but the ease of installation and finished product are well worth the extra time involved.
The best way to install vinyl flooring around toilets
Taking the removal and installation aspect out of the equation, installing vinyl flooring on a bare surface offers a stress-free path to professional results. "This method not only looks better but also helps prevent issues like water damage, gapping, or buckling over time," Skylar Bartlett stated in her exclusive House Digest interview. Since it runs from end to end with nothing in the way, you can avoid cutting around items and matching up cut sections, as you would when wrapping the floor around the backside of the toilet. After all, the best way to hide vinyl floor seams is to prevent them in the first place!
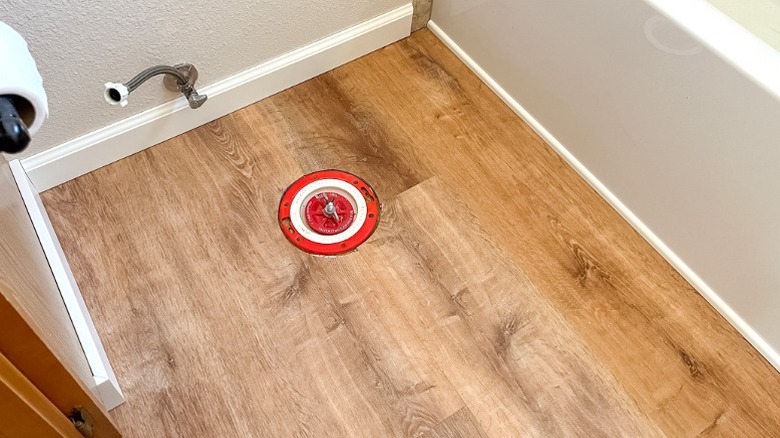
Bartlett detailed the simple process to properly install vinyl flooring, starting with clearing the area. "Shut off the water supply, disconnect the hose, and drain the tank. Once everything's dry, unscrew the bolts and lift the toilet out," she advised, adding you can plug the drain with a rag to block sewer gas. Next, Bartlett advises to "use a pry bar to gently pop off any baseboards or shoe molding so your flooring can tuck underneath."
From there, prep the subfloor. "Clean thoroughly, repair any uneven spots, and ensure it's dry and level," Bartlett said. "Lay the flooring according to the manufacturer's instructions. Trim it to fit right up to the flange and walls. Once the flooring is in, go ahead and reinstall your trim. This hides your expansion gap and makes everything look polished. With the floor and trim done, replace the wax ring and set the toilet back in place. Tighten the bolts, reconnect the water, and run a bead of caulk around the base for a clean, sealed finish."
Tips from the expert for laying vinyl floors around toilets
While Bartlett doesn't recommend the vinyl floor trimming hack as a go-to option, she acknowledged it may sometimes be preferable. "If you're set on keeping the toilet in place, the trick is to carefully scribe and cut the vinyl to fit snugly around the base," she explained in her House Digest interview. "Lay the vinyl as close to the toilet as possible and use a compass or scribing tool to trace the shape directly onto the flooring. This gives a much cleaner and more accurate line with fewer steps."
With the outline ready, Bartlett said to cut it out with a sharp utility knife. "Go slow — you want the fit tight, but not overly snug," she suggested. "Always test the cut before applying adhesive or locking anything into place. Adjust as needed before committing. After the flooring is installed, run a bead of waterproof silicone caulk around the base of the toilet to seal any small gaps and keep moisture from sneaking underneath."
Bartlett noted several critical considerations when cutting around the toilet. Screw-ups are easy when you aren't accurate or skip critical steps, like cleaning and leveling the subfloor. "If you overcut your vinyl to fit around the toilet, you'll be left with gaps that look unprofessional and can invite moisture. Always err on the side of undercutting," Bartlett recommended, while highlighting the need for tight seals all around. "Whether you removed the toilet or not, always use a high-quality waterproof caulk around the base. If you do remove the toilet, always replace the wax ring. It's a $5 part that prevents sewer gas and leaks — don't skip it." The extra steps will ensure you won't have to redo your hard work.