The DIY That Gives An Old Kitchen Cabinet A Whole New Life
We may receive a commission on purchases made from links.
As you gain more DIYing experience, you get a knack for noticing how close some household features are in form and function. Often, only a key detail or two separates them, making for some obvious repurposing possibilities. The standard wall cabinet, for instance, is only a pair of legs away from making a beautiful floor-standing display case, offering a low-cost, eco-friendly update to your home decor. Maybe you have an old kitchen cabinet from a previous remodel and want to make it into a unique furniture piece to gift. Or, perhaps you want an affordable and easy DIY to show off your coffee and tea mug collection, travel souvenirs, or family mementos. Usually measuring about 12 to 24 inches deep and 30 to 42 inches tall, upper cabinets are already matched to a console table size. You just need to give it a few simple updates to make it display-ready.
Start your project by patching and sanding any mounting holes and damage in the cabinet. Then, choose legs based on the desired height and style for the display cabinet. You can also dial in the perfect look and size by going the DIY route, like installing PVC table legs to carry the weight. If you have screw-on legs, get a set of mounting plates (these Ceryvop Leg Mounting Plates are only $8.99). Install them as close to the edge of the cabinet as possible; the cabinet's slight overhang should conceal them. Now that it has the height you want, you just have to give the cabinet a final paint job and update the doors for a stunning display case.
Reuse an old kitchen cabinet for a DIY display case
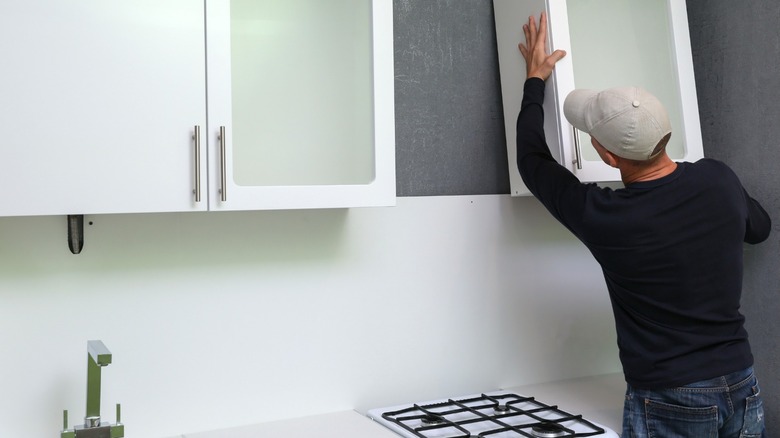
Should your old kitchen cabinets already have glass doors, then you can jump to adding a top and painting your new display case. If not, you can always remove the door's center to replace it with a clear panel. Find glass inserts at a home improvement center, specialty glass store, or online retailer. You can also use acrylic sheets for affordable solutions that are easy to cut with a utility knife or saw, though they may be more prone to cosmetic damage like scratches.
Trace the center cutout on the door to fit the glass insert. Drill a starter hole through which you can slip your jigsaw blade, and cut out the door's center. To hold the glass and clean up the edges, install trim on the door's outer face around the border of the cut hole. With the trim slightly overlapping the edge of the hole, you'll make a lip to hold the glass. Tack the trim in place, fill the holes, and paint it. Insert the glass panel, and apply silicone or install glass clips to keep it in place. Complete the build with a top for the display case, and add your choice of paint. Use curtains behind the doors to give the glass cabinet doors an affordable, stylish upgrade, or put contact paper on the back panel to add a patterned layer of interest framed by the solid painted cabinet. From there, your display case is ready for filling with your favorite keepsakes!