Installing Sliding Closet Doors Isn't As Hard As You Think - Here's How To Do It

We may receive a commission on purchases made from links.
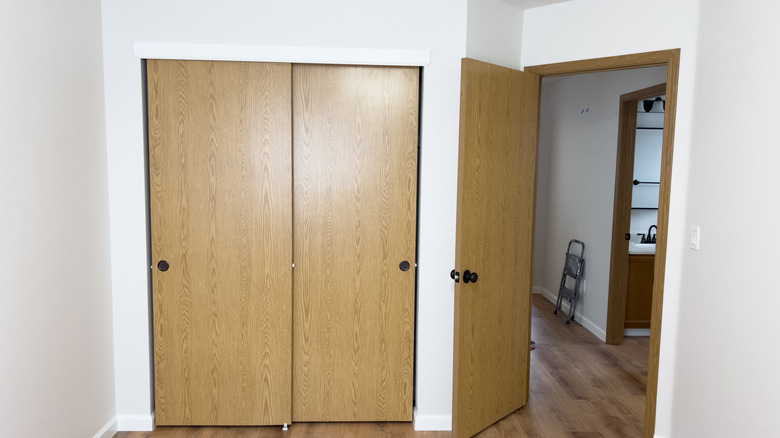
When you're looking for versatile or space-saving closet door ideas, sliding doors are often one of the top choices, but the cost of having sliding closet doors professionally installed may be off-putting. With the right tools and a little preparation, it's an easily manageable DIY project that helps you save on labor costs. Most sliding door systems come with a complete kit of tracks, rollers, and hardware designed for straightforward installation. If you find yourself without the sliding door hardware, there are separate kits available, like the SMARTSTANDARD hardware kit. You will need a few basic tools like a level, drill with screw bits, hacksaw, and measuring tape. The level is one of the more important tools, as even a slight tilt in the track can cause the doors to slide poorly or come off the rails completely.
The kit should include all the necessary brackets and guides, but it would be smart to have a few shims on hand in case your walls aren't perfectly straight. Before starting, make sure you clear the closet opening completely and remove any existing doors or hardware left behind. Measure your opening width at the top, middle, and bottom to find any irregularities. Some older homes have slight variations that may require adjustments during installation.
Hanging your sliding closet doors right the first time
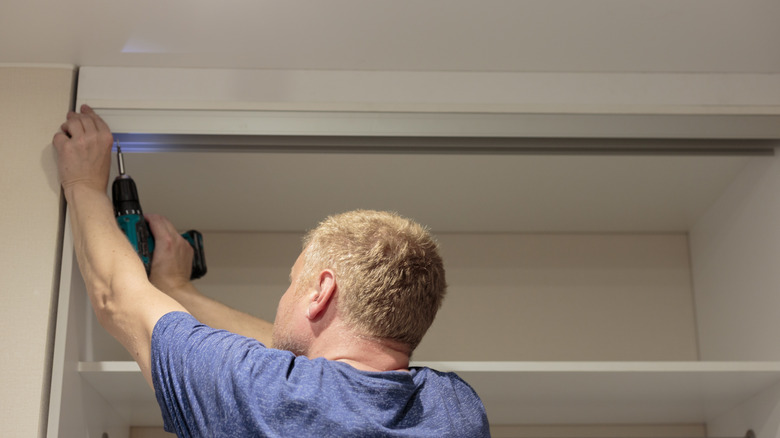
You'll begin by measuring the top track and cutting it down to size using a hacksaw if necessary. Then, attach the header track on the top of the closet opening, using your level to make sure it's perfectly horizontal. Even a small dip can cause the doors to drift. The track should have holes in it already where you can position the screws. Choose the right drill bit and pre-drill pilot holes into the door frame to avoid splitting your wood, especially in older homes where the framing might be brittle. Move on to the bottom guide, which will help both doors glide easily past each other. Measure the bottom opening, cut the guide to length, and screw it into the floor using your level to ensure it's straight.
Next, assemble the doors according to the kit instructions, installing the roller hardware onto the edge of the door. Most modern sliding doors will use a simple hook-and-roller system where the top wheels clip into the track and the bottom groove rests inside the guide. Once done, you may need a helper to hold the door upright as you lift it into place, then test it by sliding it back and forth before making any final adjustments. If the door is sticking while sliding, look for debris in the track or misalignments in the rollers. Kits will often include adjustment screws at the top of each door so just a small turn can fix minor alignment issues without having to start over completely. Your kit might also include bumpers and handles that you can install now.
Troubleshooting sliding door issues
The biggest mistake anyone could make with installing sliding closet doors is to rush through the job. If the doors jump the track or feel uneven, double-check that the top track is level and undamaged and that the floor guide is centered. An off-center guide will force the doors out of alignment over time. If you notice a gap between the doors, double-check that the tracks are parallel. Find the height-adjustment screw on the top of each door and turn it clockwise to lower the door, increasing the pressure on the guide, or counterclockwise to raise it..
Long-term maintenance is simple — periodically check out all the screws in the doors as well as the tracks and guides, making sure they are tight and secure. Vacuum or sweep out the tracks to remove dust and debris, and apply a little silicone-based lubricant, like WD-40, to the rollers to help them glide smoothly. You can even use a bar of soap to fix stubborn sliding doors.