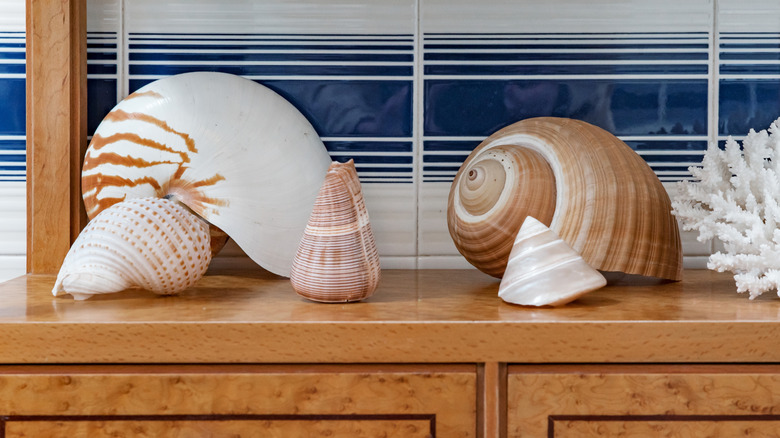
How To Best Save Seashells To Use As Decor

Do you collect seashells to save as home decor? Right now, the interior design trend to utilize the marvelously mineralized marine souvenirs from the beach is experiencing a massive renaissance that transcends traditional coastal aesthetics. No longer confined to just beach cottages and pool houses, seashells large and small are becoming staples in modern and even minimalist interiors, with the shells being appreciated for their unique textures and natural elegance. In fact, you might have noticed that 1980s seashell decor is making a comeback and perhaps even collected a few yourself recently. But do you know the best way to prepare them for display?
Seashells fresh from the beach may appear shiny, but they can develop white streaks, dullness, or a briny smell once they dry. To preserve their natural beauty and ensure they're display-ready, it's essential to clean them properly. This includes removing any lingering odors, discoloration, or mineral buildup. One effective method is acid washing, which we'll delve into shortly. Additionally, always ensure you're collecting shells sustainably — only take empty shells and be mindful of local regulations to protect marine life.
How to clean seashells with hydrochloric acid
Learning how to acid wash your shells with hydrochloric acid is a game changer. The simple yet effective process uses a diluted acid solution to restore shells' natural luster while eliminating odors and discoloration that soap and water alone can't tackle. You're left with clean shells to use in your decor, like this stunning DIY shell soap dish for your bathroom.
To try it yourself, set up your workspace outdoors or in a well-ventilated area away from children, pets, and metal surfaces, as the acid can cause damage. Wear protective gear, including gloves, safety goggles, and a mask. Prepare one heavy-duty plastic bucket or glass container with the diluted acid solution: three parts water to one part hydrochloric acid. Always add acid to water, never the reverse, to minimize splashing. Prepare another plastic bucket with plain water for rinsing.
Using tongs or a plastic strainer, dip each shell into the acid solution for three seconds, observing for fizzing as the acid reacts with calcium deposits. Immediately transfer the shell to the rinse water to halt the reaction. Avoid prolonged exposure, as over-soaking can damage the shell's surface. After rinsing, place the shells on a towel to dry. To neutralize the used acid solution, slowly add baking soda into the bucket until the fizzing stops, then dispose of it safely. For those concerned about handling hydrochloric acid, a safer alternative is using a mix of vinegar and water in a one-to-one ratio, applying it with a toothbrush to scrub the shells gently.
Seashell decor will be a huge vibe for your home
Once your seashells are cleaned and bacteria-free, the final step is all about the finishing touches to make them pop in your living space. Whether you're placing your seashells in a decorative bowl or turning your summer seashells into cute table dishes, shells that are clean and gleaming always make a better impression. When polishing seashells, choose methods that enhance the shell without damaging it. Rubbing the dry shell gently with mineral oil or baby oil after a thorough cleaning can add an elegant, glossy finish that makes the colors and ridges stand out while keeping the texture intact. For a deeper polishing, some collectors even use a Dremel with a buffing attachment. However, hand polishing usually works just fine for your standard home decor.
Remember, the goal here is to preserve the seashell's natural beauty, not to make them look artificial. Over-polishing or using harsh abrasives can wear away the shell's natural ridges and pearlescence, which are often what make each piece unique. Once polished, shells should be stored or displayed in a dry, dust-free environment to maintain their shine. If you're planning to use them in humid spaces like bathrooms, consider sealing them with a clear acrylic spray to prevent moisture damage over time. In the end, with a little bit of time and care, your once-sandy souvenirs can become timeless elements of your home's aesthetic story.