Every Goth Home Needs A DIY Coffin Shelf
We may receive a commission on purchases made from links.
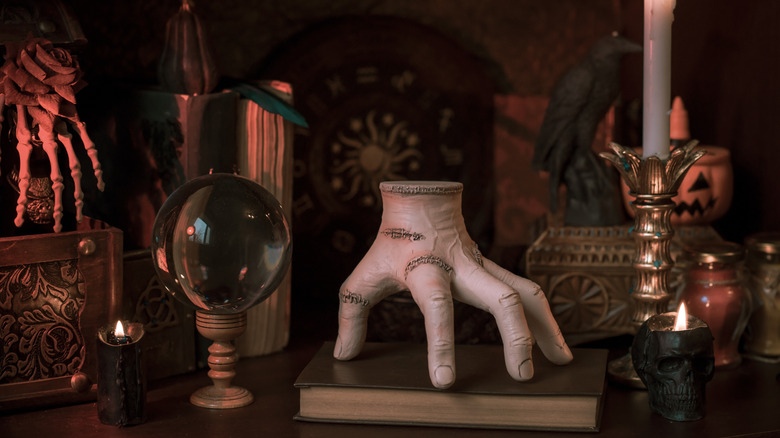
If you're someone who leaves their Halloween decor out year-round and is always decorating your home like the Addams Family, then this DIY coffin shelf will be the perfect addition to your gothic space. The spooky shelf works great in hallways and living rooms, or you can add it to your goth bedroom to really bring out your dark side. Wherever you place your new shelf, remember to keep a little garlic on hand, just in case.
To make this shelf on your own, you will need tongue-and-groove wood boards, wood glue, black paint, a table saw, painter's tape, and a hammer and nails. Optionally, you can grab some red LED adhesive strip lights to give your shelf a bloody glow. Another optional supply is some self-adhesive red velvet flock liner from Waddllcor – this is typically used to line jewelry boxes but can be added to the backer board of your shelf to better mimic a real coffin. For a classic goth coffin look, you will want to paint the entire shelf black. Once dry, you can start lining the back of your shelf with the red velvet flock liner. Purple or lime green liner would look perfectly spooky and kooky as well.
How to build a DIY coffin bookshelf
To get started, lay out four of your tongue-and-groove wood boards. The length of these four boards will determine the height of your shelf. Next, measure out and tape off a coffin-shaped outline over your four backer boards.The top should have essentially a half-hexagon shape while the bottom tapers in slightly. Once you're happy with the shape, saw around the outer edges of the tape to get your coffin shape. Finally glue and clamp the finished boards tightly and allow to dry.
Now it's time to build up the sides. There are six sides, and each side requires two boards to create enough depth. The trick here is careful measuring, cutting, and squaring, to make certain the sides are flush with the back board and the coffin will be level when it stands. Attach all of your pieces using wood glue and clamps before securing with hammer and nails. Next, add the supports. You can glue thin flat strips to the interior sides of your shelf, securing them with wood glue and nails, or create a series of shallow drilled holes in which to place shelf support pins, like those from Manshu. Your shelves will rest on top of these strips or pins, so it's important to determine their spacing carefully. Finally, cut as many shelves as needed, sliding them into place, then paint and flock. Now, all that's left to do is place your books and spooky decor on the shelf, remembering to avoid the most common shelf styling mistakes.