Never Lose Your Utensils Again With A DIY Wood Utensil Holder For The Countertop
We may receive a commission on purchases made from links.
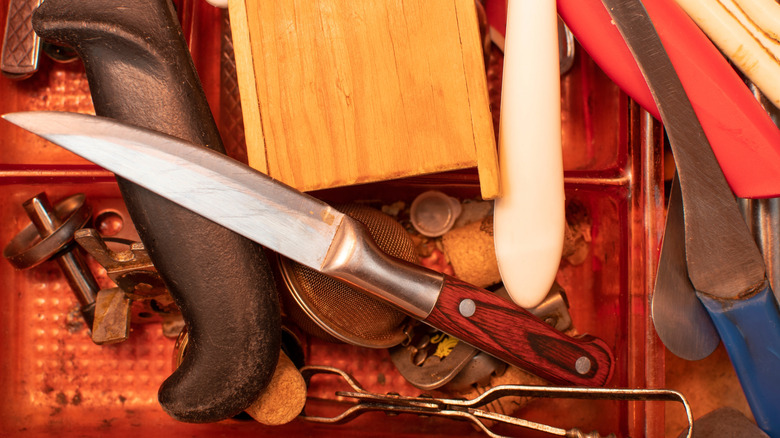
Every enthusiastic cook eventually gathers a bunch of indispensable utensils — tools that just seem exactly the right size and shape for the job. You don't want to keep them in a drawer because they always seem to have disappeared just when you need them most. So, some kind of organizer is called for.
You can buy no end of countertop utensil holders that are chic and functional, or you can make your own to ensure you never lose your utensils again. I'm House Digest's expert carpenter, and I'm going to show you how to easily DIY a wood utensil holder for the countertop using just a few tools and with materials you should find at your local hardware store. You can make the utensil holder any size you like, and you can stain or paint it to suit your kitchen décor.
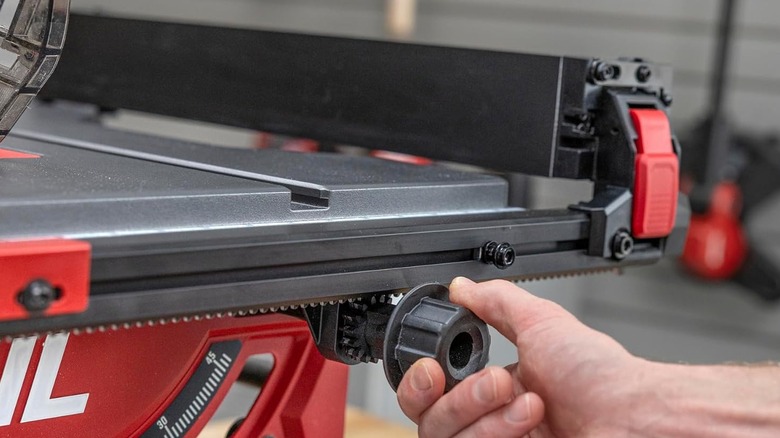
Although you could use a circular saw, a jigsaw, or even a hand saw for this project, I strongly suggest you use a table saw. It's one of the main tools worth investing in for starting woodworking at home and makes the whole job easier and more accurate. The Skil 8-¼-inch Compact Portable Table Saw is a very popular and affordable option for the beginner. A powered sander would be useful, but a sanding block works if you're on a tight budget. You'll need some wood glue and some clamps. We'll get to the details in a moment.
Making the DIY wood utensil holder the easy way
YouTube has a video from Master Woodworking outlining the process, though I'm going to make it a bit easier. Initially, he can be seen planing a piece of walnut. That's great if you have a planer, but many people don't. The simple solution is to buy lumber that's already the thickness you want. Lowe's, for example, carries walnut and other hardwoods like oak, maple, cherry, etc. If you have wooden cabinets, you may find something that matches. Alternatively, poplar is a good choice because it's easy to work with and stain or paint. The width of the board you choose will define the height of your utensil holder, although you could trim it on the table saw if you want something shorter. You also need a piece of ¼-inch plywood for the bottom. A sheet two feet square is probably the smallest you'll find and plenty big enough.
Next, you need to decide how long and how deep (front to back) you want your utensil holder to be. Cut lengths of board to those sizes with a 45-degree angle on each end. Setting that angle carefully is key to a good fit, so double-check. If you're new to the tool, it's also worth checking out tips to help you safely use a table saw before you start. You could leave the ends square and butt joint them, but cutting angled ends gives a higher quality look. Lightly sand the edges to remove any roughness.
Time to cut a rabbet and put it all together
You need a groove (called a rabbet) all the way around for the bottom. The video shows a router table, which again, isn't a particularly common tool for DIYers. Luckily, you can use your table saw. Set the blade depth to half the thickness of the board, and move the fence up close to take a narrow cut along one edge of each piece. Then, move the fence a little and repeat until the rabbet is deep enough for the plywood to fit. Measure and cut the plywood bottom. If you want to add dividers to your utensil holder, you can use the same step-cutting method to create grooves in the front and back, then cut plywood to slot in.
Apply glue evenly to all the ends. I prefer Titebond 3, but any good-quality wood glue is fine. The video shows a strap clamp and several bar clamps. If you don't have these, a couple of Sedy Strap Clamps are an affordable option. Place one near the top and the other near the bottom for even pressure. Glue in the bottom and wipe off any excess all around. Allow it to cure overnight, then sand off any roughness. Now you can use a simple method for creating the perfect wood finish or stain or paint it. And there you have it — a DIY wood utensil holder for your countertop so your favorite utensils are always easy to find.