DIY Your Own Whimsical Succulent Planter Using Only A Piece Of Wood
We may receive a commission on purchases made from links.
When it comes to adding succulents to your home, finding the right pot can be half the battle. Whether it's a shallow dish or a standard ceramic pot, these designs don't always complement the soft, sculpted look that succulents are known for, often feeling a bit too polished. That's where this handy DIY comes in, providing the perfect rustic accent for any succulent garden. And it can be crafted with supplies that you might have lying around after a proper at-home tree pruning job. This earthy, wooden planter is an excellent way to highlight your various greenery without adding to your already tiresome plant care routine with an approachable DIY gardening project.
One of the biggest benefits of this trick is its design versatility in and around your home. When placed outdoors, it provides the perfect garden decoration that combines natural elements with additional greenery that might not survive in the ground. Indoors, it makes an excellent centerpiece that is both rustic and refined. Pair it with a few electric candles or some additional seasonal decor for a conversation starter that doesn't require constant upkeep. Succulents are known for being low-maintenance, which makes this planter ideal for adding a touch of greenery without the care required by traditional houseplants. It is relatively easy to care for your succulents inside or outside your home, providing the perfect beginner piece of decor. And it doesn't require complicated woodworking skills or machinery to craft, just a bit of creativity and a drill. Whether you plan to use it year round or as a seasonal accent, this is one rustic planter that you won't want to miss out on.
Creating a custom succulent planter for your garden
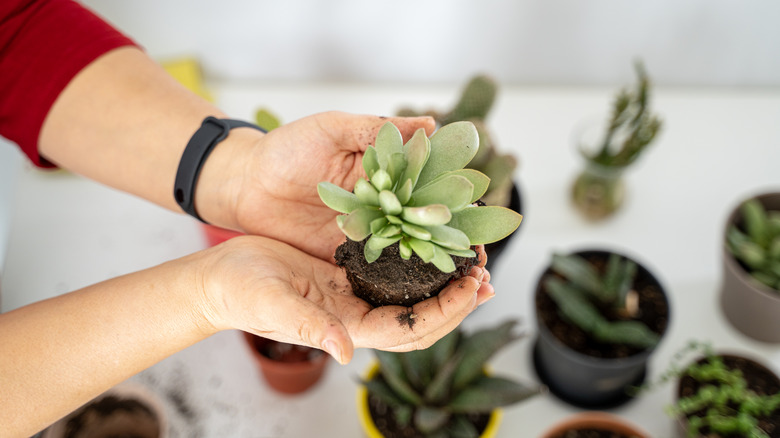
To get started on your own whimsical succulent planter that fits into any cottagecore decor, you'll want to select the right sized piece of lumber. Ideally, it should be a dried log or branch that is at least a few inches thick. Using a hole saw drill bit, similar to the LAIWEI HSS Hole Cutter, create several openings in the surface of your wood. Each individual hole will hold a succulent, so you want to space them out with enough room for your plants to grow. Once you've drilled about halfway through your branch, use a twist drill bit to add drainage at the bottom of your openings. This will help eliminate any excess moisture within your wooden planter and keep your succulents from retaining too much water. Once the holes have been drilled, add dirt to the bottom of each space and insert your succulents. Wait a few days before watering your succulents to give them proper time to set up in their new home.
If you're feeling extra inspired, there are a number of ways that you can customize your wooden succulent planter. For starters, you can swap out the branch for a hollowed-out log to create a freestanding planter. It can either be positioned vertically to add a bit of height to your garden or horizontally for a classic look. Cut a few trenches in the log to give your succulents enough room to sprawl out. You can also add succulents to the open sides of your log to create a sprawling display of greenery. Whether you stick with a classic tabletop version or a dramatic garden sculpture, this DIY planter is the perfect way to bring a touch of whimsy to any space.