Replace An Ugly Plywood Closet Floor With Something Unique And Vintage
We may receive a commission on purchases made from links.
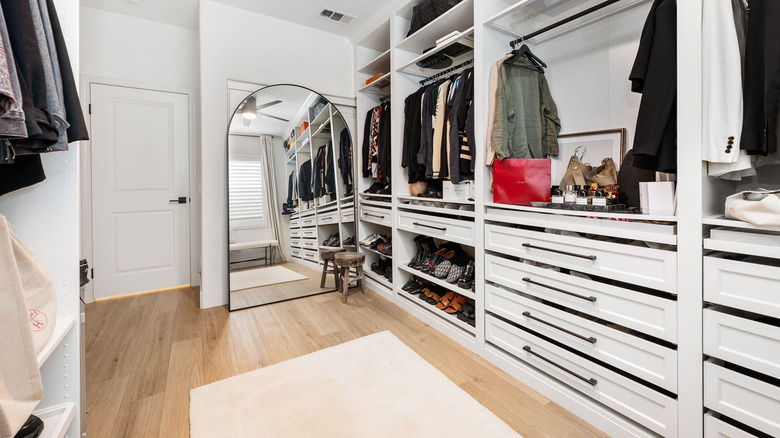
Turning your closet into a dream dressing room is a great weekend project that can be completed on a tight schedule and small budget. In addition to organizing your closet like a pro, you can quickly transform the space into a trendy oasis with a little paint. Adding pops of color to shelving and walls is a great starting point, but ignoring an outdated floor will take away from the final result. While it may be tempting to overlook the portion of your closet that's underfoot, it's easy to transform even the ugliest plywood closet floor into something unique and vintage. With just two paint colors, a stencil, and approximately one hour of free time, you can totally replace a shabby floor with a vintage-looking checkerboard pattern.
First, remove any clothes or shoes that are near the floor and at risk of being stained once you start painting. Next, clean the floor with a cloth, warm water, and dab of dish soap. Once dry, use 220-grit sandpaper to smooth the surface and remove any imperfections, but remember that plywood's top layer is thin, so you need to be gentle in order to avoid accidentally sanding off too much. Now, it's time to get painting and let your creativity shine.
How to transform an ugly plywood closet floor with paint and a stencil
With your plywood floor clean and sanded, it's time to apply the first layer of paint using a roller or paint pad. A classic white is a great option, as this neutral can be paired with both the subtlest and boldest of hues to create a stunning vintage checkerboard pattern. Once the base color is dry, use a cardboard square cutout and pencil to trace out the diamond pattern. The DIYer above began painting in the grid immediately after this step, but if you want a more precise outcome, use painter's tape to create a foolproof outline.
When choosing what paint finish to use on your wood floor, remember that oil-based enamel will deliver a glossy look while latex enamel will be more subtle with no glare. Apply the complementary color with a small angled brush and a steady hand, letting your imagination fly. For example, choose a soft cream for a classic effect, go bold with black and white, or take a risk with a bright yellow and green combo. You can also use more than two colors or even mix up the pattern, opting for triangles or squares instead. Once dry, seal the floor with a water-based polyurethane topcoat to ensure your DIY's longevity (and make clean-up easier).