Protect Your Frames When Moving Or Storing With A Simple Cardboard Hack
When you're packing to move, there are inevitably a few items that cause you trouble when you wrap them. Your pictures (and the security of the frames that house them) count among these pieces. All the jostling and bumping they encounter as they ride from your old apartment to your new house is the blame for this. Fortunately, given that you're surrounded by packing materials, you already have all the supplies you need to guard the corners of your photos and art from damage: scrap cardboard and some tape. Thanks to this no-cost solution, you don't have to make any changes to your budget when planning a move.
This frame protection hack is one of many genius ways to repurpose old cardboard boxes. Each frame will need four strips of cardboard that are a few inches long and tall — you'll need just enough cardboard to cover the corners of your photos and artwork. The exact amount of cardboard you need depends on the amount of artwork you have and the sizes of the frames — thicker, larger frames will need a little extra cardboard to surround the corners fully.
A ballpoint pen, a ruler, tape, and a pair of scissors are the tools you need to create the protectors for your photos and artwork. If you're only working with small frames, clear plastic tape should be strong enough to hold the frame protectors together in a pinch. However, you'll need a heavier tape, like masking tape or packing tape, to make the corner protectors for your bigger works of art. Heavier-duty tape is always a safe choice, regardless of the size of the protectors you're making.
How to make cardboard corner protectors for your artwork
To make corner protectors for your picture frames, cut a small rectangular piece of cardboard from the leftover cardboard boxes that can be divided into six equal parts. The middle part of the cardboard must completely fold over the corner of the frame. The two outer parts of it need to be wide enough to fold down around the frame once the cardboard piece is cut.
Divide it into six equal-sized rectangles by drawing a line from top to bottom the short way and two lines across the cardboard the long way. Cut from the top and bottom along the shorter middle line until you reach the point where the four inner corners converge — don't cut through the middle rectangle. Fold the outer pieces inward to create a U shape, then push the two sides toward one another to make a right angle before taping it together. The corner protectors go onto the frame before you wrap it with other packing materials. They offer an extra layer of protection by preventing the picture from jiggling around inside the box, keeping the picture more secure.
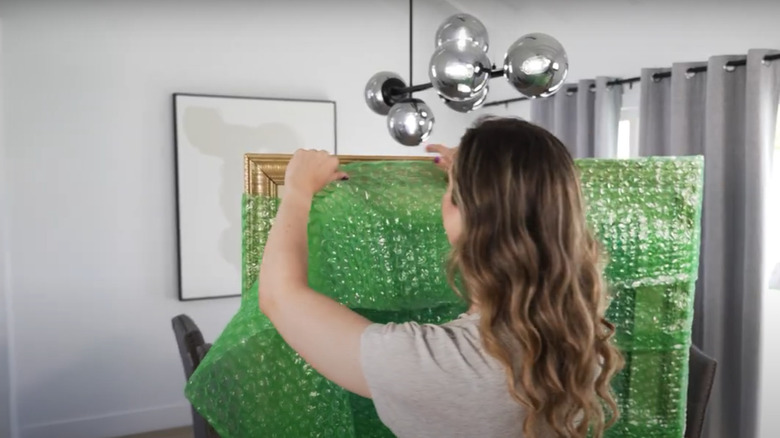
To pack like a pro, you'll also need to protect the glass by making an "X" on the middle of it with masking tape. You'll do this at the same time that you put on the protectors. All of your other packing materials, including wrapping paper and bubble wrap, go over these two protective packing elements. Once it's bubble wrapped and snug, the frame can slide down into a picture box for transport or storage.