Declutter Bathroom Countertops With A Creative Dollar Tree Storage Drawer DIY
The ideal bathroom for most homeowners is a calm, stress-free space that's spotlessly clean. Cluttered countertops, however, are usually a hindrance to creating such an environment. They give off chaotic vibes, and make it difficult to keep the area around the sink free from grime. The best strategy for decluttering, however, isn't just throwing your hygiene products in the nearest drawer or cabinet. What you really need to do is find a way to keep your drawers and cabinets organized, so that you can easily find your everyday essentials when they're not living on your countertops. Building a set of storage drawers that fit in the cabinet below your sink is a great place to start. While this project might sound complicated, it's actually fairly straightforward. Plus, it won't cost you a fortune, since you can pick up most of the components from the Dollar Tree.
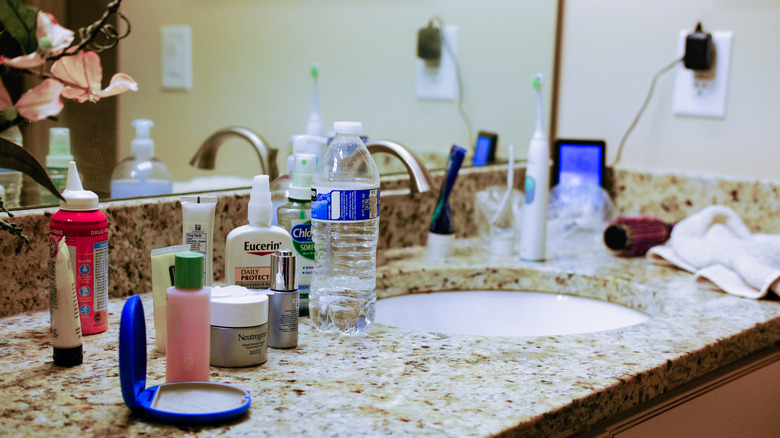
You can make the cabinet frame for your under-the-sink drawer unit with five Readi-Board White Foam Boards, a roll of Con-Tact Gray-Floral Self-Adhesive Shelf Liners, and hot glue. You will need to cut a couple of horizontal grooves on the inside of the foam frame for paint stir sticks, which will serve as drawer slides. To make the drawers themselves, all you have to do is spray paint four Greenbrier Kennel Club Cat Litter Pans. The completed project helps you clear clutter from bathroom counters while keeping products nearby. It could be a good start towards making your small bathroom seem bigger as well.
How to DIY a storage drawer unit for your bathroom cabinet
To get started, measure the dimensions of your below-the-sink cabinet to determine how many drawers will fit within the space. Once that's done, you can cut down your foam boards. For a four-drawer unit, you'll need four 18 by 16 1/2 inch pieces, four 14 by 6 inch pieces, and seven 2 by 14 inch pieces. You can reduce these measurements proportionally to match the number of drawers in your project, if needed. Now spray paint your pans and paint sticks so that they're matching colors. Also, glue together your four biggest foam pieces to create two thick side panels for the unit's frame.
Next, cover one side of your six largest foam pieces with contact paper. Then, using one of your trays as a guide, mark where you're going to place the paint stick slides on the inside of your side panels. Use a pen or a craft knife to cut grooves into the foam where you made the marks, and use hot glue to affix the paint sticks. After that, you can glue together the frame. Two of your medium-sized foam pieces will bridge the gap between your side panels on the top, and the other two will do the same on the bottom. Finally, slot in the pans, and glue the smaller foam pieces along the back to stop the drawers from sliding backwards. To make your drawer unit sturdier, replace the foam boards with wood, and the hot glue with wood glue.