Make An Eye-Catching Coffee Table With A Disco Ball DIY
We may receive a commission on purchases made from links.
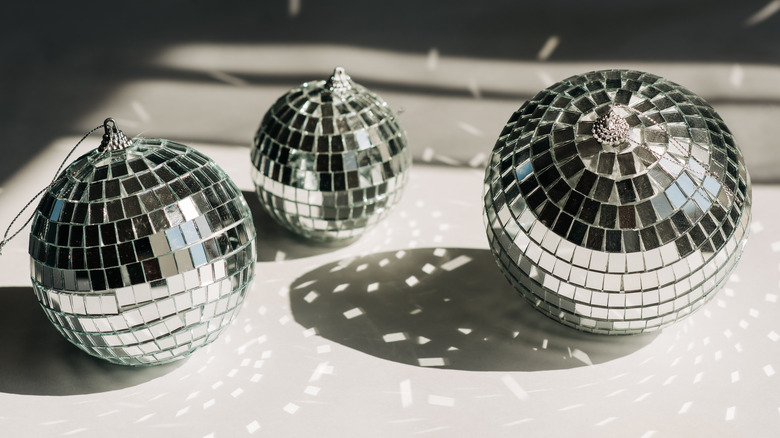
What should you do when you want a unique and show-stopping spot to set your glass of wine, remote, or favorite book? Convert a shiny disco ball into a stunning coffee table for a groovy glam vibe. Using just a few tools, some heavy-duty adhesive, and a supportive piece of medium-density fiberboard (MDF), this project combines a large disco ball and a round framed mirror into a stellar table that's perfect for bringing retro glam style into your home decor and costs less than $250 to make.
First, you'll need a disco ball, like the ADJ EM20 Eliminator Lighting 20" Inch Disco Mirror Ball. At $160, it's a bit of a splurge, but it is among the largest available on Amazon. Because the disco ball forms the base of this table, you may want to use a larger or smaller ball depending on the space you're trying to fill. No matter which size you choose, make sure it's sturdy enough to hold a piece of MDF and the large round mirror you'll use to form the tabletop itself. You could use the XRAMFY 30-Inch Round Mirror, which is available for $56 with either a gold or black frame, but any similar mirror would work well. Finally, it's important to firmly secure the tabletop to the disco ball base, which you'll want to do with a product like Gorilla Glue Heavy Construction Adhesive. Once you've gathered your supplies, it's time to boogie.
How to build a disco ball table
From funky DIY planters to whimsical wreaths, there are many ways to decorate with disco balls. For this project, it will be helpful to understand how a disco ball is constructed before getting started. Disco balls are typically made from an inner core of foam or plastic covered with glass tiles that have each been glued into place, starting from the center and working their way out in rows.
The first step for this project requires cutting into the plastic core to create a flat surface for your tabletop. Starting at the center of your disco ball, count approximately five rows down and carefully remove the glass tiles around the entire row using tile nippers. Then, cut through the plastic to remove a large circle before sanding the edge smooth. Plastic easily warps when exposed to heat, so although this is among the projects you can create with a jigsaw tool, consider using a very sharp utility knife instead.
The second step is to cut a piece of MDF into a square that's slightly smaller than your framed mirror before liberally applying construction adhesive to secure it to the base. The MDF will be hidden by the mirror but provides the bulk of the structural support for your disco ball table, so don't skimp on the adhesive! Consider adding a few heavy rocks to the bottom of your disco ball for added stability before completing this step. Finally, use more construction adhesive to glue your mirror to the MDF, making sure it's perfectly centered and level.
