Flip A Basic Cube Organizer Into A Showstopper With A Few Affordable Products
We may receive a commission on purchases made from links.
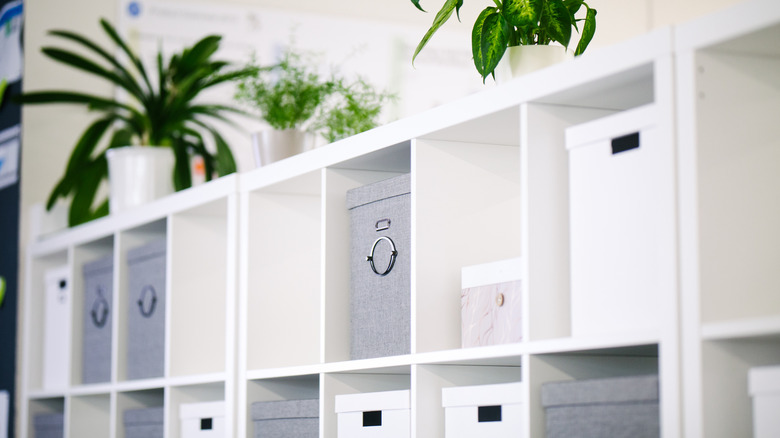
Chances are, there's at least one cube organizer in your home, and for good reason. These handy organizers are so simply effective and versatile enough to work in any room in the house — even Joanna Gaines uses cube storage to optimize home organization. But the basic cube organizer is just that when it comes to decor — basic. The good news is that with just a few affordable items from your local hardware store, you can elevate your go-to organizer from basic to stylish. Stain a wood panel and some new legs, install them on the cube organizer, and complete the look by sliding in square wicker storage baskets.
And the best part is that this entire DIY can be done on a budget. A wood board for the top of the organizer runs just over $20, a wainscoting panel can add style and interest as a backboard for around $35, and furniture legs run anywhere from $3 to $7. And if you add in a quart of paint or wood stain for the additional wood, you can transform that basic organizer into your new favorite piece of decor for less than $100. Or you can easily repurpose any extra wood, paint, or wood stain you have lying around to save.
How to transform your cube organizer into your new favorite piece
Before diving into the DIY, consider how large the organizer itself is and how much weight it will hold. If it's a smaller two-by-two organizer and will hold a lighter weight, a leg attached to each corner will likely be sufficient. But if the organizer is longer or will contain more weight, some DIYers have found it helpful to add a set of legs in the middle or build a frame on the bottom of the unit, then attach the legs to that for more support. Of course, you don't have to install legs, but it is a simple hack to elevate your cube organizer to look stylish.
Ready to start? First, clean the cube organizer with your favorite cleaner. Then, if needed, sand and paint — or stain, depending on the look you want — the wood board and furniture legs. While those dry, remove the organizer's backing and secure the wainscoting panel or a piece of sanded and painted plywood to the back with panel nails. Once the wood board and legs are dry, attach the legs to the bottom with furniture leg attachment plates, like Anwenk Leg Mounting Plates. Turn the piece right side up and nail the top wood board into place, using wood filler to cover the holes as needed.
There are so many ways to make this DIY fit with your home's decor. Swap out the wainscoting panel for a piece of plywood painted to match the room or with some decorative wallpaper. Or, to convert your cube storage organizer into a chic cabinet, add on decorative cabinet doors.