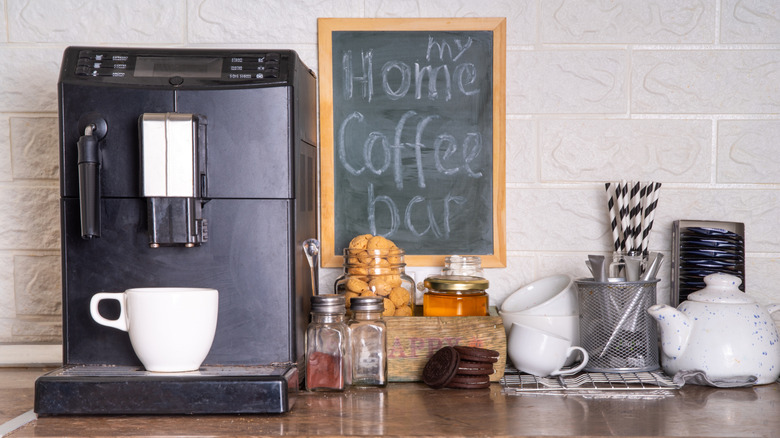
Store And Display Coffee Mugs With A Dollar Tree DIY Kitchen Countertop Riser
We may receive a commission on purchases made from links.
For budding artists, the Dollar Tree is the place to go for cheap painting supplies, like 8x10-inch canvases. Though they may not look like it, these canvases are all the raw material you need to create a countertop riser for your favorite coffee accessories. This will require some work, of course, along with the creative use of materials, like carpenter's paint sticks. Once the piece is done, it'll be a cute way to increase your storage options for your coffee station.
The 8x10-inch canvases can be found at the Dollar Tree for just over a buck. You'll need four of them in the same size. The piece also requires some 12-inch paint stir sticks. Wood glue, sponge brushes, a staple remover, a pair of miter shears, and some small clamps round out this DIY's supplies list.
Finally, when YouTube crafter Country Lily DIY Decor made this project, she used a light stain to cover the finished riser. However, if your kitchen is decorated in a country or shabby chic theme, you may want to replace the stain with some chalkboard paint. And rather than leaving it unembellished, you may also want to consider adding some stencilling to it, too.
Crafting the kitchen countertop riser
Once completed, this cool DIY coffee mug storage piece will be big enough to hold four coffee mugs. The canvases' wooden frames become the frame for the coffee station riser. As such, they'll need to be relieved of their canvases — a task that's made easier with the help of a staple remover. The paint sticks are trimmed down with the help of the miter shears. These become the slats for the riser's shelves once you cut them down to 10 inches long.
The original design tapped the paint sticks to create the shelves' surface, giving the riser a look that's similar to a picnic table. However, that's not your only option. Dollar Tree also carries 11x5½-inch craft boards. Change up the riser's design by placing one of the big planks of craft wood in the middle of the top shelf and flanking it on each side with the paint sticks. (All the wood will still need to be trimmed to fit the riser.) This makes the center a solid piece that would look great if stenciled.
Or if you'd like to give the riser some texture, consider repurposing some old cork board for this project. Since cork board tends to easily give under pressure, you'll need a utility knife to cut the cork to fit the riser. Once the trim is done, you'll glue the trimmed cork board to the riser's shelves.