The Inexpensive Way To Give French Doors A Modern Transformation
We may receive a commission on purchases made from links.
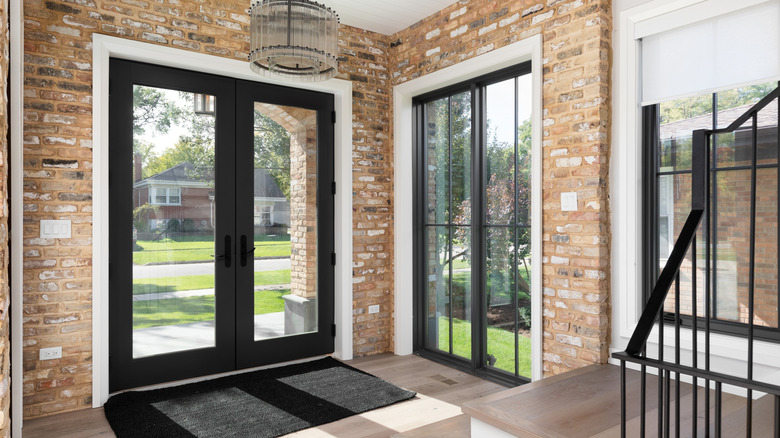
French doors can be a gorgeous architectural feature in a home, instantly opening up the space and providing plenty of sunlight. But all that bare glass might leave your entryways feeling a bit too minimal and exposed, especially if they face the exterior. While hanging curtains can break up the monotony of single glass panels, they also block the natural sunlight that makes French doors so appealing in the first place. A better way to break up the glass and add visual interest is with paneling applied directly to the door's glass, but swapping out your French doors for paneled alternatives can be costly and time-consuming. Fortunately, there are a few DIY projects that create the same paneled effect without the hefty price tag.
What's great about this trick is its design flexibility. It mimics the look of traditional muntins (paneling strips) on a door without requiring a full replacement. You can keep it straightforward by employing non-permanent adhesive strips, or go all in with painted wooden trim for a built-in look. Either way, this simple DIY addition completely enhances the visual structure of your doors, creating a fresh focal point for your eyes. It can help to reinvent your space, making it feel slightly less open without minimizing the amount of natural light that comes through your doors. And, it's the perfect weekend project, even for beginners, as it only requires a few key materials, like adhesive or wooden trim, and a few tools that every homeowner should have on hand. It's an excellent way to achieve that designer-level look without the associated price tag or the headache of a full renovation project.
Elevating french doors with adhesive molding
If you're looking for a quick transformation that doesn't require any permanent changes to your space, adhesive molding is probably your best bet. It's a no-tool-needed molding trick that uses peel-and-stick trim to achieve a polished overall look, without actually altering your door. You'll want to start by measuring your door and sectioning it off into different, evenly sized glass panels. This step is completely up to you, whether you want to create a grid of four, six, or eight individual panels. Use a level to ensure that your horizontal lines are straight, and once you're happy with the design, all you need to do is peel away the back of the trim and stick it to the glass. For painted doors, you might want to give the trim a solid coat or two before adhering it to your glass, as this will minimize the risk of any overspray.
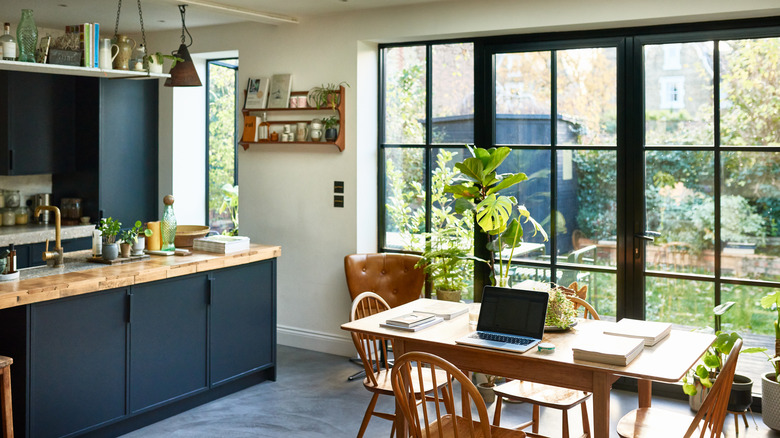
This trick can be especially effective for renters or anyone hesitant to make a permanent change, and it's an easy way to experiment with different styles. Think of it as your introduction to paneled French doors, as you can always remove the adhesive strips and replace them with a more permanent solution later on. You can also experiment with different paint jobs on your doors; for example, a dark black or brown door with white molding can add a modern, yet creative flair to your space, and using different trim colors can be a great way to subtly integrate new shades and hues into your interiors.
Achieving the window pane look using scrap wood
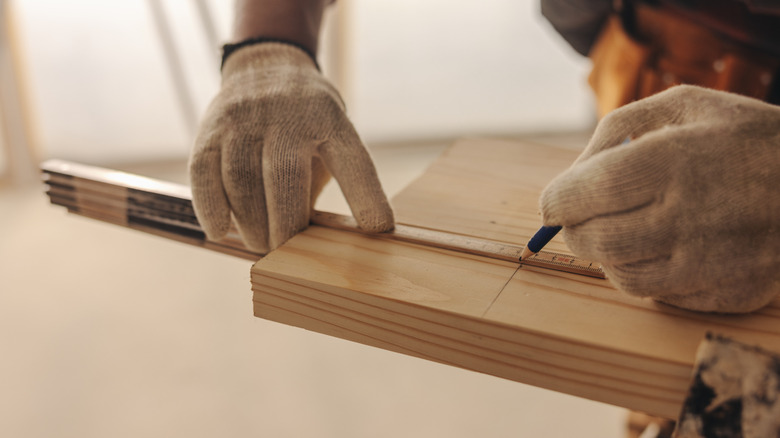
For a sturdier, more permanent solution, wooden trim pieces are the way to go with this project. You can repurpose old molding, thin wood lath, or lattice strips to build a grid design directly into your French doors. Start by measuring the height and width of your glass panels. The vertical strip will be the starting point for adding your grid lines, so cut a piece of wood to the right size and ensure that it fits snugly onto the front of your glass. For the horizontal pieces, they need to be cut so that they intersect with the newly cut vertical trim. Where the two points meet, you will want to cut your wooden strips at an angle so that they appear to be one singular grid. Before mounting your vertical piece, you might want to assemble the grid on the floor of your workspace. Make sure that your horizontal pieces are level as you assemble the grid.
With the grid complete, you are just about ready to install it. If you're going to paint the grid to match the color of your door, give it a few solid coats prior to mounting. Once your piece has completely dried, clean your windows so that there are no streaks and attach the grid using a generous amount of clear Kwik Seal. If you aren't comfortable using an industrial adhesive on your glass windows, you can also use small nails to secure the entire grid to your door frame. However, you may still need to use some kind of sealant to secure the center of the grid.